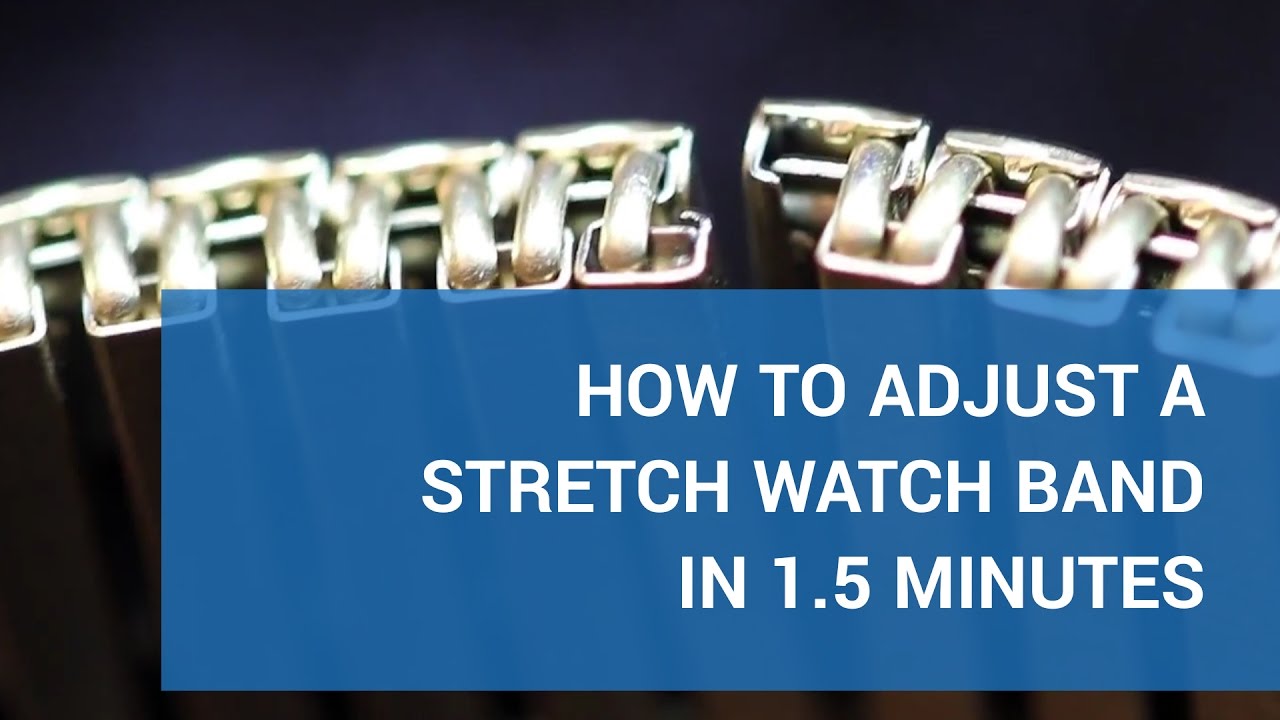
Your stretch watch band feels uncomfortable, but you don’t need a jeweler to fix it. Stretch watch bands, also called expansion, accordion, or comfort bands, are found on vintage and modern watches from brands like Timex and Speidel. This guide walks you through exactly how to adjust a stretch watch band using the correct technique for your specific band type.
Whether your band uses U-clip connectors or staple-style pins, you can resize it at home with the right tools and patience. Let’s cover everything you need to know to get a perfect fit.
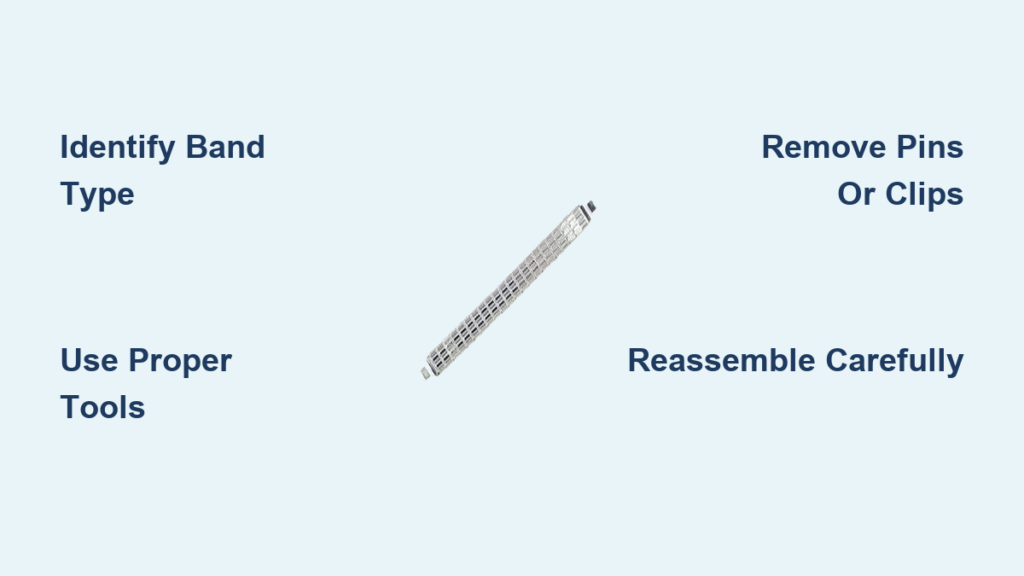
Identify Your Stretch Watch Band Type
Different stretch bands use different mechanisms. The two main types are U-clip and staple-pin designs, and knowing which one you have is crucial before starting any adjustment work.
U-Clip vs Staple-Pin Bands
U-clip bands have a small U-shaped metal piece connecting links on the back, sometimes hidden under a metal flap. Staple-pin bands feature tiny staple-like pins held in place by a bendable tab on top of the link. Stretch the band slightly and examine the joints under good light to determine which type you have.
Gather Essential Tools
Having the right tools prevents damage to your watch band. Using improper tools can scratch or break delicate components.
You will need a fine-tip permanent marker to mark links, a precision flat-blade tool like a small screwdriver or dental pick, tweezers or needle-nose pliers, a magnifier or jeweler’s loupe, and a soft cloth or padded work surface. Avoid using pliers directly on visible surfaces.
Adjust Staple-Pin Style Bands
These bands use small pins secured by a locking tab. The adjustment process involves flattening the tab to access the pins beneath.
Locate the Locking Tab
Find the small raised tab on the top edge of the link joint. This tab bends over the pins to hold them in place. Stretch the band and examine the joints carefully under magnification if needed.
Flatten the Tab
Insert your flat-blade tool under the tab edge and apply steady, gentle pressure to bend it flat. Work slowly to avoid cracking the metal, as some tabs are springy while others are brittle with age.
Remove the Pins
Use tweezers to lift one end of the bottom pin and bend it outward just enough to release the connection. Slide the unwanted link out once the pin is loose. Repeat for each link you’re removing.
Reconnect and Secure
Align the remaining links so the pin holes match and slide the pins back through to reconnect them. Bend the locking tab back over the pins to secure them in place. A slight gap or bend is normal and won’t affect function.
Adjust U-Clip Style Bands
U-clip bands use a small U-shaped metal clip to hold links together. Some are exposed while others are hidden under a retaining lip.
Find the U-Clip
Stretch the band and look at the back of the joint to locate the tiny U-shaped clip spanning the connection point. If nothing is visible, check for a retaining lip covering the clip.
Expose Hidden U-Clips
Insert your flat tool under the retaining lip edge and lift it upward just enough to slide the clip out. Avoid forcing it to prevent cracking the metal. Some models require removing the entire front plate to access the clip.
Remove the U-Clip Safely
Grasp the U-clip ends with tweezers and lift it straight out. Place it on a clean surface where it won’t roll away, keeping it for reassembly.
Reinstall the Clip and Close Up
Slide the U-clip back into the groove across the joint and press down evenly so it sits flat. If you lifted a retaining lip, carefully bend it back over the clip to lock it in place.
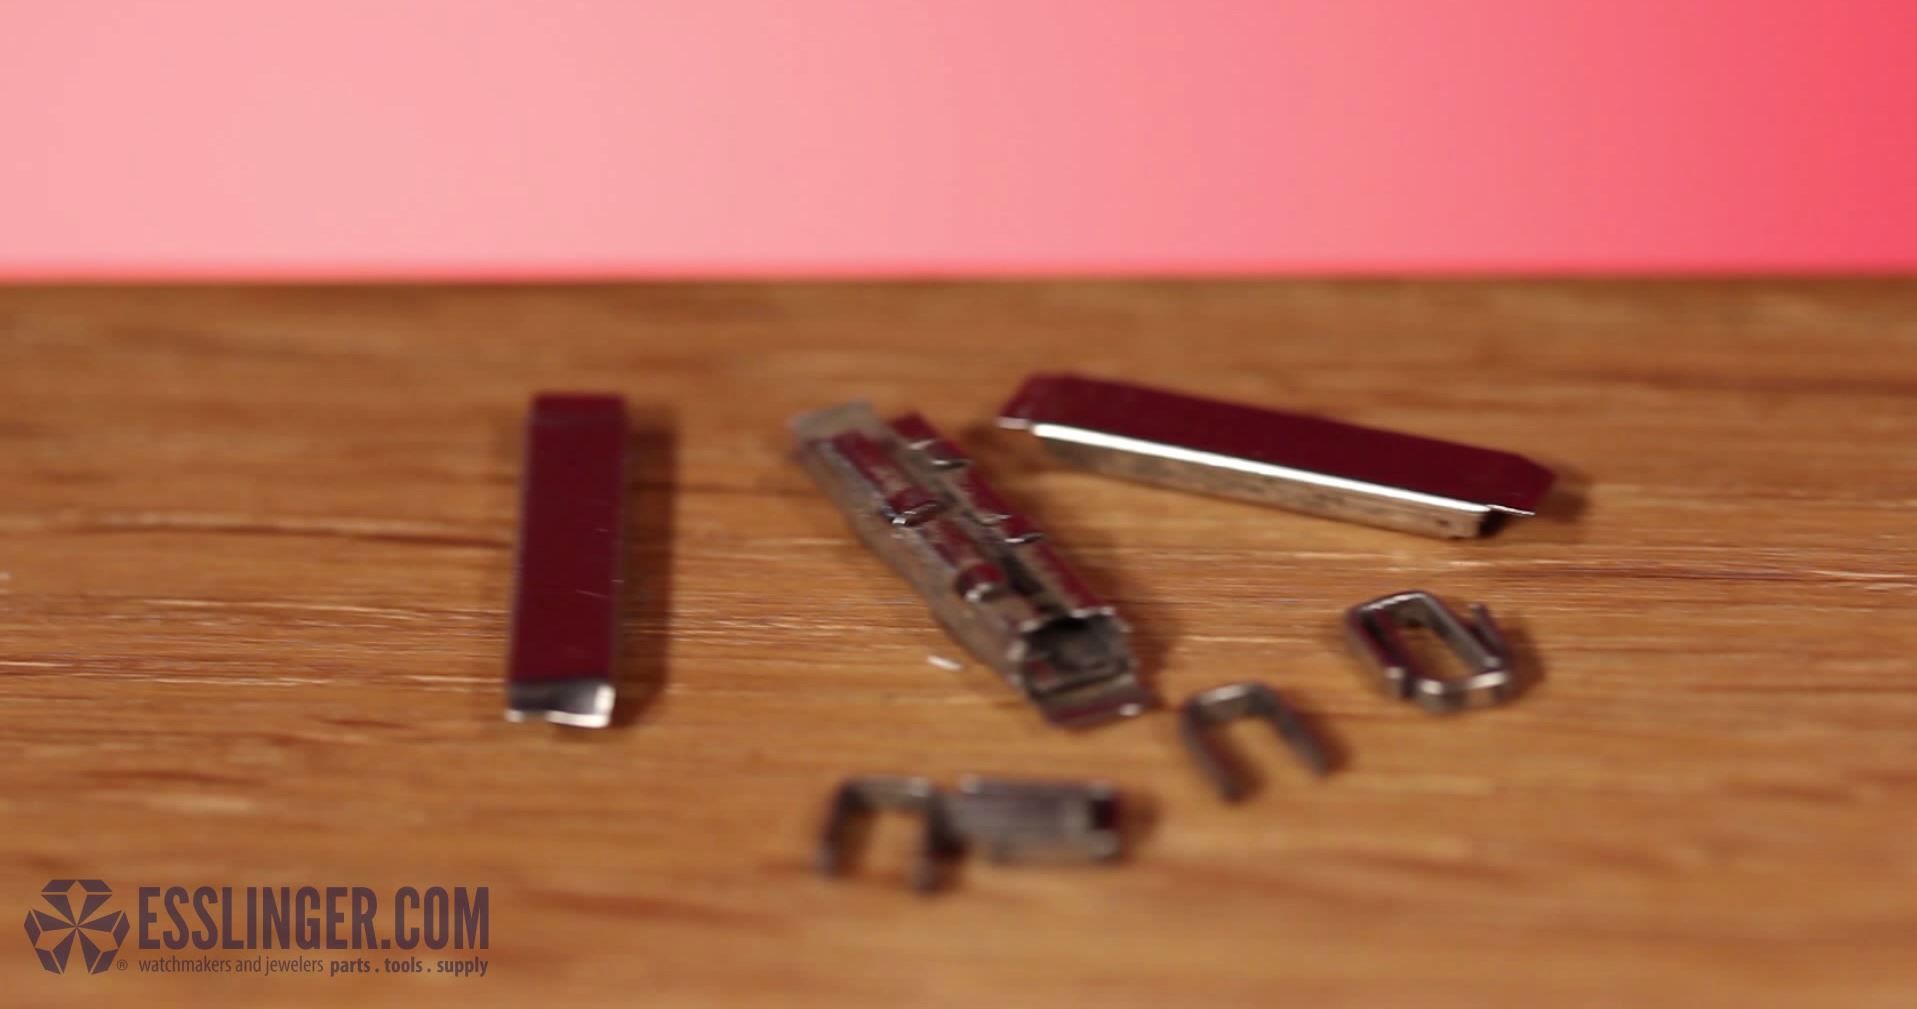
Alternative Method: Remove the Front Plate
For cleaner results or frequent adjustments, removing the outer front plate provides full visibility of internal components.
Release the Plate Arms
Stretch the bracelet open and locate the 2-4 small metal arms holding the plate in place. Use your tool to bend each arm outward just enough to free the plate. Lay the plate aside safely.
Adjust Without Obstruction
With full visibility, remove links, reposition clips, or replace pins with precision. Once resized, replace the front plate and bend the arms back down to secure it. This method reduces stress on hidden parts and minimizes cosmetic damage.
Tips for Best Results
Even experienced hobbyists make mistakes. Follow these proven tips to get it right the first time.
Mark links before bending to ensure symmetry, especially on multi-link bands. Work on one side at a time if resizing both sides to maintain balance. Save every U-clip, pin, and plate since vintage components are hard to replace. Expect minor cosmetic flaws on first attempts, as most are hidden when worn.
Common Challenges and Solutions
Adjusting stretch bands isn’t foolproof. Here’s how to handle typical issues.
If the retaining lip won’t bend back after lifting, work the bend slowly with light pressure rather than forcing it. Work over a tray or cloth to catch tiny parts that jump easily. If the band feels loose after reassembly, double-check that all pins are fully seated and clips are flush. Remove links in pairs if shortening symmetrically.
When to Seek Professional Help
While DIY adjustment is possible, some situations call for expert help.
Seek professional assistance if the band is part of a valuable vintage watch, you’re unsure of the mechanism type, previous attempts caused visible damage, or you lack the proper tools. A qualified watchmaker can resize the band cleanly and preserve its value.
Maintain Your Adjusted Band
Once resized, keep your stretch band in good condition with simple care.
Clean gently using a soft brush and mild soapy water to remove dirt from crevices. Dry thoroughly to prevent corrosion. Avoid overstretching by not yanking the band when putting it on, as this weakens internal connections over time. Store flat or hanging to prevent permanent deformation.
Frequently Asked Questions About Adjusting Stretch Watch Bands
How do I know if my stretch watch band uses U-clips or staple pins?
Examine the joints on the back of the band. U-clips appear as small U-shaped metal pieces, while staple-pin bands have tiny staple-like pins secured by a bendable tab on top of the link.
Can I adjust a stretch watch band without special tools?
You need basic tools like a fine flat-blade tool, tweezers, and a magnifier. These small components require precision, so proper tools make the job much easier.
Will adjusting my stretch watch band damage it?
First-time adjustments may result in minor cosmetic flaws like small bends or scratches. These are usually hidden when worn, and skills improve with practice.
How many links should I remove from my stretch watch band?
Remove links one at a time, trying the band on after each removal until you achieve a comfortable fit. This prevents removing too many links.
Can I use this guide for Speidel and Timex bands?
Yes, Speidel bands typically use U-clip mechanisms while vintage Timex bands commonly use staple-pin style connections.
Key Takeaways for Adjusting Your Stretch Watch Band
Stretch watch bands use either U-clip or staple-pin mechanisms, and identifying the correct type before starting is essential for success. The adjustment process involves marking links, exposing the internal mechanism, removing pins or clips, resizing, and reassembling, all achievable at home with basic tools. While minor cosmetic imperfections are common on first attempts, patience and practice lead to professional-quality results. Work slowly, preserve all components, and don’t hesitate to seek professional help for valuable vintage timepieces.


