

You just unboxed your sleek Geneva watch, but the metal bracelet is too loose or maybe it’s pinching your wrist. Most Geneva watches arrive with extra links to fit a range of wrist sizes, and adjusting them correctly ensures a secure, comfortable fit. This guide walks you step-by-step through how to adjust a Geneva watch using simple tools and proven techniques.
You’ll learn how to measure your wrist accurately, identify different pin types, remove links safely, and use micro-adjustments at the clasp for the perfect fit. No guesswork. No damage. Just a perfectly fitted watch.
Measure Your Wrist for Geneva Watch Adjustment
Before touching any tools, determine exactly how many links to remove from your Geneva watch.
Wrap a folded piece of paper around your wrist just below the wrist bone. Hold the end in place and mark where your finger meets the paper. Unwrap and measure the marked distance with a ruler. A 6-inch measurement means you need a 6-inch bracelet.
The ideal fit allows the watch to slide no more than two inches down your forearm when your arm hangs straight down. Too loose risks damaging pins and links over time. Too tight causes discomfort and leaves red imprints on your skin.
Use this measurement to calculate how many links to remove, and always remove an equal number from both sides of the clasp to keep it centered on your wrist.
Identify Your Geneva Watch Bracelet Link Type

Not all Geneva watch bands adjust the same way. Identifying your link system before pushing any pins prevents damage.
Pin Link Bracelet
Most Geneva watches use tension pin links. These have no screws, just metal pins held by friction. Look for tiny arrows engraved on the back of the links. The arrows show which direction to push the pin out, usually from the rounded end toward the split end.
The split end flares slightly to grip the link. Never force it backward.
Pin and Collar System
Some models include a small metal collar on one side of the pin hole. This collar stabilizes the pin. When reassembling, make sure the collar stays seated in its original side before reinserting the pin.
Push the pin in the direction of the arrow, same as standard pin links.
Screw-In Pins
If you see a tiny slot on one end of the pin, it’s a screw-type. Use a small flat-head screwdriver to gently unscrew it counterclockwise. Don’t overtighten when reinstalling. Just seat it fully to prevent loosening during wear.
Tools Needed to Adjust Your Geneva Watch
You don’t need a full watchmaker’s kit. Household items work, but precision tools reduce risk.
Basic Tools You Can Use Now
- Pushpin or thumbtack to start pin movement
- Needle-nose pliers to pull pins out cleanly
- Small hammer to tap pins gently
- Wood block with a notch to support the band and let pins exit safely
- Tweezers to handle tiny pins and collars
- Flat-head screwdriver for screw pins or spring bars
- Soft towel to protect the watch face and catch loose parts
Recommended Precision Tools
- Pin pusher tool for controlled pressure without hammering
- Watch adjustment block to align links perfectly
- Spring-bar tool for easier clasp adjustments
- Screw-driven pin removal kit available online for about $3.75
A compact pin pusher kit gives you control in both directions. You can push pins out and guide them back in during reassembly.
Remove Links from Your Geneva Watch Bracelet
Now that you know your link type, it’s time to resize the band safely.
Find the Removal Direction
Flip the watch over and inspect the back of the links. Look for engraved arrows near the pin holes. These show which way to push. If you don’t see arrows, check near the clasp. Some models hide them there.
Calculate Links to Remove
Based on your wrist measurement, decide how many links to remove. If your wrist measures 6 inches and the watch measures 7.5 inches, you may need to remove 3 to 4 links total. Always remove equal numbers from both sides of the clasp.
Secure the Watch for Work
Place the bracelet on a wood block with a notch cut into it, or use a thick book with a groove. This supports the band and allows the pin to exit without damaging your table or the watch. Lay a soft towel underneath to prevent scratches.
Push the Pin Out
Insert a pushpin or pin pusher into the hole on the rounded end side, following the arrow direction. Tap gently with a hammer until the split end begins to emerge. Stop once it’s far enough to grip with needle-nose pliers.
Extract the Pin Fully
Use pliers to pull the pin straight out. Don’t bend it because you’ll reuse it. Repeat for the second pin if removing a full link. Set the pin and link aside in a small container. Label it so you don’t lose them.
Reassemble Your Geneva Watch Bracelet Correctly

Reinserting the pin wrong can cause it to loosen or fall out during wear.
Insert Rounded End First
Always reinsert the rounded end first, following the arrow direction. The split flared end goes in last. This creates the tension lock that keeps the pin secure.
If the pin won’t go in, double-check orientation. Forcing it backward can damage the split end.
Tap Until Flush
Once the pin starts through by hand, place the watch back on the wood block with the split end facing down over the notch. Use a hammer and punch or pin pusher to tap it gently until fully seated and flush with the link surface.
No part of the pin should stick out.
Test the Band Movement
Flex the bracelet. It should move smoothly without binding. If it feels stiff, the pin may be misaligned. Remove and retry.
Use Clasp Micro-Adjustment on Your Geneva Watch
Before removing links, check if your Geneva watch has a micro-adjustable clasp. Many models include this feature.
Three-Hole Buckle Adjustment
This system lets you fine-tune fit by 1/8 inch to 1/4 inch. Open the clasp lever and use a spring-bar tool, pushpin, or small screwdriver to press down the spring bar under the buckle strap. While pressing, slide the buckle forward or backward to the desired hole. Release and the bar will click into place. Test the fit.
This works well for seasonal changes, like tighter in winter or looser in summer.
Sliding Buckle for Mesh Bands
Some Geneva watches use a continuous sliding clasp common on Milanese or mesh bands. Open the clasp and insert a spring-bar tool or thin blade into the slot at the top of the buckle. Push up to release the clip. Slide the band to your preferred length. Close the clip until it clicks securely.
Avoid Common Mistakes When Adjusting Geneva Watches
Even small errors can damage your watch or create an insecure fit.
- Never push a pin against the arrow direction. The split end isn’t designed to compress easily and can flare or break.
- Taking more links from one side shifts the clasp off-center, making the watch sit crooked on your wrist.
- Tension pins move with steady pressure, not hammering. Too much force dents links or bends pins.
- Keep all pins, links, and collars in a safe place. You might need them later, especially if giving the watch to someone with a larger wrist.
- Skip the fit test and you may end up with a watch that’s too loose or too tight. Wear it for a few minutes after adjustment to check.
Troubleshooting: Geneva Watch Has No Visible Pins
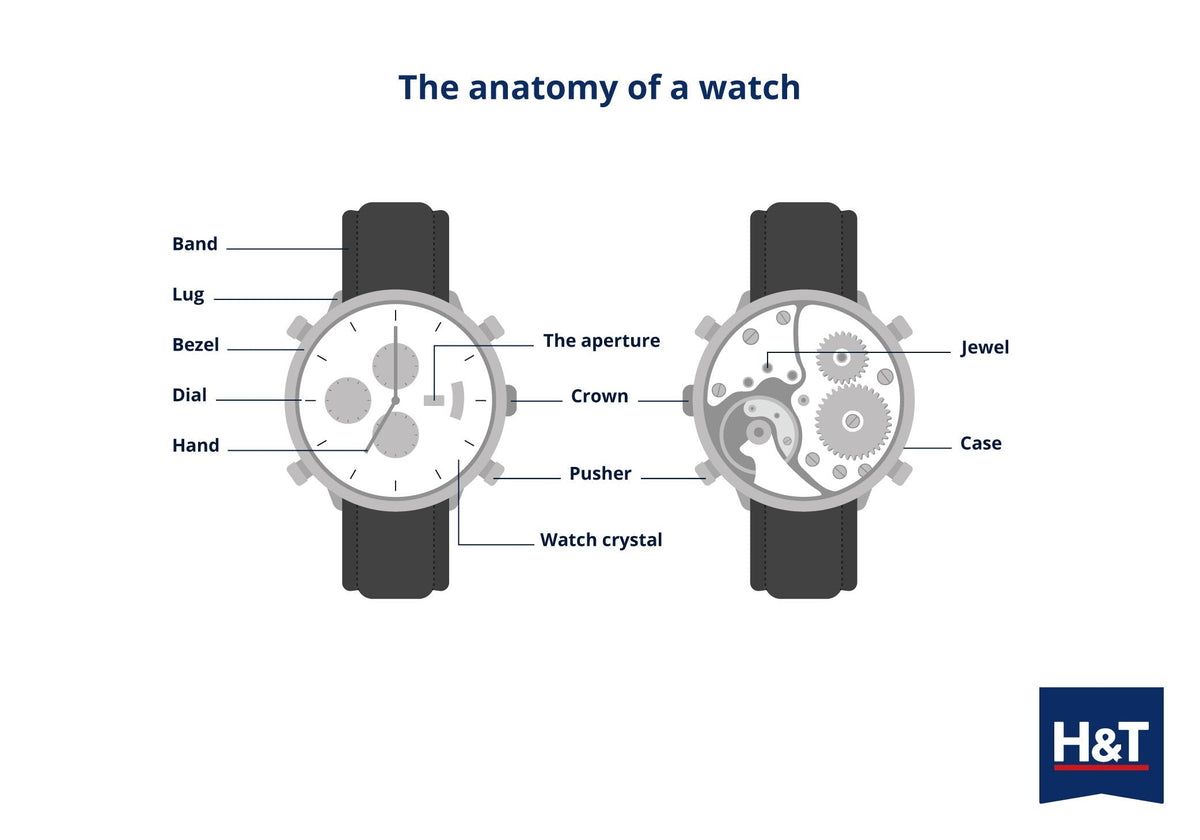
Many users report seeing no pins they can access. Here’s what that usually means.
Hidden or Flush Pins
Some Geneva models have recessed pins that blend into the link. Shine a flashlight at an angle. You may spot the pin ends.
Micro-Adjustment Only Design
Many fashion-oriented Geneva watches don’t require link removal at all. They’re sized entirely at the clasp. Look for tiny spring bars near the buckle, three small holes where the strap connects, or a sliding clip mechanism.
If you find these, no link removal is needed. Adjust at the clasp instead.
Hidden Screws or Internal Collars
Rare models use tiny screws under the links or internal collars. If you’re unsure, consult the manufacturer or avoid disassembly.
Final Tips for Long-Term Geneva Watch Fit
A well-adjusted Geneva watch stays secure for years with proper care.
- Work slowly and deliberately. Rushing leads to bent pins and scratches.
- Use tweezers for better control over small parts.
- Keep original pins. Replacement pins may not match in diameter or tension.
- Invest in a $4 pin kit. It pays for itself in safety and ease.
- Clean the band after adjustment. Wipe away oils and debris from handling.
Frequently Asked Questions About Adjusting Geneva Watches
How do I know if my Geneva watch uses pin links or screw pins?
Look at the pin ends. If you see a rounded end and a split or flared end, it’s a tension pin. If you see a tiny slot on one end, it’s a screw-type pin requiring a screwdriver.
Can I adjust my Geneva watch without removing links?
Yes. Many Geneva watches feature micro-adjustable clasps with three holes or a sliding mechanism. Check near the buckle before attempting link removal.
What happens if I remove links from only one side?
Removing unequal numbers from both sides shifts the clasp off-center. This makes the watch sit crooked on your wrist and strains the bracelet unevenly.
How do I reassemble the pins correctly?
Insert the rounded end first, following the arrow direction. The split end goes in last to create the tension lock. Tap until flush with the link surface.
Should I keep the links I remove?
Yes. Store them in a labeled container. You may need them if your wrist size changes or if you pass the watch to someone else.
Key Takeaways for Adjusting Your Geneva Watch
Accurate wrist measurement comes first. Use paper and a ruler to determine exactly how many links to remove. Always remove equal numbers from both sides to keep the clasp centered.
Identify your link type before starting. Push pins follow arrow direction, and the rounded end always goes in first. The split end creates the tension lock.
Use micro-adjustment at the clasp before resorting to link removal. Many Geneva watches don’t need link removal at all.
Work slowly, keep all parts, and test the fit before finishing. With the right approach, your Geneva watch fits perfectly and stays secure for years.



