If your metal watch band feels too tight or too loose, you don’t need to replace it. Most clasps can be fine-tuned using built-in adjustment mechanisms. Knowing how to adjust metal watch band clasp settings lets you achieve a secure, comfortable fit without damaging the band. Whether your watch has micro-adjustment holes, a sliding clasp, or standard links, this guide walks you through every method step by step.
Check Your Clasp Type First
Before making any adjustments, identify your clasp type. The adjustment method depends entirely on the mechanism your watch uses.
Folding Clasp with Micro Holes
This clasp type is found on most stainless steel bands. It folds over and locks with buttons on both sides. Look closely at the inner arms. Many folding clasps have tiny holes and pins hidden inside for micro-adjustments.
Sliding Clasp (Milanese or Magnetic)
Sliding clasps are used on mesh bands like Apple Watch styles. This clasp slides along the band. A lever or notch allows you to reposition it for a custom fit. Once adjusted the first time, future changes require no tools.
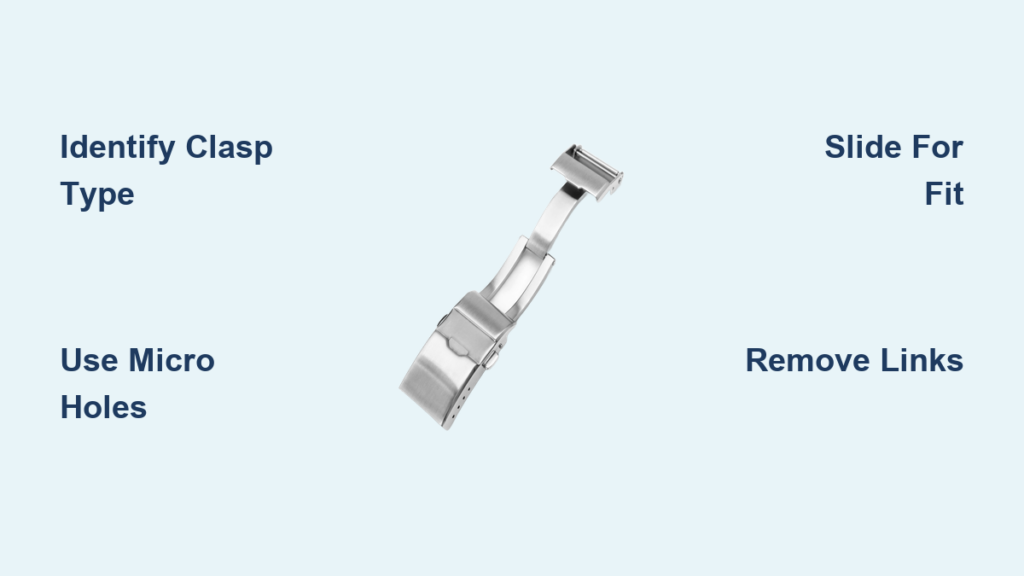
Butterfly or Deployment Clasp
Common on luxury watches, butterfly clasps open in two directions and fold over the wrist. Some include secondary micro-adjustment levers or pins for fine-tuning. Take a moment to examine your specific clasp before proceeding.
Use Micro-Adjustment Holes for Fine Tuning

When your band is almost right but slightly off, micro-adjustments provide the best fix. This method works without removing any links.
Find the Hidden Adjustment Pins
Flip the clasp open and examine the inner arms. You will see small holes, usually two to four, on one or both sides. A thin metal pin holds the arm in place. The holes are often near the hinge or along an extended arm. Some are hidden under a small metal flap.
Shift the Clasp Arm in Small Steps
Follow these steps to adjust the fit:
- Open the clasp fully.
- Use a paperclip or pushpin to gently press the micro-adjustment pin outward.
- Remove the pin completely.
- Slide the clasp arm to the next hole, moving inward for a tighter fit or outward for a looser fit.
- Reinsert the pin and test the fit on your wrist.
Apply steady, even pressure when removing the pin. Forcing it can bend the metal and cause damage.
Why This Works for Small Wrists
Many users struggle when removing one link makes the band too tight. Micro-adjustments solve this problem by offering precise, reversible changes. This is perfect for seasonal swelling or for people with slim wrists. The adjustment range typically spans six to ten millimeters total.
Fix Loose Fit with Sliding Clasp Adjustment
Sliding clasps work best on Milanese, magnetic, or loop-style mesh bands. This method provides continuous adjustment without removing links.
Position the Clasp by Pinching the Band
Put the watch on your wrist. Pinch the band where it should sit comfortably. Note how far from the current clasp position the ideal fit lands. This visual marker guides your adjustment.
Open and Reposition the Clasp
Lay the watch flat on a surface. Insert a spring-bar tool or small screwdriver into the clasp release notch. Gently lift the clasp upward. It will pop open from the hinge. Slide the clasp up for a tighter fit or down for a looser fit along the band. Press it back into place until it clicks securely.
Do not force the clasp. If it resists, check for debris or misalignment before trying again.
Test and Refine the Fit
Wear the watch and move your wrist through normal activities. If the band shifts or feels unstable, reopen the clasp and adjust slightly. Once set correctly, future changes take only seconds. After the initial setup, you can often adjust by hand by squeezing the sides and sliding.
Remove Links for Major Size Changes
When the band is significantly too large, you will need to remove links. This provides a permanent size adjustment.
Gather the Right Tools
You will need these items:
- Pushpin or spring-bar tool
- Flat-nose pliers
- Soft cloth or watch holder
- Magnifying glass (optional but recommended)
Avoid using nails or knives. They scratch metal and slip easily, risking injury.
Locate the Link Removal Arrows
Flip the band over and examine the underside. On the side of some links, you will see tiny arrows stamped into the metal. These show the direction to push the pin for removal. Pins usually eject from one side only, so follow the arrow precisely.
Eject the Pin and Remove the Link
Place the band so the target link hangs slightly off the edge of a table. Align the pushpin with the pin hole. Press firmly in the direction of the arrow. Once the pin starts coming out, flip the band and push from the opposite side to remove it fully. Detach the link and repeat on the other side to maintain symmetry.
Reattach the Clasp
Align the clasp with the new end link. Insert the pin back through the connection. Tap gently with a soft tool if needed. Ensure the pin is flush with no sharp edges protruding. Test the clasp to confirm it opens and closes smoothly.
Save all removed pins and links in a small bag. You may need them for future resizing.
Handle Tricky Clasps Safely
Some bands use special mechanisms that require extra care and attention.
Hidden Micro-Adjustments Under Covers
Certain high-end watches hide adjustment pins under a small metal cover. Use a plastic opening tool to gently pry it up. Never use metal tools, as they can scratch the finish.
Split or Spring-Loaded Pins
These pins expand inside the link and resist removal. Push slowly and evenly to avoid bending. If a pin is stuck, apply a drop of light lubricant and wait five minutes before trying again.
Screw-Fixed Links
Rare but found on premium brands, some links use tiny screws instead of pins. Use a mini screwdriver set for these. Do not attempt to use standard pins on screw-fixed links.
If your watch has screws or unusual markings, stop and look up your specific model. Forcing it can void warranties or cause permanent damage.
Know When to See a Professional
Not every adjustment should be a DIY project. Some situations require professional help.
Visit a Jeweler If You Lack Proper Tools
If you do not have the right tools or experience, a professional jeweler can help. This is especially important for expensive watches.
Consider Professional Help for These Situations
The band has proprietary hardware that requires special tools. You are adjusting a luxury or vintage watch where mistakes are costly. Micro-adjustments are not enough and you need precise link removal. The clasp mechanism is damaged or stuck.
Many jewelers offer free resizing if you purchased the watch from them. It never hurts to ask about this option.
Prevent Damage with Smart Habits
The best adjustments fail without proper maintenance and care.
Clean the Clasp Regularly
Sweat and dirt clog moving parts and can cause the mechanism to stick. Once a month, wipe the clasp with a damp microfiber cloth. Dry thoroughly afterward. Use a soft toothbrush for tight spaces and crevices.
Inspect for Loose Pins
Check monthly for any pins that stick out or feel loose. A protruding pin could catch on fabric or snap during wear. Re-seat it immediately if you notice any movement.
Store Your Watch Properly
Keep your watch in a watch box or roll when not in use. Avoid tossing it in a drawer where the clasp can get bent or damaged. Over-tightening strains hinges and weakens the clasp over time, so adjust only when necessary.
Compare Adjustment Methods at a Glance
| Method | Best For | Tools Needed | Reversible | Precision Level |
|---|---|---|---|---|
| Micro-Adjustment Holes | Fine-tuning fit | Paperclip, pushpin | Yes | High (2-5mm per hole) |
| Sliding Clasp | Mesh or magnetic bands | Screwdriver (first time) | Yes | Continuous |
| Link Removal | Major resizing | Pushpin, pliers | Partially (if links saved) | Low (whole links only) |
Use this quick reference to choose the right method. If your band almost fits, try micro-adjustment. For mesh bands, use the sliding clasp. If the band is way too big, remove links.
Final Tips for a Perfect Fit
Always start with non-invasive methods first. Try micro-adjustments or sliding clasps before removing any links. Test the fit on your wrist while moving, as fit changes when the watch is worn dynamically.
Take your time during every step. Rushing leads to bent pins, scratched metal, or lost components. Save every pin, link, and screw you remove. Keep them in a labeled bag for future resizing needs.
When in doubt, ask for help. Post a photo online in watch forums or visit a jeweler for guidance. With the right approach, adjusting a metal watch band clasp is simple, safe, and effective. Whether you are fixing a loose fit or dialing in precision for a small wrist, these methods ensure your watch sits snug, secure, and stylish all day long.
Frequently Asked Questions About Adjusting Metal Watch Band Clasps
Can I adjust a metal watch band clasp without removing links?
Yes. Most modern metal watch bands have micro-adjustment holes in the clasp itself. These allow small changes of two to five millimeters without removing any links. Check the inner arms of your clasp for tiny holes and pins.
What tools do I need to adjust a metal watch band clasp?
For micro-adjustments, you need only a paperclip or pushpin. For sliding clasps, a small screwdriver or spring-bar tool helps initially. Link removal requires a pushpin, flat-nose pliers, and a soft cloth. Most adjustments can be done with household items.
How do I know if my watch has micro-adjustment holes?
Examine the inner side of your clasp when it is open. Look for small holes near the hinge or along the folding arm. Some are hidden under a small metal flap. If you see tiny holes and a small metal pin, your watch has micro-adjustments.
Can I adjust a Milanese mesh watch band?
Yes. Milanese mesh bands use a sliding clasp mechanism. Insert a small screwdriver into the release notch to open the clasp. Slide it along the band to the desired position, then close it securely. After the first adjustment, you can often adjust by hand.
Why does my watch fit feel wrong even after removing a link?
If removing one link makes the band too tight but leaving it in makes it too loose, you are between sizes. This is common for people with small wrists. Use the micro-adjustment holes in the clasp to fine-tune the fit. This provides the precise adjustment needed.
Should I take my watch to a jeweler for adjustment?
Visit a jeweler if you lack proper tools, if your watch has proprietary hardware, or if it is a luxury or vintage piece. Jewelers offer free or low-cost resizing, especially if you bought the watch from them. Professional help prevents costly mistakes.
Key Takeaways for Adjusting Your Metal Watch Band Clasp
Adjusting your metal watch band clasp is achievable at home with the right approach. Start by identifying your specific clasp type, then choose the appropriate adjustment method. Micro-adjustment holes provide precise fine-tuning without permanent changes. Sliding clasps offer continuous adjustment for mesh bands. Link removal handles major size changes when needed.
Always use proper tools and take your time to avoid damaging your watch. Save all removed components for future resizing. Clean and inspect your clasp regularly to maintain proper function. With these techniques, you can achieve a perfect, comfortable fit for any metal watch band.


