Is your Solace watch band too loose or tight? You’re not alone—many users find that a quick adjustment makes all the difference in comfort and wearability. The good news: adjusting the Solace watch band is designed to be fast, tool-assisted, and completely doable at home. With just a few minutes and the included pin-removal tool, you can achieve a snug, personalized fit. This guide walks you through every step, from checking the initial fit to reinserting pins correctly, so you can resize your band with confidence and avoid common mistakes.
Check Your Initial Fit Before Removing Links
Before removing any links, assess how the band currently feels on your wrist. Close the clasp and wrap the band around your wrist to evaluate the fit. A well-fitted band should be snug but not constricting. If there’s noticeable slack or wobble, removing one link will likely solve it. For excessive looseness or tightness, plan to adjust multiple links.
Pro Tip: It’s easier to remove links than add them back. When in doubt, start with one link and test the fit afterward.
Locate the Adjustment Pins on Your Band

The Solace band uses a modular metal link system secured by small, directional pins. Flip the watch band over to expose the underside. Look for links marked with tiny arrows near the pin holes. These arrows indicate which direction the pin must be pushed to remove it. The arrow is etched into the metal and points to the right—this is critical for proper removal.
Visual Cue: Always check for the arrow before attempting any adjustment. Without it, you risk damaging the pin or link.
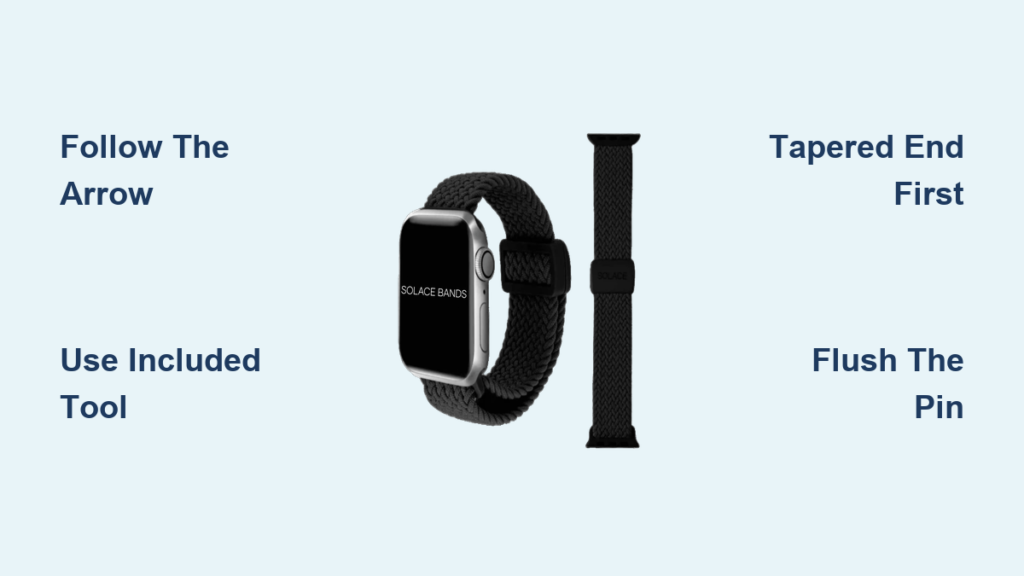
Follow the Arrow Direction for Safe Removal
Ignoring the arrow can damage the pin or render it unusable. The pin is tapered on one end and has a larger head on the other. Pushing against the head (left side) risks bending or jamming. Always align your tool with the arrow pointing right.
Warning: Forcing the pin in the wrong direction may require replacement or professional repair.
Use the Included Adjustment Tool Correctly

Solace includes a dedicated tool for safe, scratch-free pin removal. Place the pointed end of the tool into the pin hole. Align the tool so it follows the arrow’s rightward direction. Gently turn the tool clockwise—this action pushes the pin out smoothly.
Do Not Force It: Apply steady pressure. If resistance increases, stop and recheck alignment before continuing.
Remove the Pin Safely and Completely
Once the pin starts to emerge, proceed with care. After turning the tool, the pin will begin to protrude from the opposite side. Stop turning once the pin is far enough to grip. Pull it out fully using your fingers or clean pliers.
Note the Orientation: One end is narrow (tapered). The other has a larger head. Remember: during reinsertion, the head goes in last.
Remove or Add Links as Needed
Now that the pin is out, you can modify the band length. Gently separate the link from the chain. To shorten further, repeat the process on adjacent links. Keep removed pins and links in a small container—they’re reusable. If the band becomes too tight, reinsert a saved link and align the holes for pin reinsertion.
Balance Tip: For symmetry, remove an equal number of links from both sides of the clasp.
Realign the Band Sections Properly
After adjusting, reconnect the two halves properly. Position the band so both ends line up smoothly. Ensure the arrow on the remaining link still points to the right. Misalignment can affect clasp function and aesthetics.
Check Fit Before Finalizing: Temporarily test how the band sits on your wrist before reinserting the pin.
Reinsert the Pin With Correct Orientation

This step is crucial for long-term durability. Begin with the narrow, tapered end of the pin. Push it into the hole from the side opposite the arrow. The larger head enters last—this locks it in place securely.
Common Mistake: Inserting the head first prevents full seating and increases risk of pin loss.
Flush the Pin to the Surface
A protruding pin can snag on clothes or irritate your skin. Once inserted, press it down until flush with the band. Use a flat, hard surface like a table or the flat end of the adjustment tool. Apply firm, even pressure with your fingertip.
Test by Touch: Run your finger across the pin. It should feel smooth and even with the band surface.
Test the Final Fit on Your Wrist
Now it’s time to see how your adjustment worked. Open the clasp and slide the watch onto your wrist. Close the clasp securely. The ideal fit holds snugly without slipping, allows slight movement but no bounce, and doesn’t pinch or leave marks.
Still Too Loose? Repeat the process to remove another link. Too Tight? Reinsert a saved link using the same method.
Essential Tips for Best Results
• Store extra pins and links in the original box or a labeled bag for future use
• Only use the provided tool—substitutes like nails or screwdrivers can scratch the metal or bend pins
• Work over a tray or cloth to prevent losing small components
• Remove the same number of links from each side for balanced appearance
• Practice first on a spare link if available to build confidence
Why the Solace Band Is Easy to Adjust
The Solace watch band features a tool-included design, so no need to buy extra instruments. Clear directional arrows under each link eliminate guesswork. The secure two-part pin system (tapered end and larger head) ensures stability when seated properly. Each metal link functions independently, enabling precise sizing in single-link increments.
Real User Experience Insights
Most wearers complete their first adjustment in under three minutes. First-time users who take their time report higher success rates and fewer issues. Verified owners say a properly fitted band feels “invisible” during daily wear, stays secure during workouts, and reduces skin irritation from rubbing or slipping.
Maintain Your Band Long-Term
Inspect pins monthly for looseness, especially after resizing. If a pin wiggles, reseat and flush it using the same method. Avoid moisture and chemicals—don’t wear the metal band in pools or while using hand sanitizer. Wipe the band weekly with a soft, dry cloth for best longevity.
Quick Reference: Solace Band Adjustment Summary
| Feature | Detail |
|---|---|
| Tool Included | Yes – pin removal tool provided |
| Pin Removal Direction | Right (follow arrow) |
| Pin Insertion Direction | Tapered end first, head last |
| Average Adjustment Time | Under 3 minutes |
| Reusable Pins | Yes – if stored safely |
| Typical Links Removed | 1–4, based on wrist size |
| Symmetry Advice | Remove equal links from both sides |
Frequently Asked Questions About Adjusting Solace Watch Band
How long does it take to adjust a Solace watch band?
Most users complete their first adjustment in under three minutes. First-time users should allow extra time to proceed carefully and avoid mistakes.
What tool do I need to adjust the Solace watch band?
The Solace watch band comes with a dedicated pin-removal tool included in the box. This tool is specifically designed to fit the pin holes without damaging the metal finish.
Which direction do I push the pins when removing them?
Push the pins to the right, following the arrow etched into the underside of each removable link. This direction is critical for safe removal.
Can I reuse the pins after removing links?
Yes, removed pins are fully reusable. Store them safely in the original packaging or a small container for future adjustments or resizing needs.
What happens if I insert the pin in the wrong direction?
Inserting the pin with the larger head first prevents it from seating properly. This can lead to a loose connection, pin loss, or damage to the link mechanism.
Final Thoughts on Adjusting Your Solace Watch Band
Adjusting the Solace watch band doesn’t require a trip to a jeweler or special skills. With clear arrows, a dedicated tool, and a smart pin design, you can customize the fit in minutes. Whether you’re fine-tuning for comfort or resizing for a new wearer, this simple process ensures your Solace watch stays secure, stylish, and comfortable all day long. Just remember: follow the arrow, insert the head last, and keep your pins safe—and you’ll enjoy a perfect fit every time.


