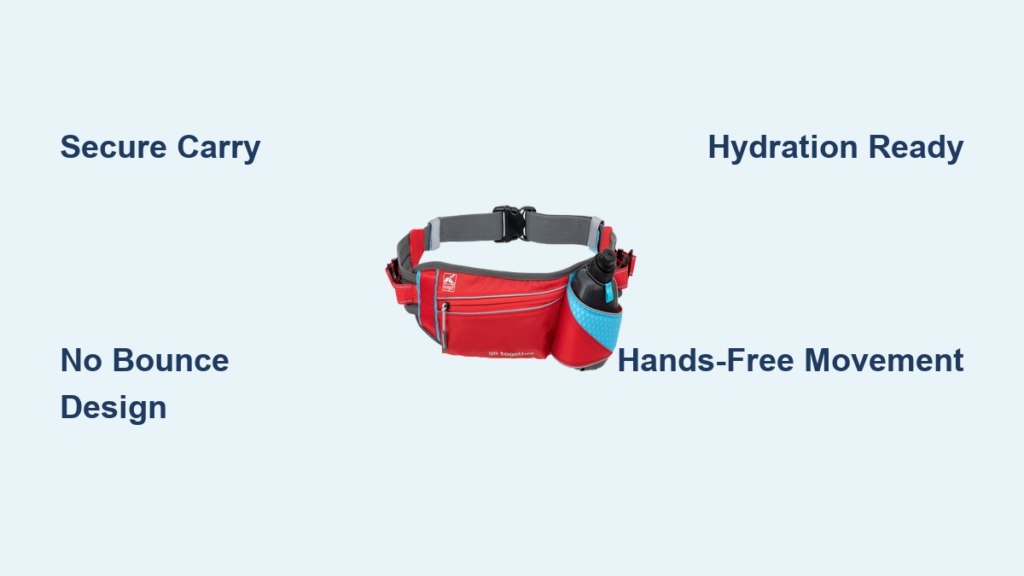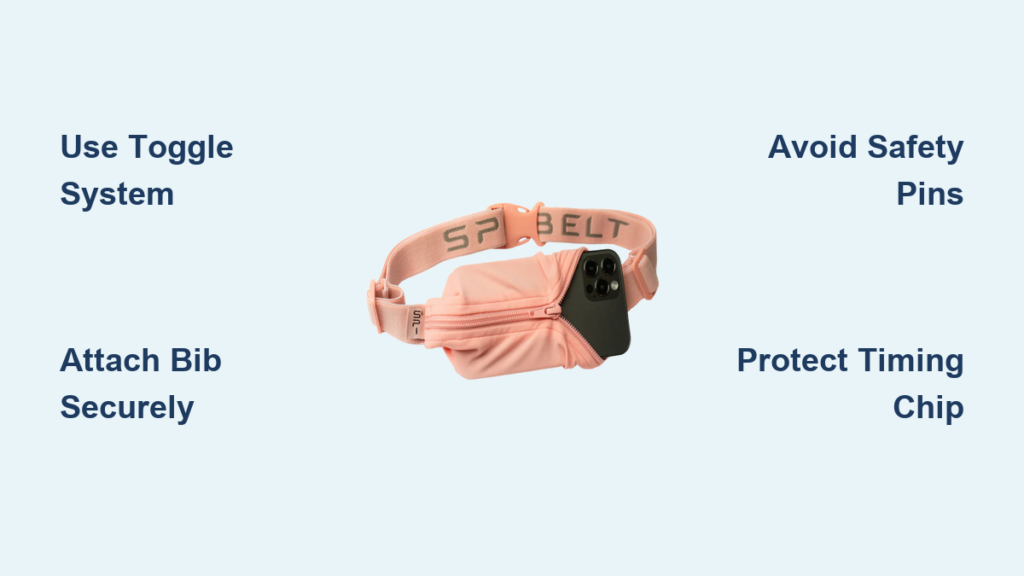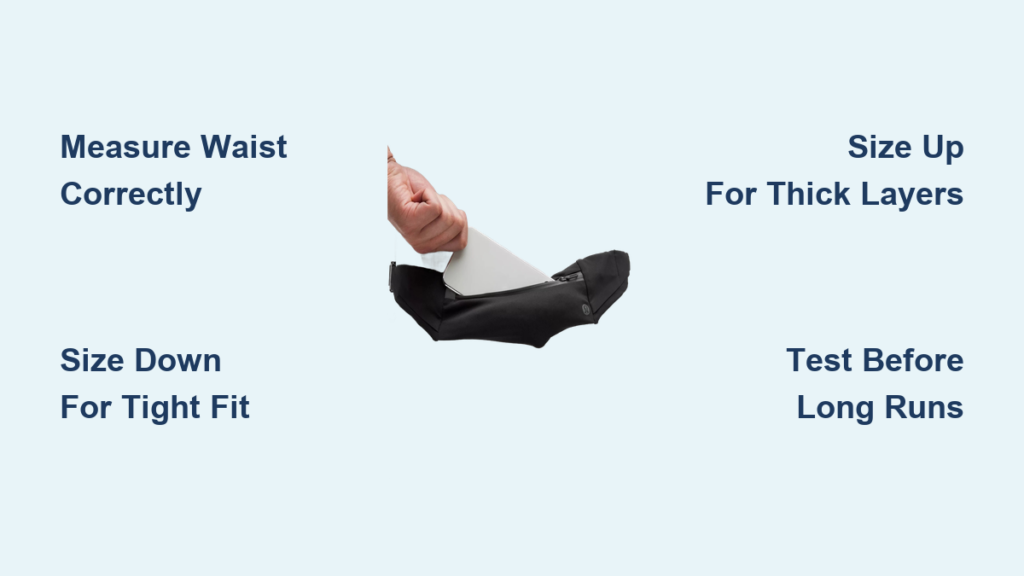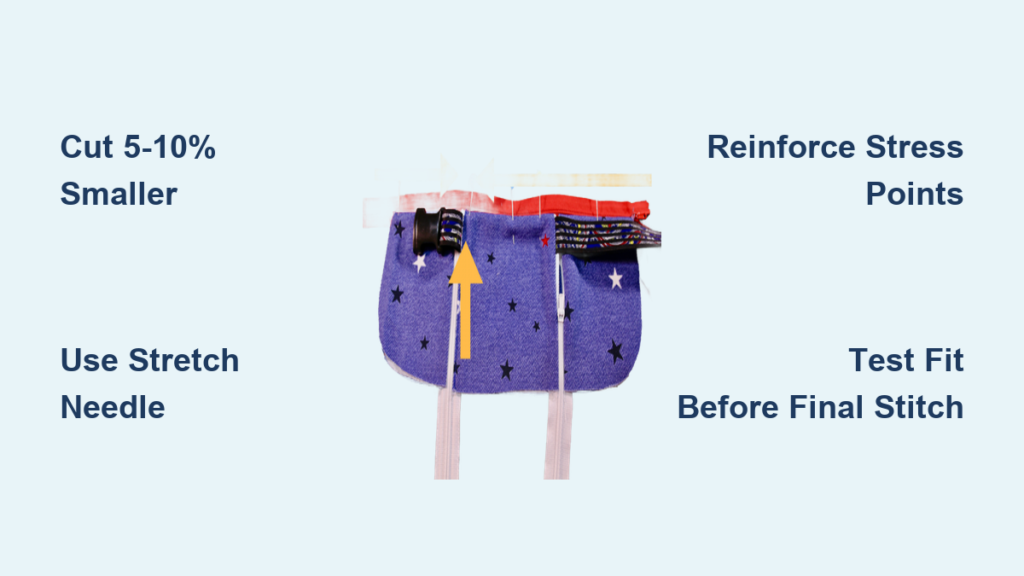
Tired of bouncing pockets, slipping armbands, and bulky gear ruining your run? A running belt sewing pattern lets you create a lightweight, bounce-free belt tailored exactly to your body and storage needs. Whether you’re a weekend jogger or a trail runner tackling long distances, sewing your own belt gives you control over fit, function, and fabric choice.
This guide breaks down four proven designs from real construction data: adjustable pouch systems, snug loop tubes, advanced trail-ready models, and structured pattern-based builds. You’ll learn exact dimensions, material specs, step-by-step assembly, and pro tips to avoid common sewing pitfalls.
Choose Your Running Belt Design
Before you cut fabric, match the design to your running style and skill level. Each approach solves a different problem.
Compare Key Features
| Design | Adjustability | Best For | Skill Level |
|---|---|---|---|
| Pouch-and-Strap | High (buckles) | Gym, daily runs | Intermediate |
| Continuous Loop | Low (stretch-only) | Minimalists, music runners | Beginner |
| Advanced Trail | High (tensioners) | Hydration, long runs | Advanced |
| Pattern-Based | High (webbing + keeper) | Durability, structure | Intermediate |
Pick based on your storage needs, preferred fit, and sewing confidence.
Pouch-and-Strap System: Adjustable and Expandable
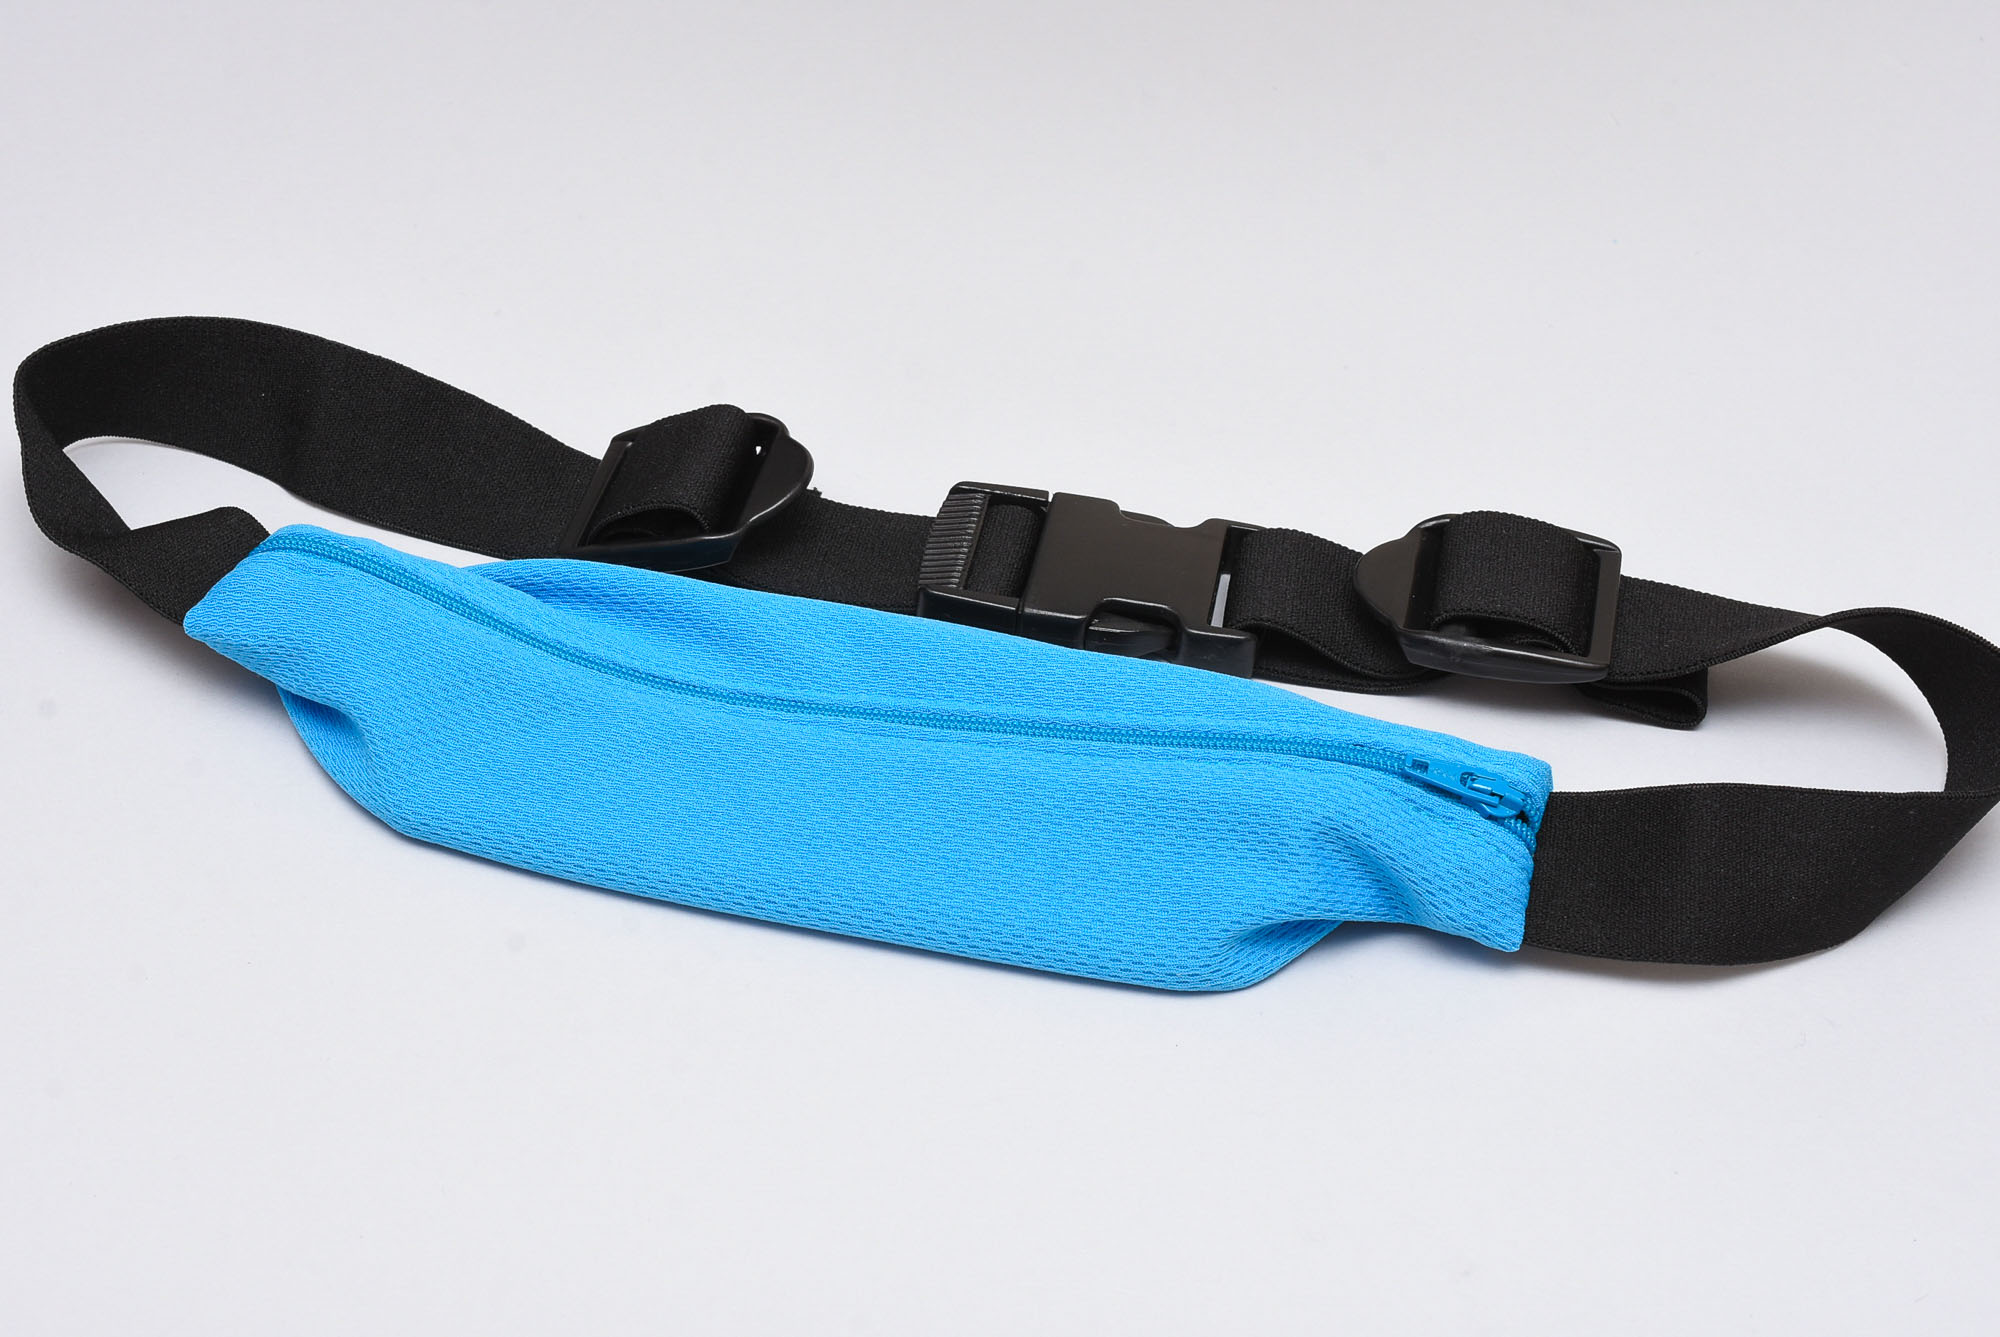
This belt uses slide buckles and pleated expansion to fit various waist sizes while holding a full phone securely. It’s ideal for runners who want customization and room to grow.
Cut Fabric and Elastic
- Fabric Rectangle: 28 cm x 25 cm (11″ x 10″)
- Elastic Straps: Two pieces at 45 cm (18″) each
- Zipper: 28 cm (11″) coil zipper
- Material: Stretch knit with vertical stretch, minimal horizontal give
Grainline Tip: Cut so the fabric stretches up and down, not side to side. This prevents sagging when loaded.
Insert Zipper with Wonder Tape
- Apply water-soluble double-sided tape along one edge of the fabric where the zipper will sit.
- Place zipper face down on the right side of the fabric, teeth facing away from the raw edge.
- Use a zipper foot and straight stitch close to the coils.
- Pivot method: Stop with needle down, close zipper, sew final 2 to 3 cm.
- Repeat on the second side and keep zipper closed during alignment.
Pro Tip: Topstitch both sides after turning. Start with zipper open, pivot at ends, and finish closed to prevent fabric snagging.
Attach Buckles to Elastic
- Thread one end of the elastic through the middle bar of the plastic slide buckle.
- Fold end back and stitch securely with zigzag or straight stitch, going back and forth 3 to 4 times.
- Repeat for second strap and ensure both are mirror images.
Needle Warning: Use a larger needle to avoid skipped stitches on thick elastic.
Pleat and Close the Pouch
- Turn the zippered tube so the zipper faces inward.
- Insert one strap into the tube. The buckle should face inward.
- Wrap fabric around the elastic and create three even pleats.
- Critical: All pleats must face the same direction, otherwise the pouch opens unevenly.
- Pin pleats, then stitch tightly across both ends of the zipper opening.
- Reinforce with multiple back-and-forth passes.
Result: A narrow profile belt that expands significantly when filled with phone, keys, or gels.
Continuous Loop Tube: No Buckles, No Bounce

This design is a single stretch loop with a zipper pocket, stepped into like shorts. It’s simple, sleek, and perfect for runners who hate hardware.
Measure and Cut for Snug Fit
- Length: Waist or hip measurement minus 5 to 10% (for compression)
- Width: Twice the height of your phone plus 2″ for hems
- Fabric: Spandex, nylon, or 4-way stretch knit (about 1/4 yard)
Stretch Rule: More stretch equals better grip. Test fabric by pulling. It should recover instantly.
Sew Zipper into Stretch Fabric
- Place zipper face down on right side of fabric, centered.
- Use a stretch needle and zigzag stitch (Length 3.0, Width 2.0).
- Stitch close to teeth, then flip and topstitch the other side.
- Repeat for second fabric side and keep zipper partially open during sewing.
Stabilization Hack: Use binder clips instead of pins to hold slippery fabric without distortion.
Join Ends into a Loop
- Unzip the zipper halfway.
- Turn belt wrong side out.
- Overlap short ends (right sides together) and stitch with serger, zigzag, or stretch stitch.
- Press seam open and turn right side out.
Why Halfway Open? Prevents stitching through the entire loop by mistake.
Finish Edges with Fold-Over Elastic
- Cut two lengths of FOE slightly longer than belt edges.
- Align FOE with raw top and bottom edges.
- Use zigzag stitch (Length 4.0, Width 3.0) to attach.
- Fold FOE over and stitch again. This locks the edge and prevents rolling.
No-Sew Option: Use heat-activated hem tape for a clean finish on delicate knits.
Try No-Zipper Loop (Beginner Shortcut)
- Cut fabric: Width equals 2x phone width plus 2″, Length equals waist minus 10%.
- Hem both long edges (1″ fold).
- Fold in half lengthwise (wrong sides together).
- Sew short ends to form loop.
- Step in, tuck phone inside.
Fix Bounce: If items shift, shorten the loop and resew the seam.
Advanced Trail System: Hydration and Breathability

For long trail runs, this multi-pocket mesh belt keeps you cool, organized, and hydrated without sacrificing fit.
Use Spacer Mesh for Maximum Airflow
- Base Fabric: Spacer mesh (3D knit with air gap)
- Benefit: Wears like nothing, with zero sweat buildup
- Alternative: VX21 (durable but less breathable)
Why Mesh Wins: Reduces chafing and overheating on hot climbs.
Build the Hydration Sleeve
- Design: Fully stretchable interior fits soft flask (12 to 20 oz)
- Security: Lanyard loop wraps around bottle rim, cover flap protects mouth guard
- Usage: Keep bottle in belt at all times and remove entire belt to drink
No Pull-Out Friction: Eliminates wear from repeated flask removal.
Organize with Multi-Pocket Layout
- Front Stretch Pocket: Phone, sunglasses, snacks (expands fully)
- Envelope-Style Pocket: Gels, ChapStick, wrappers (stretch-only)
- R-Mesh Outer Pocket: Lightweight jacket (snap closure)
- Bandana Slot: Side-access stash for quick layers
Pro Tip: Place frequently used items (gels) in front, bulkier ones (jacket) in back.
Upgrade to Dual Tensioners
- Current: 1.5″ quick-release buckle
- Next-Level: Dual tensioners (like backpack waistbelts) for top and bottom adjustment
- Benefit: Fine-tune fit during elevation changes
Brand Detail: Woven reversible labels can show custom messages or logos.
Pattern-Based Construction: Structured and Durable
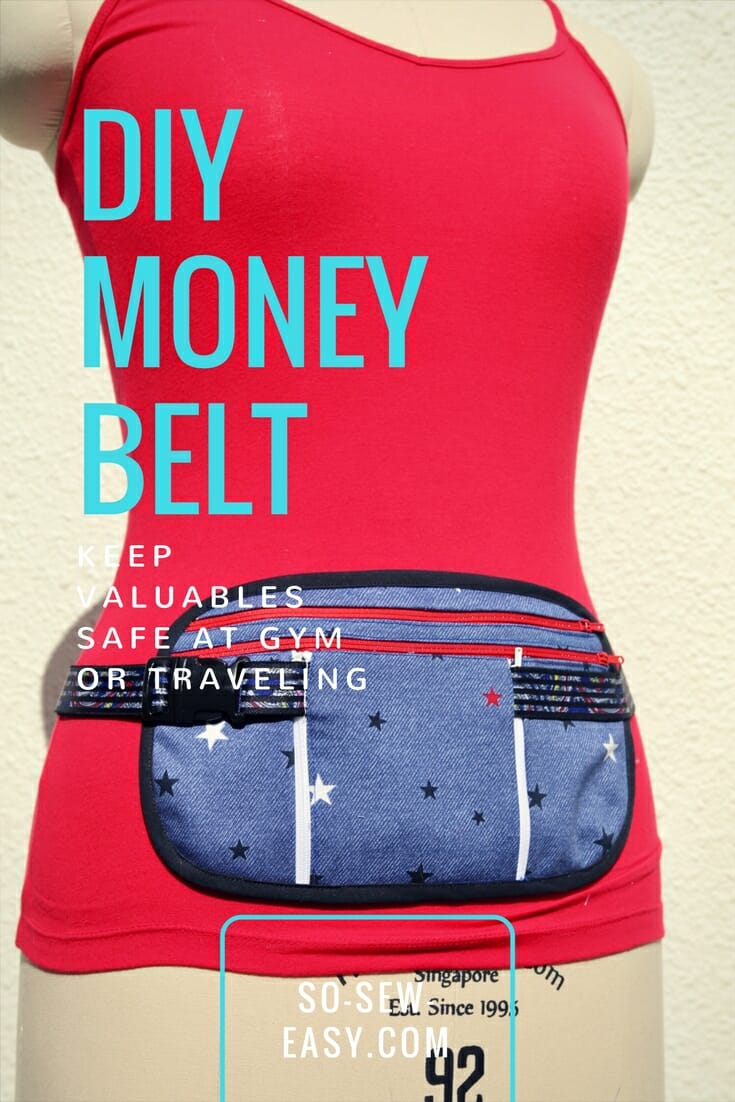
This method uses webbing, stay stitching, and precise markings for a professional-grade belt that lasts.
Prepare Front Pouch with Stay Stitching
- Cut front pouch per pattern.
- Fold along marked lines A and B.
- Stay stitch along fold lines to lock shape.
Stitch Type: Straight stitch, no backstitch, just lock at start and end.
Sew Elastic to Side Panels
- Long Sides: 2cm (3/4″) elastic attached to inside edges
- Top Edge: 6mm (1/4″) elastic, flat-sewn, then double-folded under and topstitched from right side
Tension Tip: Stretch elastic slightly as you sew to prevent rippling.
Assemble Webbing Straps
- Right Side: Short webbing threaded through buckle, ends overlapped and stitched
- Left Side: Long strap fed halfway through buckle
- Belt Keeper: Small loop of webbing stitched to strap turnback to hold loose end
Function: Keeps excess strap tidy during motion.
Join All Components
- Sew long webbing edges to back of front pouch.
- Insert zipper into pouch seam. Puller on left when closed.
- Attach side panel: wrap around webbing end, align raw edge with elastic marking, stitch through all layers, turn right side out.
- Align side panel with pouch lines A and B, stitch, and turn.
- Topstitch center of side panel to secure folds.
Final Check: All stress points reinforced with multiple passes.
Fix Common Sewing Issues
Prevent Skipped Stitches
- Cause: Needle too small for elastic thickness
- Fix: Use stretch or large needle (90/14 or 100/16)
Stop Fabric from Stretching
- Problem: Wavy edges during zipper sewing
- Solution: Apply Wonder Tape, glue stick, or hand baste before stitching
Avoid Uneven Pleats
- Mistake: Pleats facing opposite directions
- Result: Pouch opens lopsided
- Fix: Double-check pleat direction. All must face the same way.
Eliminate Bounce in Loops
- Cause: Belt too loose
- Fix: Recut fabric 5 to 10% smaller than waist measurement
- Test First: Step in with phone before final stitching
Pick Materials Like a Pro
Best Fabrics by Use Case
| Use | Recommended Fabric | Why |
|---|---|---|
| General Running | Moisture-wicking knit | Lightweight, stretchy |
| Hot Weather | Spacer mesh | Full breathability |
| Minimalist | Spandex/nylon blend | Snug, no-slip grip |
| Heavy Duty | VX21 plus webbing | Abrasion-resistant |
Essential Tools Checklist
- Stretch or large needle (90/14 or 100/16)
- Zipper foot
- Wonder Tape or glue stick
- Binder clips (no pins on stretch fabric)
- Serger or zigzag stitch capability
- Acrylic belt template (1 1/4″ for consistent width)
Frequently Asked Questions About Running Belt Sewing Patterns
What is the best fabric for a running belt sewing pattern?
Moisture-wicking stretch knit works best for general running. For hot weather or trail use, spacer mesh offers superior breathability. Spandex and nylon blends provide a snug, no-slip grip for minimalist designs.
How do I keep items from bouncing in a homemade running belt?
Cut your fabric 5 to 10% smaller than your actual waist measurement. This compression fit prevents items from shifting. Always test with your phone inside before final stitching.
Can beginners sew a running belt successfully?
Yes. The continuous loop tube design is beginner-friendly and requires no buckles or hardware. Start with a no-zipper variation using just fabric folds and basic hems.
What size should I cut my running belt fabric?
Measure your waist or hips where you plan to wear the belt. Subtract 5 to 10% for compression. Width should be twice the height of your phone plus 2 inches for hems.
Do I need a serger to sew a running belt?
No. A standard sewing machine with zigzag or stretch stitch capability works fine. A serger is optional for finishing seams but not required for a functional belt.
How do I prevent skipped stitches on elastic?
Use a larger needle (90/14 or 100/16) or a dedicated stretch needle. Stitch slowly and reinforce stress points with 3 to 4 back-and-forth passes.
Key Takeaways for Your Custom Running Belt
A well-designed running belt sewing pattern solves the most common runner frustrations: bouncing gear, slipping armbands, and bulky pockets. Start with a simple continuous loop if you’re new to sewing, then progress to pouch-and-strap or trail-ready designs as your skills grow.
Focus on three essentials: cut fabric slightly smaller than your measurement for a bounce-free fit, use stretch-friendly needles and stitches to handle elastic, and reinforce every stress point with multiple stitch passes. Pre-wash your fabric to prevent shrinkage, and always test fit before final assembly.
Your next step: choose your design, gather your materials, and cut your first piece. Within an afternoon, you’ll have a custom running belt that fits your body and your running style perfectly.