
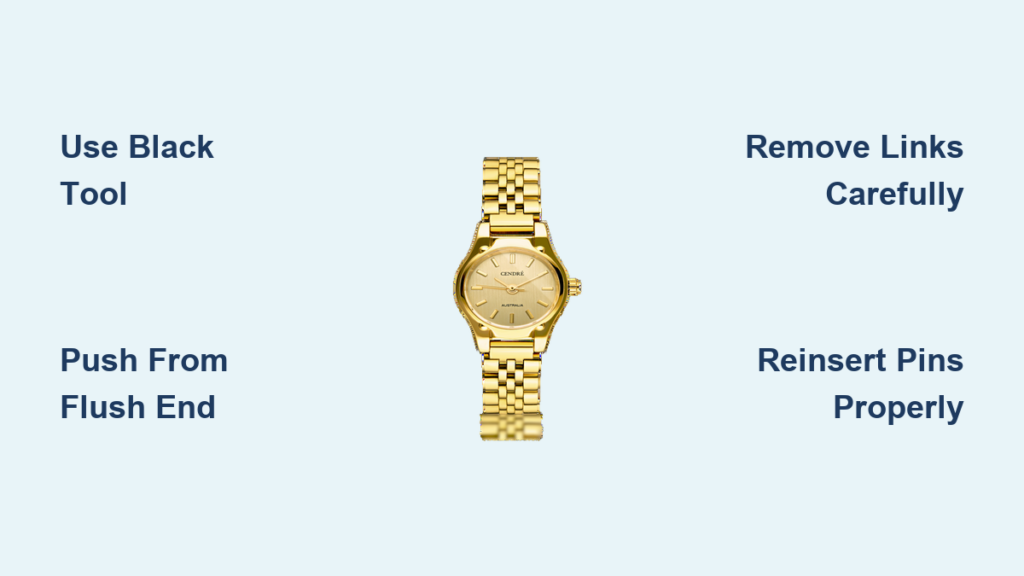
You just unboxed your new Cendre watch, but the metal band is too loose. Don’t worry—adjusting a Cendre watch is designed to be a simple, tool-free process you can do at home. Every Cendre model with a metal bracelet comes with a proprietary black resizing tool and a directional pin system that lets you remove or reinsert links safely and reversibly. Whether you own the Kate, Phoebe, Hugo, or any other metal-banded Cendre model, this guide walks you through every step.
Find the Included Black Resizing Tool in Your Cendre Box
Before adjusting your Cendre watch, you need the included tool. It’s not hidden in a drawer or lost in packaging—it’s right in the box, waiting under a hidden tab.
Locate the Tool Storage Compartment
Flip open your Cendre watch box and look to the right of the cushion where the watch rests. You’ll see a ribbon tab. Lift it gently. Underneath is a small compartment holding the black resizing tool. This compact device acts as a precision vice and is the only tool you will ever need for adjustments.
Prepare the Tool for Use
The tool features a silver nozzle on one end. To open the jaws, rotate the nozzle counterclockwise. This creates space to insert the watch band. Keep the tool on a soft surface to avoid scratching the watch or losing small pins.
Pro Tip: Store the tool with your watch box. You may need it again for seasonal fit changes or future adjustments.
Prepare the Watch Band for Adjustment
A loose band is easier to adjust when it is flat and tension-free. Start by unclipping the clasp so the bracelet lies completely straight. This reduces internal pressure on the pins and ensures even alignment during removal or reinsertion.
Lay the Band Flat
Place the watch on a clean, well-lit surface. Work over a towel or tray to catch any falling pins. With the clasp open, the band should extend fully, making it easier to identify which links to remove.
Estimate How Many Links to Remove
Try the watch on your wrist while unclipped. Pinch the band at the point where excess length occurs. Each pinch represents roughly one link. Most users remove 2 to 4 links, especially for wrist sizes between 6.5 and 7.5 inches.
Note: Plan your removals in advance. Removing too many links can make the band too tight, but the process is fully reversible.
Understand the Directional Pin System Before Removing Links

This is the most critical step: pushing the pin from the right side. Cendre uses a directional push-pin system with two distinct ends. Push from the wrong side, and you risk jamming or bending the pin.
Identify the Flush End
Look at the side of the link. One end of the pin appears smooth and rounded. This is the Flush End. This is where you must start the ejection process. The tool will push from this side, driving the pin out the opposite end.
Locate the Split End
The other end has a visible split, notch, or groove. This is the Split End. This side should be the first to emerge when removing the pin. It is designed to disengage from the locking mechanism, so forcing it in reverse can cause permanent damage.
Check for Arrow Indicators
Some Cendre models have small arrows printed on the inside of the links or case back. These arrows show the correct ejection direction. Always align your tool so the Flush End faces the tool’s driving pin. If arrows are present, follow them without exception.
Warning: Never push from the Split End side. Doing so can bend pins and make reassembly impossible.
Remove Links from Your Cendre Bracelet
Now that you have identified the correct side, it is time to remove the links. Work slowly and deliberately. This is not a force-based task but a precision one.
Position the Band in the Vice
Slide the target link into the jaws of the black tool. Align the hole of the link with the silver pin of the tool. Ensure the Flush End of the pin is facing the tool’s driving mechanism.
Eject the Pin Smoothly
Rotate the silver nozzle clockwise to push the pin outward. Apply steady, firm pressure. You will feel resistance, which means the tool is engaging correctly. Keep turning until the Split End emerges fully and can be gripped with fingers or light pliers.
Complete Pin Removal
Once the Split End is exposed, gently pull the pin the rest of the way out. Set it aside in a safe place. You will need it later if you ever reinsert the link. Repeat this process for each additional link.
Balance Removal for Symmetry
For a centered clasp, remove an equal number of links from both sides. However, if comfort matters more than symmetry, you can remove more from one side. Just maintain the same ejection direction on each side to avoid misalignment.
Common Mistake: Forcing the tool too hard. If the pin will not move, double-check the direction. Reversing it is almost always the fix.
Reconnect the Band After Link Removal

After removing the links, it is time to rejoin the bracelet. This step is just as important. Improper reinsertion can lead to loose links or accidental detachment.
Align the Band Ends
Bring the two sections of the bracelet together. Line up the holes so you can see straight through the gap. If the holes do not match, adjust the angle slightly. Forcing it can bend the pin.
Insert the Pin Correctly
Take the saved pin and insert the Flush End first. This ensures the Split End emerges on the side with the securing mechanism. Push it through by hand until it is partially seated.
Secure with the Vice
Reinsert the band into the tool, but this time, align the Split End side with the silver nozzle. Rotate the nozzle clockwise to push the pin flush with the edge of the band. You will feel resistance. This means the pin is locking into place.
Final Check for Stability
Once the pin is fully seated, test the link. Does it move smoothly with adjacent links? Is the pin flush and wobble-free? Can you pull the link apart by hand? It should not move.
If the pin protrudes, repeat the securing step. A properly seated pin is invisible or nearly flush with the band.
Test the Fit and Make Final Adjustments
Now that your Cendre watch is resized, it is time to wear it and verify the fit.
Close the Clasp and Wear It
Clip the clasp shut and put the watch on. Move your wrist up and down, rotate your hand. Check for comfort and stability. The band should feel snug but not tight, and the clasp should sit naturally on the side of your wrist.
Check for Alignment
Look for no twisted or misaligned links. Check for even spacing across the band. Verify smooth articulation when bending your wrist. If the fit is too tight, reinsert a link using the same reassembly method. The process is fully reversible.
Store Removed Links Safely
Keep the removed links and pins in a small bag or container. Label it with your watch model. You may need them later for a different fit or if you gift the watch.
Pro Tip: Seasonal changes affect wrist size. Many users swap links between summer and winter.
Set the Time on Your Cendre Watch
After resizing, you may need to set the time. This is especially true if it is a new watch.
Remove the Protective Tab
Some Cendre models, like the Phoebe, have a white plastic tab on the crown. Peel it off before adjusting the time. This tab prevents accidental setting during shipping.
Pull and Turn the Crown
Gently pull the crown outward. It should click into the time-setting position. Rotate it clockwise to move the hands. Avoid counter-clockwise turns unless your model specifies it, as this can strain internal gears.
Push Crown Back In
Once the correct time is set, push the crown back in until it is flush with the case. Press gently to ensure it is sealed and secure.
Note: Always set the time with the crown fully extended. Partial extension can damage the stem.
Prevent Common Resizing Mistakes
Even with the right tool, mistakes happen. They are usually due to rushing or ignoring pin direction.
Never Push from the Split End
This is the number one cause of damage. Pushing from the wrong side jams the pin and can make it impossible to remove or reinsert.
Do Not Force the Tool
If the pin will not budge, stop and recheck alignment. Forcing it can strip the mechanism or bend the pin. Rotate the nozzle slowly and steadily.
Do Not Ignore Arrows
If your model has directional arrows, they override visual cues. Follow them exactly, even if the Flush End looks different.
Avoid Uneven Testing
Removing four links from one side without trying it on first can lead to an awkward fit. Remove one or two, test, then adjust further if needed.
Protect Your Cendre Warranty During Adjustment
Cendre’s warranty covers the watch, but only if adjustments are done correctly.
Proper Tool Use Preserves Warranty
Using the included black tool and following instructions does not void your warranty. In fact, Cendre designed the system for user adjustment.
Damage from Incorrect Use May Not Be Covered
If you bend a pin by pushing from the wrong side, or break a link by forcing it, that damage is not covered. Always follow the Flush-to-Split rule.
Contact Support If Unsure
Cendre offers personalized customer service via direct message. If you are stuck, send a photo. They will guide you through the fix.
Key Takeaway: The warranty protects against defects, not misuse. Follow the steps, and you are covered.
Use Model-Specific Video Guides for Help
Cendre provides model-specific video tutorials for first-time users. These videos are available for Kate, Phoebe, Hugo, Mila, Mason, Isobel, Kelly, and Ava.
What the Videos Show
These tutorials demonstrate exact tool positioning. They include close-ups of Flush and Split Ends. You will see real-time pin ejection and insertion. The videos also cover fit testing and final checks.
Watching your model’s video doubles your success rate and reduces anxiety. Search Cendre resizing tutorial on YouTube or visit the official site.
Frequently Asked Questions About Adjusting a Cendre Watch
Can I adjust my Cendre watch without the included tool?
No. The proprietary black resizing tool is specifically designed for Cendre bracelets. Using other tools may damage the pins or links. The tool is included in your watch box under the ribbon tab.
How long does it take to resize a Cendre watch?
Most users complete the adjustment in 10 to 15 minutes after watching a tutorial video. The actual link removal takes about 2 to 3 minutes per link.
What happens if I push the pin from the wrong side?
Pushing from the Split End can jam, bend, or permanently damage the pin. This damage is not covered under warranty. Always push from the Flush End and let the Split End emerge first.
Can I reverse the adjustment if the band is too tight?
Yes. The process is fully reversible. Simply reinsert the removed links using the same method. Keep all removed pins and links stored in a safe place for future adjustments.
Does resizing my Cendre watch void the warranty?
No. Using the included tool and following the proper instructions does not void your warranty. Damage caused by incorrect technique, such as bent pins from wrong-side pushing, may not be covered.
Key Takeaways for Adjusting Your Cendre Watch
Adjusting a Cendre watch is a quick, safe, and reversible process when you follow the correct pin direction. Push from the Flush End and let the Split End emerge. With the included black tool and this guide, you can achieve a custom fit in minutes. Remember to keep your removed links stored safely, set the time after resizing, and enjoy a watch that looks and feels like it was made just for you.



