

If you have ever wanted to pay for groceries or coffee with just a tap of your wrist, Fitbit Wallet makes that possible. However, since the shift from Fitbit Pay to Google Wallet on Fitbit in 2024, the way this feature works has changed significantly. Understanding how Fitbit Wallet functions now means knowing it is no longer a standalone system but part of Google broader contactless payment ecosystem.
In this guide, you will learn exactly how Fitbit Wallet works, from device compatibility and setup to security, daily use, and key limitations, so you can use it confidently in real-world situations.
Supported Fitbit Models for Wallet Payments
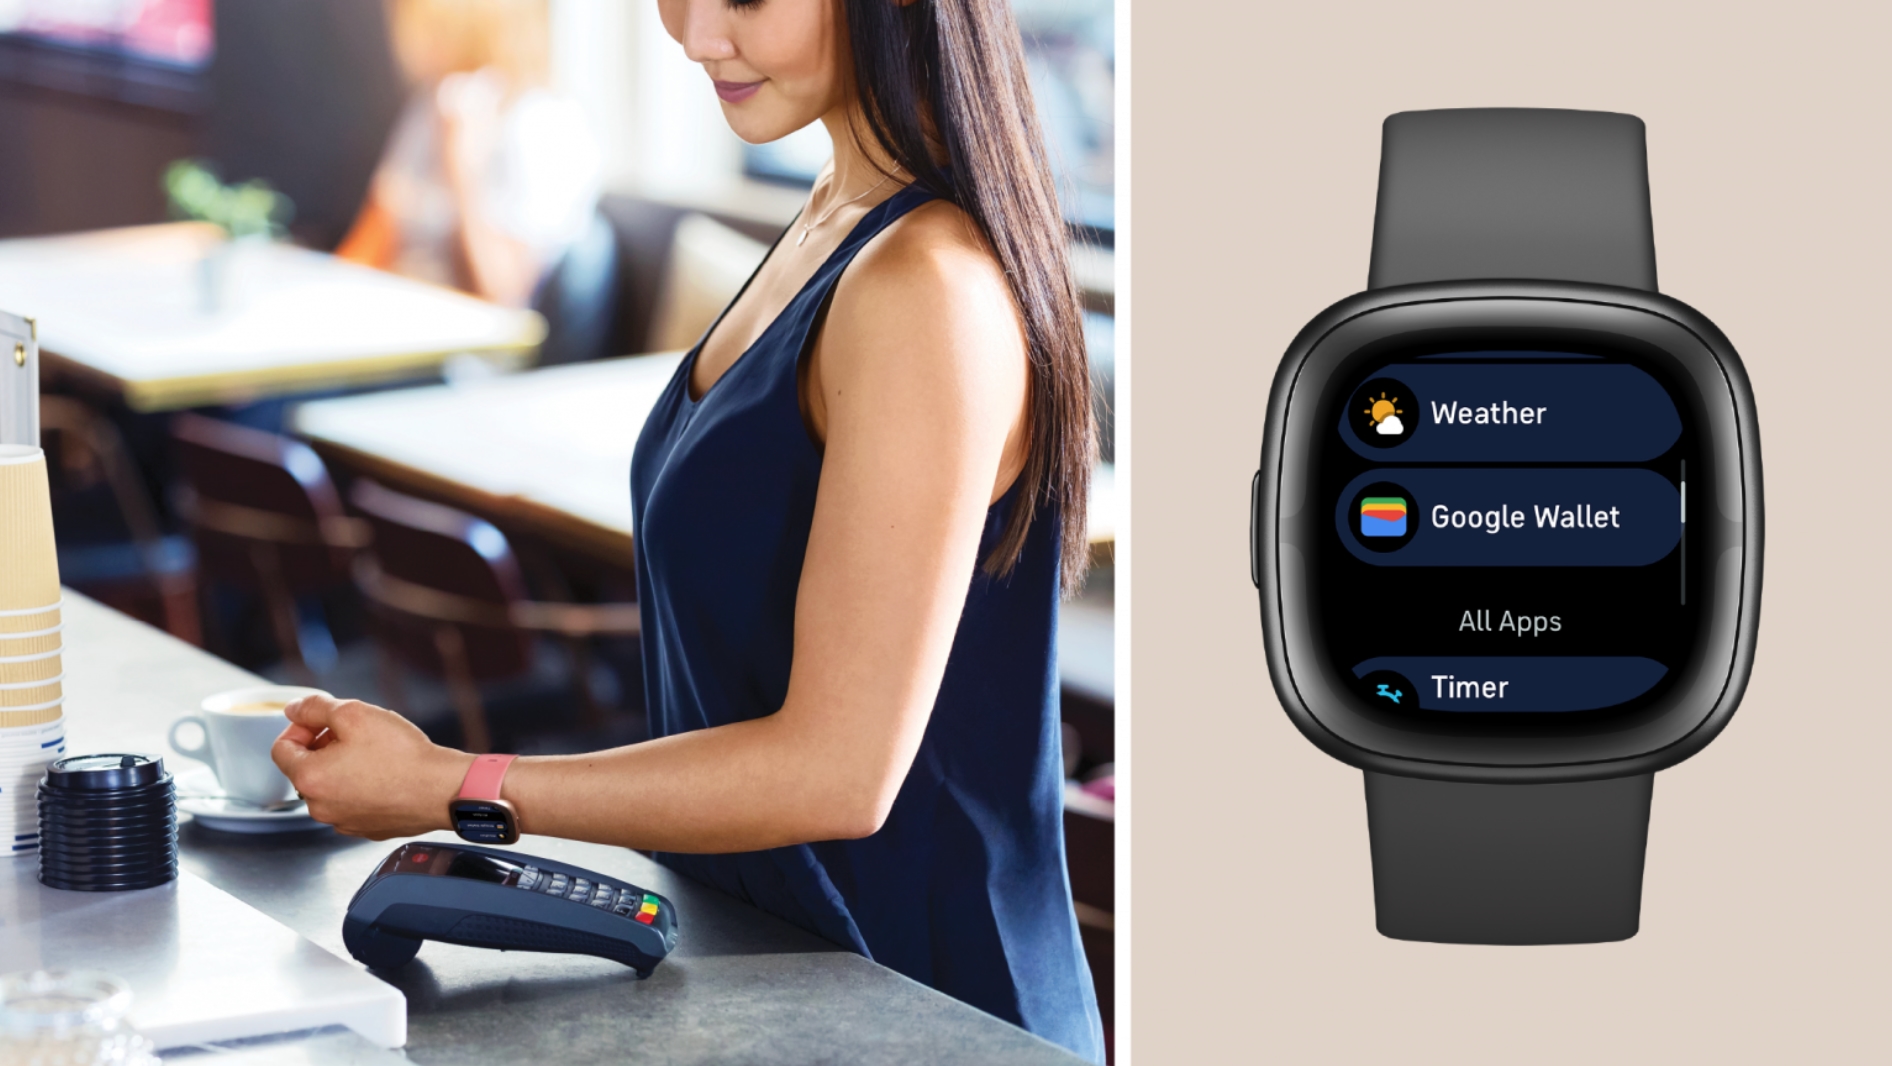
Only select Fitbit devices with NFC chips support wallet functionality. Not all models are eligible.
Check Your Device Compatibility
The following devices support Google Wallet on Fitbit:
• Charge Series: Charge 3 (Special Edition only), Charge 4, Charge 5, Charge 6
• Sense Series: Sense (1), Sense 2
• Versa Series: Versa (Special Edition only), Versa 2, Versa 3, Versa 4
Devices launched after November 2022, like the Charge 6, Sense 2, and Versa 4, come with Google Wallet pre-installed by default.
Devices That Cannot Support Payments
The Fitbit Ionic was recalled in 2022 and cannot switch to Google Wallet. Standard editions of Charge 3 and Versa (without the Special Edition label) lack the necessary NFC chip and cannot support payments. Always confirm NFC capability before attempting setup.
Transition From Fitbit Pay to Google Wallet
The old Fitbit Pay system is gone. It has been replaced entirely by Google Wallet on Fitbit.
When Fitbit Pay Ended
July 29, 2024 marked the official discontinuation of Fitbit Pay in most markets. The final deactivation date for legacy tokens in Japan, Saudi Arabia, and Taiwan was January 13, 2025. After these dates, any remaining Fitbit Pay cards were deleted. Users must now use Google Wallet for all contactless payments.
Why the Change Happened
This shift aligns with Google strategy following its acquisition of Fitbit in 2019. By unifying wearable payments under Google Wallet, Google streamlines security, issuer partnerships, and user experience across Android and Fitbit devices. You no longer manage payments solely in the Fitbit app. Instead, provisioning flows through Google infrastructure, even if you never install the Google Wallet app on your phone.
Setting Up Google Wallet on Your Fitbit
Getting started requires specific steps and prerequisites. There is no automation and no shortcuts.
Prerequisites Before You Begin
You will need the following to set up Fitbit Wallet:
• Google Health app (version 4.27 or higher) or Fitbit app (version 4.14.1 or higher)
• Screen lock enabled on your phone (PIN, pattern, or biometric)
• Internet connection for setup
• Google Account signed in during provisioning
You do not need to install the Google Wallet app on your smartphone to use the feature on your Fitbit.
Step-by-Step Setup Process
- Open the Google Health or Fitbit app on your phone.
- Navigate to Connections, then select your device, then Google, then Wallet.
- Tap the Wallet tile. If upgrading from legacy Fitbit Pay, select “Update to Google Wallet.”
- Sign in to your Google Account when prompted.
- Add a card manually. Your old Fitbit Pay cards are not migrated automatically.
- Complete bank verification via SMS, email, call center, or in-app confirmation.
- Enable notifications if requested.
- Set up a 4-digit PIN for payment authentication.
Once complete, your card appears on the device within minutes.
Troubleshooting Missing Wallet Option
If the Wallet tile does not appear, confirm your country supports Google Wallet. Update your Fitbit firmware to the latest version. Wait up to 24 hours after updating before checking again.
Security Features Protecting Your Payments
Fitbit Wallet uses enterprise-grade security to protect every transaction you make.
Secure Element Technology
All supported Fitbit devices have a dedicated Secure Element chip. This is a tamper-resistant hardware component that stores encrypted payment tokens, not your actual card number. Your real card details are never shared with merchants. Transactions use dynamic cryptograms for fraud protection. Data remains isolated from the main OS even if the device is compromised.
Tokenization and Issuer IDs
Visa reuses the original Fitbit Pay Token Requestor ID, so some banks may still refer to transactions as Fitbit Pay. Mastercard uses a new, dedicated TRID for Google Wallet on Fitbit. Despite branding differences in bank alerts, both operate under Google Secure Element framework.
PIN Protection Requirements
Every payment requires authentication. Enter your PIN after removing the device from your wrist. The PIN is also required if 24 hours have passed since your last payment. There is a lockout after 10 failed attempts, which can only be unlocked via the companion app. In regions like Europe, sub-50 euro transactions may not require a terminal PIN, but Fitbit still enforces its own 24-hour rule.
Making Payments With Your Fitbit
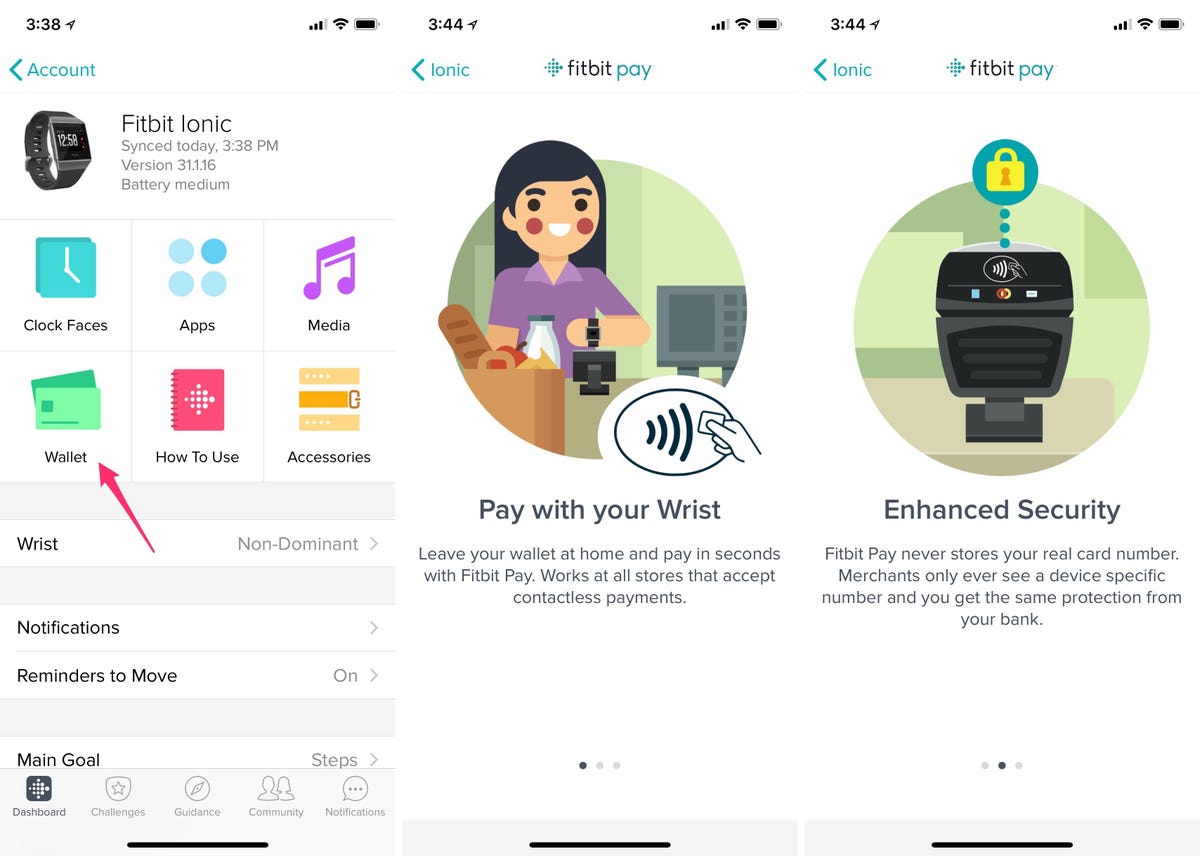
Using your Fitbit to pay is fast and intuitive once set up correctly.
How to Pay in 5 Steps
- Wake the device by pressing the button or tapping the screen.
- Enter your PIN if prompted based on time elapsed or wrist removal.
- Select a different card if needed by swiping to choose from your default.
- Tap the terminal by holding the watch face near the contactless reader.
- Confirm success by feeling a vibration and seeing a checkmark on screen.
No internet, Bluetooth, or phone is required during the transaction.
Setting Your Default Card
Change your default card in the app by tapping a card, selecting Details, and choosing Make default for contactless on watch. Reorder cards via drag-and-drop in the Wallet section for faster access.
Transaction Limits to Know
In Australia, non-default or foreign cards may require full PIN entry even for small amounts. Payments over $100 AUD may prompt terminal verification depending on your bank.
Managing Cards and Viewing Transactions
Control your wallet anytime from your phone, even when the device is offline.
Add, Remove, or Suspend Cards
Add cards by following the same setup flow. Manual entry is required every time. Remove cards by tapping the card, selecting Details, and choosing Remove from device. Suspend cards to temporarily disable them without losing data, which is useful if your device is lost.
Viewing Transaction History
See the last three transactions per card in the Google Health or Fitbit app. Full history must come from your bank statement. Fitbit does not store complete records. This limitation ensures privacy but places responsibility on users to monitor their accounts externally.
Using Fitbit Wallet for Public Transit
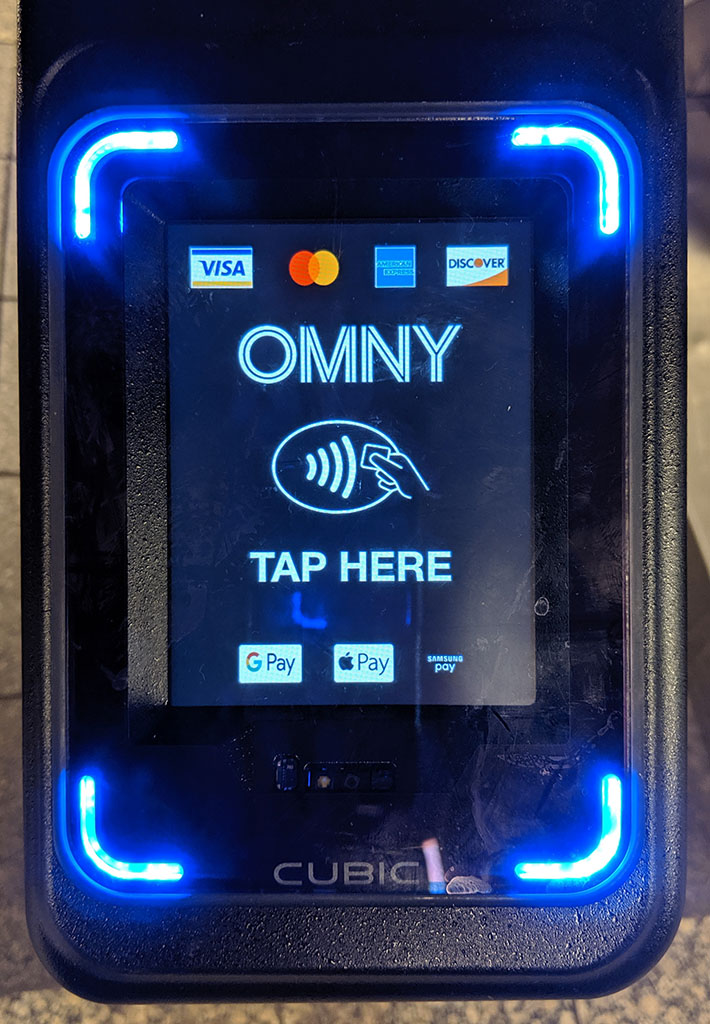
Your Fitbit doubles as a transit card in supported cities around the world.
Supported Transit Systems
The following systems work with Fitbit Wallet:
• New York City (MTA OMNY): Tap on and off using your linked card
• Singapore (EZ-Link/NETS): Works on buses and trains. Note that Visa cards added before February 26, 2019, must be removed and re-added
• Sydney (Opal): Compatible with ferries and light rail
Always use the same card for tap-on and tap-off to avoid fare disputes.
Important Transit Tips
Your device must be charged to work at transit gates. No special setup is required beyond adding a valid payment card. Transit operators apply standard fare rules and potential daily caps.
International Use and Travel Considerations
Fitbit Wallet works globally, but fees depend on your bank.
Worldwide Compatibility
Use your Fitbit at any terminal accepting contactless payments. The functionality is the same in Europe, Asia, North America, and beyond.
Foreign Transaction Fees
These are determined by your card issuer, not Google or Fitbit. Some banks waive fees while others charge 1 to 3 percent per transaction. Check with your bank before traveling.
Regional Payment Differences
In Australia, local cards allow PIN-free tap and go for small purchases. Non-Australian cards may still require the device PIN. Carry a backup payment method in case of terminal incompatibility or battery drain.
Rewards and Benefits With Fitbit Wallet
Your rewards stay intact when using Fitbit Wallet for purchases.
Earning Rewards on Purchases
You earn cash back, points, or miles just like swiping your physical card. This is subject to your issuer terms with no reduction in benefits. The same rewards apply to all eligible purchases including transit and subscriptions.
There is no downside to using Fitbit Wallet from a rewards perspective. It is functionally identical to using your actual card.
Key Limitations to Know Before Using
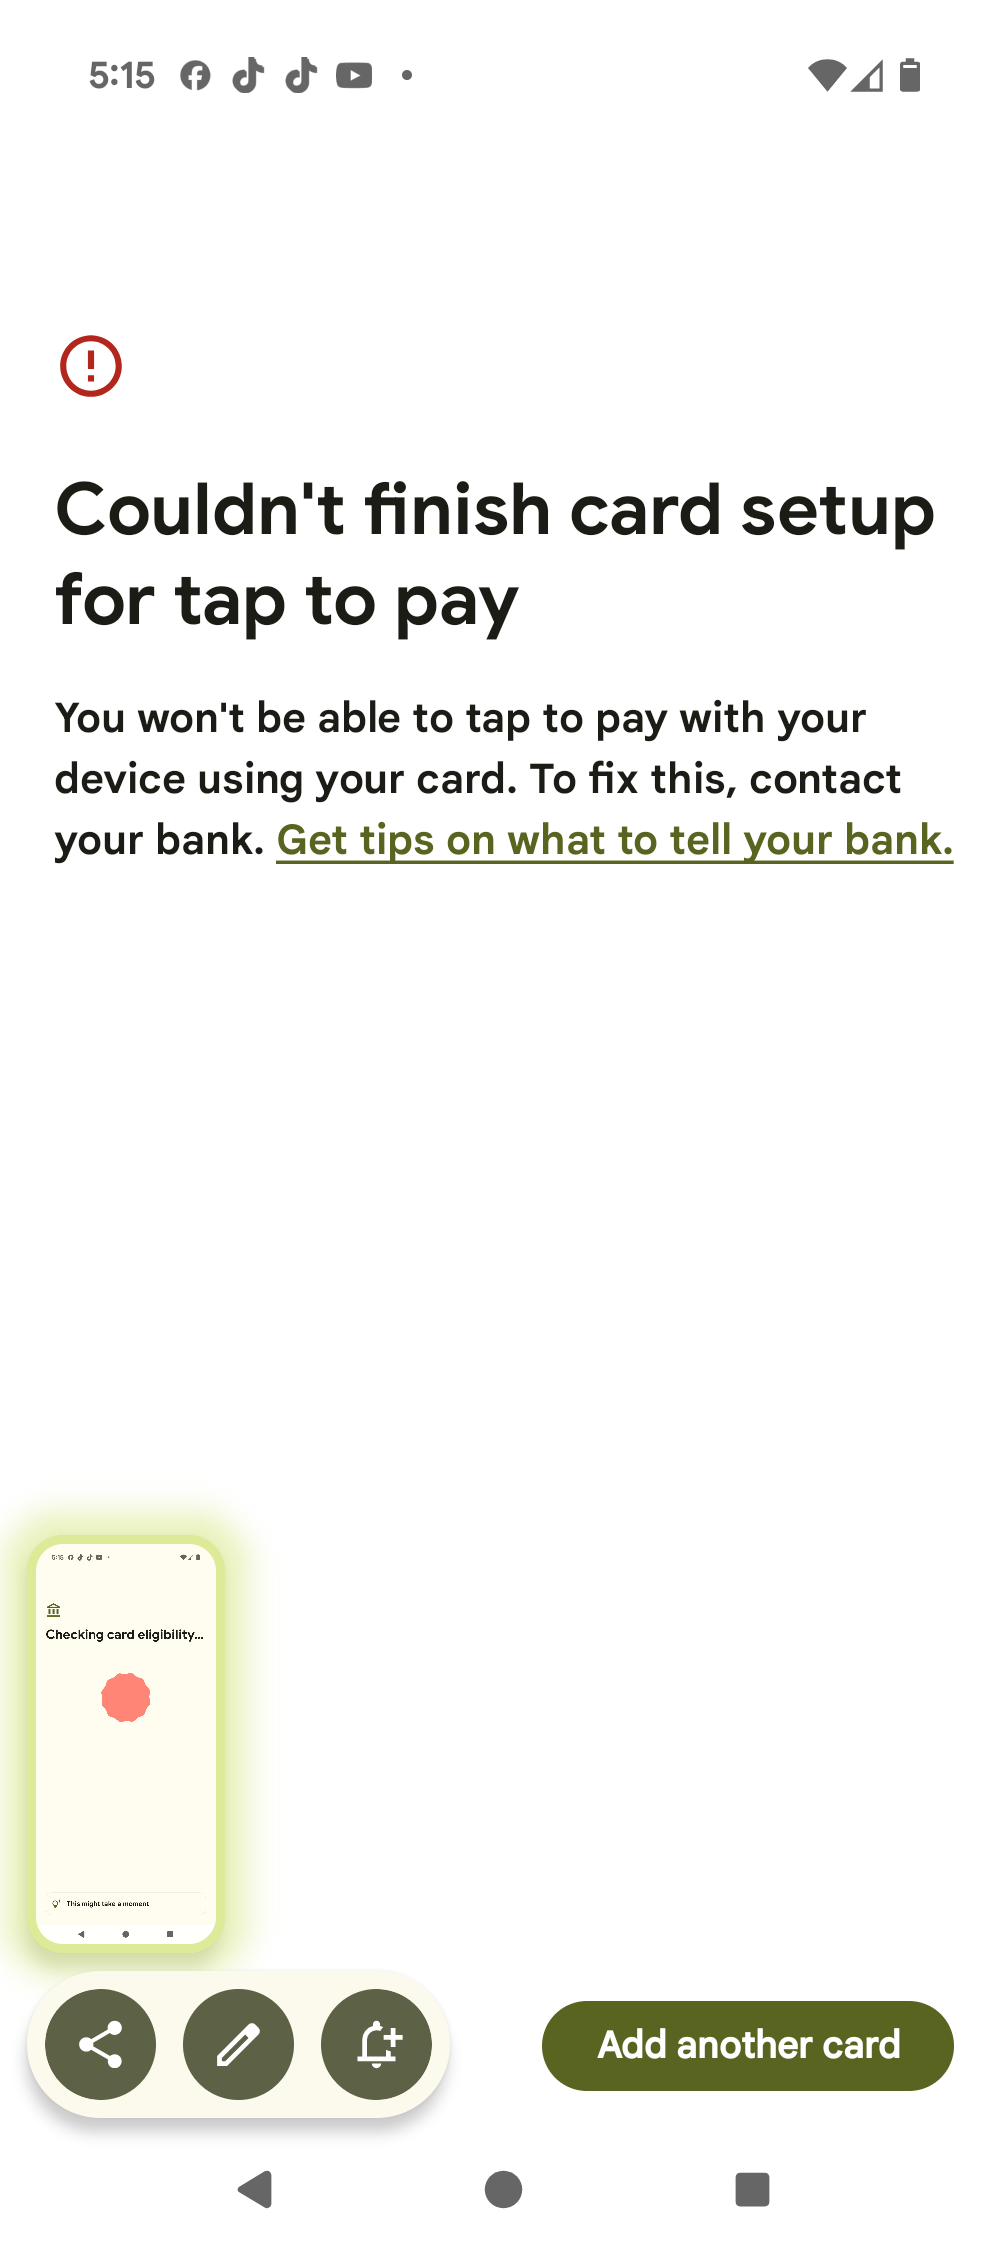
Know what Fitbit Wallet cannot do to avoid frustration.
Gift Cards Not Supported
Gift cards are not supported for contactless payments on Fitbit. Even if stored in Google Wallet on your phone, they will not sync to the watch.
No Push Provisioning
You cannot add cards directly from your banking app with one click. Manual entry is required every time. Push provisioning was expected in 2024 but remains unavailable as of early 2025.
Phone Dependency for Management
While payments work offline, setup, removal, and history viewing require your phone. If you lose your phone, you cannot add new cards until you regain access.
What to Do If You Lose Your Fitbit
Protect your data if your Fitbit goes missing or changes hands.
Lost or Stolen Device
If your device is lost or stolen, open the Google Health or Fitbit app. Suspend or remove all payment cards remotely. Report physical card loss to your bank if suspicious activity occurs. The 4-digit PIN adds another layer of protection against unauthorized use.
Before Selling or Gifting
Remove all cards via the app before giving away your device. Manually delete transit cards like Suica in Japan, as they do not erase during factory reset. Perform a factory reset in device settings after removing cards. Failure to remove Suica or similar transit cards can lead to account conflicts for the new owner.
Getting Help With Fitbit Wallet
Need help? Here is where to find support.
Official Support Resources
The Google Wallet Help Center handles setup, syncing, and technical issues. The Fitbit Support Site provides device-specific guidance and FAQs.
Contact Options
Email fitbitpay@google.com for bug reports or technical feedback. For declined transactions or reward discrepancies, contact your card issuer directly. Google does not handle transaction disputes. Those remain with financial institutions.
Bank Communication Guidelines
Banks were advised to retire Fitbit Pay branding by July 29, 2024. They should use neutral language like added to your Fitbit device. They must recognize that Visa TRID reuse may cause legacy names in alerts.
Frequently Asked Questions About Fitbit Wallet
Does Fitbit Wallet work on all Fitbit devices?
No. Only devices with NFC chips support wallet functionality. This includes Charge 3 Special Edition, Charge 4, Charge 5, Charge 6, Sense, Sense 2, Versa Special Edition, Versa 2, Versa 3, and Versa 4. Standard editions without NFC cannot support payments.
Do my old Fitbit Pay cards automatically transfer to Google Wallet?
No. Cards are not automatically migrated. You must manually re-add all payment cards through the Google Health or Fitbit app after transitioning to Google Wallet on Fitbit.
Do I need my phone nearby to make payments?
No. Once setup is complete, payments work offline without your phone nearby. However, you need your phone for initial setup, adding new cards, and viewing transaction history.
Can I use Fitbit Wallet internationally?
Yes. Fitbit Wallet works at any terminal accepting contactless payments worldwide. However, foreign transaction fees depend on your card issuer, not Google or Fitbit.
What happens if I forget my Fitbit Wallet PIN?
Entering the incorrect PIN 10 times locks the payment feature. You must unlock it via the companion app on your phone. Contact your bank if you cannot recover access through the app.
Key Takeaways for Using Fitbit Wallet
Fitbit Wallet is now fully integrated into Google Wallet, offering secure, PIN-protected tap-to-pay functionality on compatible devices. To use it successfully, ensure your device is supported, manually re-add your cards, and understand the regional and functional limits. The transition ended automatic card migration and changed the setup flow, but the core benefit remains. You get convenient, phone-free payments from your wrist anywhere contactless payments are accepted.
With proper setup, your Fitbit becomes a reliable digital wallet for everyday spending. Just remember the key requirements: a compatible device with NFC, a Google Account, manual card entry, and your 4-digit PIN for authentication.



