
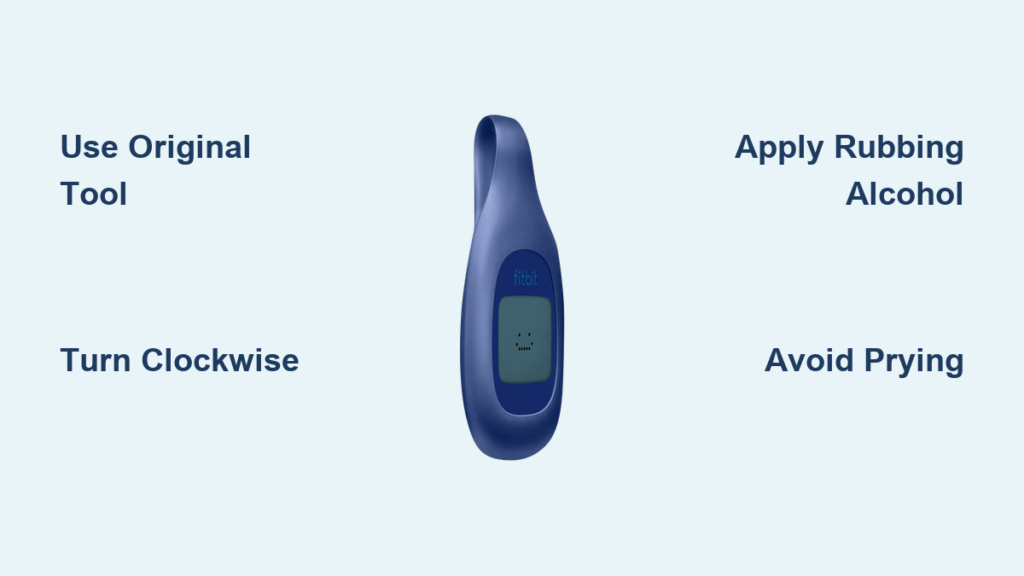
If you’re trying to replace the battery in your Fitbit Zip and can’t get the battery door to budge, you’re not alone. Many users face this frustrating issue, especially after long periods of non-use or exposure to sweat and dirt. The Fitbit Zip battery door is designed to twist open, but grime, corrosion, or a stiff seal can prevent it from turning. Using the wrong method may crack the case or damage the locking mechanism.
This guide shows you safe, proven ways to open a Fitbit Zip without breaking it, including tricks from real users and Fitbit support. You’ll learn how to use the original tool effectively, when to apply household items like alcohol or coins, and what not to do, even if you’re tempted to force it open.
Use the Original Fitbit Zip Tool Correctly
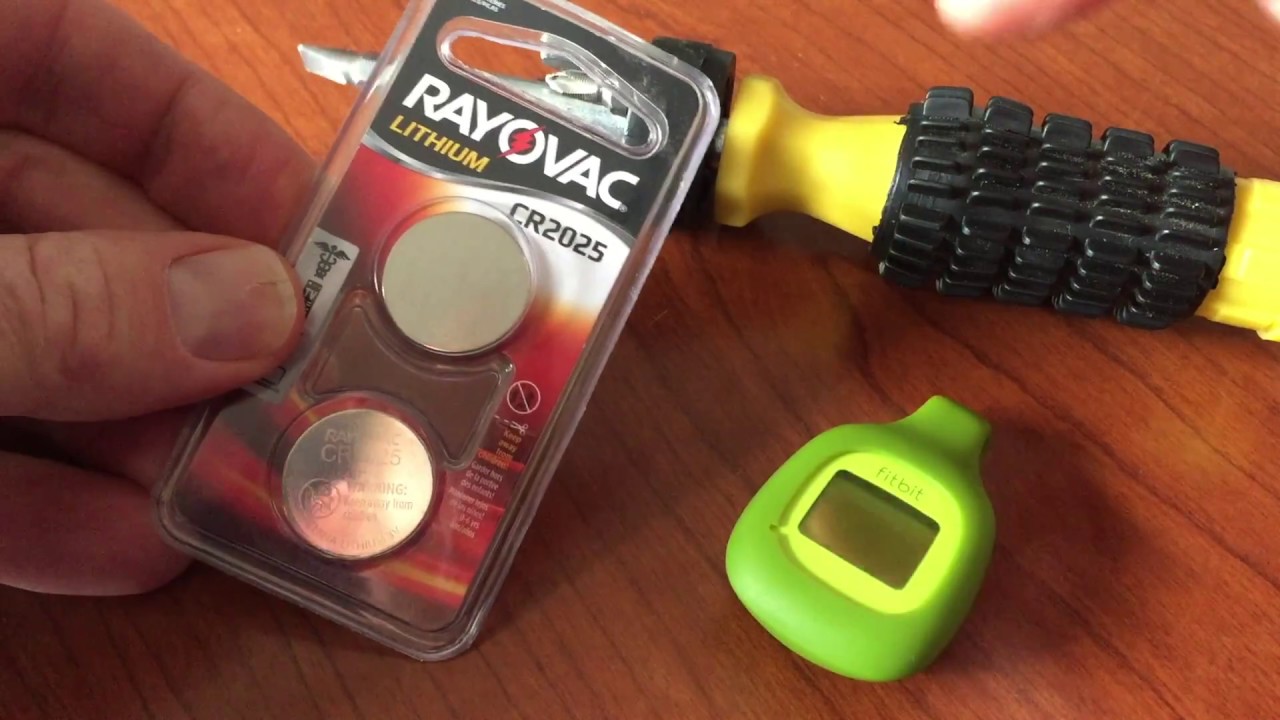
Before trying alternatives, confirm you’re using the Fitbit Zip removal tool properly. Many issues stem from incorrect technique, not a faulty device.
Align the Tool Properly
The small plastic tool fits into notches on the battery door. Misalignment is a common reason it slips. Place the tool so its ridges fully engage with the grooves on the door. Then, press straight into the case. Firm pressure helps lock the tool in place and prevents slipping.
Turn Clockwise to Unlock
Contrary to what some assume, you must turn the door clockwise to unlock it. Remember: righty-tighty, lefty-loosey does not apply here. The locking mechanism works in reverse. Clockwise opens it, counterclockwise seals it shut. Apply steady rotational force while maintaining inward pressure.
Pro Tip: If the tool keeps slipping, wrap a rubber band around the handle for better grip or use pliers gently to increase torque. Just avoid squeezing too hard and cracking the plastic.
Apply Rubbing Alcohol to Loosen the Seal

If the door still will not turn, residue, sweat, or a vacuum seal may be holding it shut. A simple trick recommended by Fitbit customer service can solve this.
Clean Around the Edge
Dip a cotton swab in 70% isopropyl rubbing alcohol and carefully run it around the seam between the battery door and the body. This helps dissolve buildup and reduce friction. Let the alcohol sit for 30 to 60 seconds to penetrate.
Retry With the Original Tool
After applying alcohol, dry the area slightly with a clean swab. Do not let liquid seep inside. Then reinsert the tool and try turning clockwise again. Many users report success after just one or two applications.
Expert Note: Alcohol evaporates quickly and will not harm electronics if used sparingly. Avoid soaking the device. This method works best with minimal application.
Increase Grip With a Coin or Washer
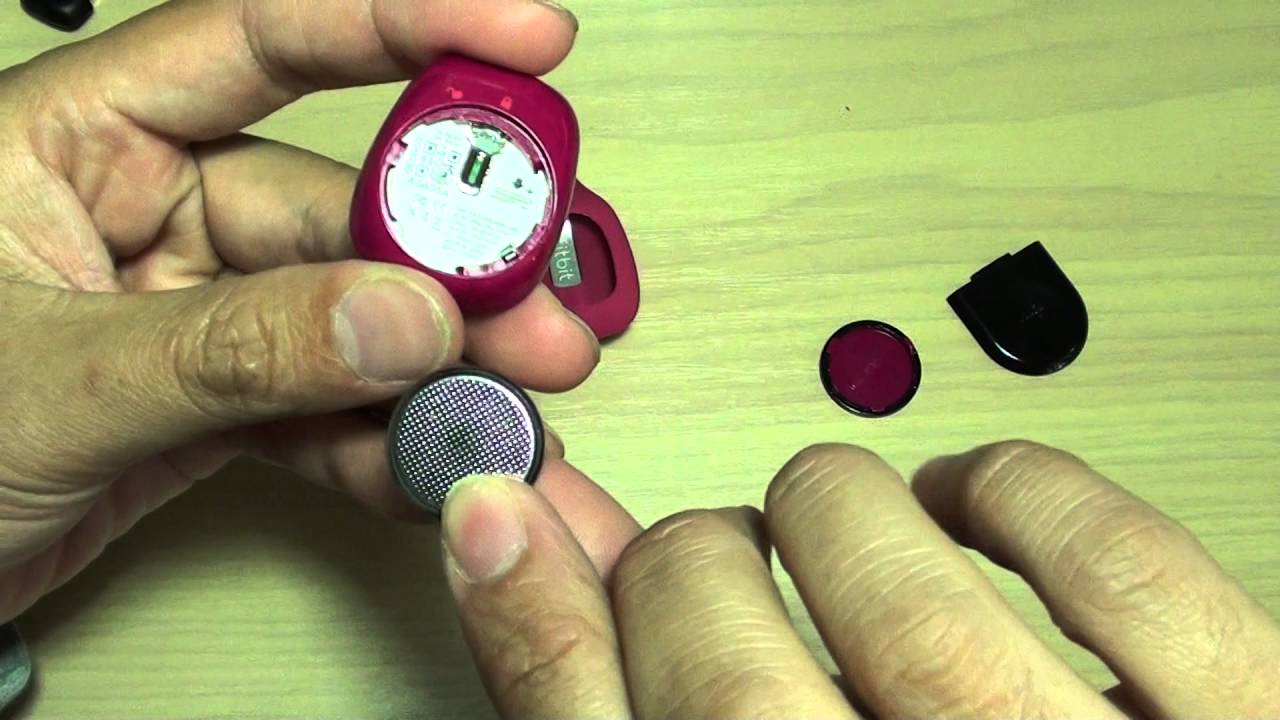
If the original tool lacks traction, boost your leverage with common household items.
Use a Coin for Extra Torque
Place a thick coin, like a quarter or euro, over the battery door. The ridged edge gives pliers something solid to grip. Clamp pliers onto the coin’s edge and slowly rotate clockwise. The wider grip distributes force and reduces slippage.
Attach a Washer With Pliers
Alternatively, slide a small metal washer over the removal tool’s end before inserting it. Hold the washer with pliers to amplify twisting power. This gives better control and prevents the tool from disengaging mid-turn.
Warning: Always apply force gradually. Sudden pressure can strip the plastic gears inside the locking mechanism.
Do Not Pry the Battery Door Open
It might be tempting to wedge a blade or screwdriver between the door and case, but prying damages the housing.
Why Prying Fails
The battery compartment is sealed with a precision-fit twist mechanism. Prying breaks the internal tabs that hold the door in place, making it impossible to reseal properly. Even if you get it open, the device may no longer be water-resistant or secure.
Signs of Prying Damage
Watch for these indicators that prying caused harm.
• Cracked casing near the rim
• Loose or wobbly battery door after reassembly
• Inability to lock the door post-battery replacement
Bottom Line: Never use a knife, screwdriver, or pliers to force the door apart. The risk far outweighs any short-term gain.
Avoid Permanent Fixes Like JB Weld
One user claimed success by gluing the removal tool to the back with JB Weld epoxy, twisting it off, then scraping the glue away.
Why This Is Not Recommended
While technically effective, this method modifies your device permanently. JB Weld creates a strong bond that can leave residue on the tracker surface, damage the finish or plastic integrity, and prevent proper resealing due to uneven surfaces.
Additionally, once glued, you lose the ability to reuse the original mechanism. This approach should only be considered as a last resort, and only if you do not plan to use the Fitbit Zip again after battery replacement.
Check for Corrosion or Obstructions

Sometimes, the problem is not the door. It is what is behind it.
Inspect for Battery Corrosion
If the Fitbit has not been used in years, the battery may have leaked or corroded. This buildup can jam the internal components and stop the door from turning freely. Even if the door opens, corrosion can prevent electrical contact.
Clean With Caution
If you manage to open the compartment, remove the battery carefully. Use a cotton swab with rubbing alcohol to clean contact points. Let it dry completely before inserting a new CR2025 battery.
Note: Always dispose of old batteries properly and never touch corroded areas with bare hands.
Replace the Battery Properly
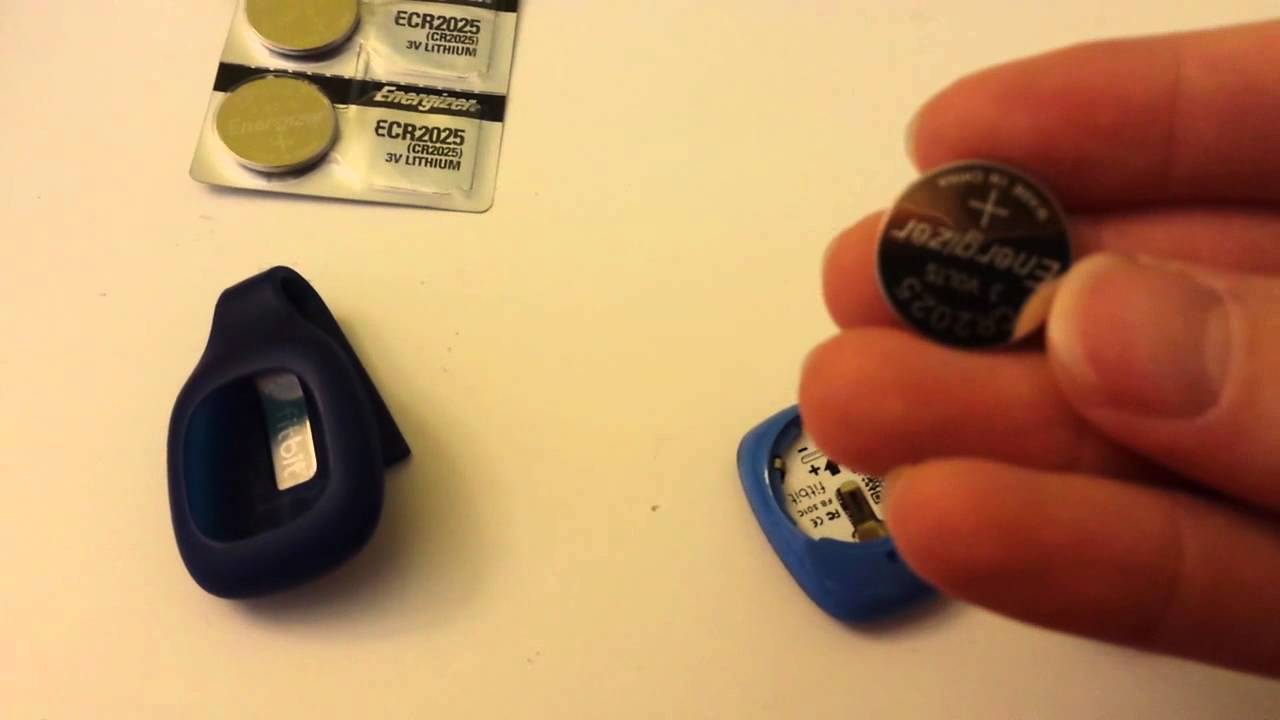
Once open, replacing the battery correctly ensures smooth reassembly.
Insert a Fresh CR2025
Use a 3V CR2025 coin cell battery. This is the only type compatible with the Fitbit Zip. Make sure the positive side faces up. Gently slide it into place. Do not force it.
Reattach the Door Securely
Line up the door and press it flat against the body. Turn it counterclockwise until it locks. You should feel a slight resistance when it is fully sealed.
Quick Test: After closing, try gently twisting the door back. If it does not move, it is locked. If it spins freely, it is not engaged.
Prevent Future Sticking Issues
Avoid repeat problems with simple maintenance habits.
Clean Regularly
Wipe down your Fitbit Zip weekly, especially after workouts. Use a damp cloth and mild soap. Never submerge it.
Open Annually Even If Not Needed
Experts suggest unlocking and resealing the battery door once a year to prevent seizing. It keeps the mechanism moving freely and lets you check battery health early.
Store in a Dry Place
Moisture accelerates corrosion and stiffens seals. Keep your Fitbit in a cool, dry environment when not in use.
Frequently Asked Questions About Opening a Fitbit Zip
Why won’t my Fitbit Zip battery door turn?
The battery door may refuse to turn due to residue buildup, sweat dried around the seal, corrosion from an old battery, or simply lack of use over time. The locking mechanism can also become stiff from environmental exposure.
What direction do I turn to open the Fitbit Zip?
You turn the battery door clockwise to unlock and open it. This is the opposite of what you might expect. To reseal the door, turn it counterclockwise until it locks in place.
Can I use something other than the original tool?
Yes. A thick coin like a quarter can provide extra grip and leverage. Alternatively, slide a small metal washer over the removal tool and hold it with pliers for more twisting power. Avoid using sharp objects like screwdrivers.
Is it safe to pry the Fitbit Zip open with a knife?
No. Prying the door open will likely break the internal locking mechanism or crack the housing. This damage can prevent the device from being resealed properly and may void any remaining functionality.
How do I know if the battery is corroded?
If your Fitbit Zip has sat unused for a long time, the battery may have leaked. You might see white or green buildup around the battery compartment. Corroded batteries require careful removal and cleaning of contact points with rubbing alcohol.
What battery does the Fitbit Zip use?
The Fitbit Zip uses a 3V CR2025 coin cell battery. Make sure the positive side faces up when inserting it. Always dispose of old batteries at designated recycling points.
Key Takeaways for Opening Your Fitbit Zip Safely
Opening a Fitbit Zip does not have to be stressful. Start with rubbing alcohol and the original tool, then move to coin-assisted leverage if needed. Avoid prying or gluing. These methods may work once but ruin long-term usability.
With patience and the right technique, you can replace the battery safely and extend your tracker is life for years. Clean the device regularly, open the compartment annually, and store it in a dry place to prevent future sticking.
If all else fails, consider retiring the device or using it as a backup. Some older Zips simply wear out beyond repair.



