A perfectly fitting watch should sit snugly on your wrist without sliding around or leaving gaps. Yet most metal bracelets purchased online or from jewelry stores arrive too long for the average wrist. Removing watch links at home lets you achieve that custom fit in under 30 minutes without paying a jeweler. With basic tools and careful attention to detail, you can resize watches from Citizen, Seiko, Tissot, and even Rolex safely and effectively.
This guide covers everything you need to know about sizing your watch bracelet at home, from identifying fastener types to reassembling with precision. You’ll learn which tools to use, how to avoid damaging luxury components, and when to leave the job to a professional.
Identify Your Watch’s Fastener Type
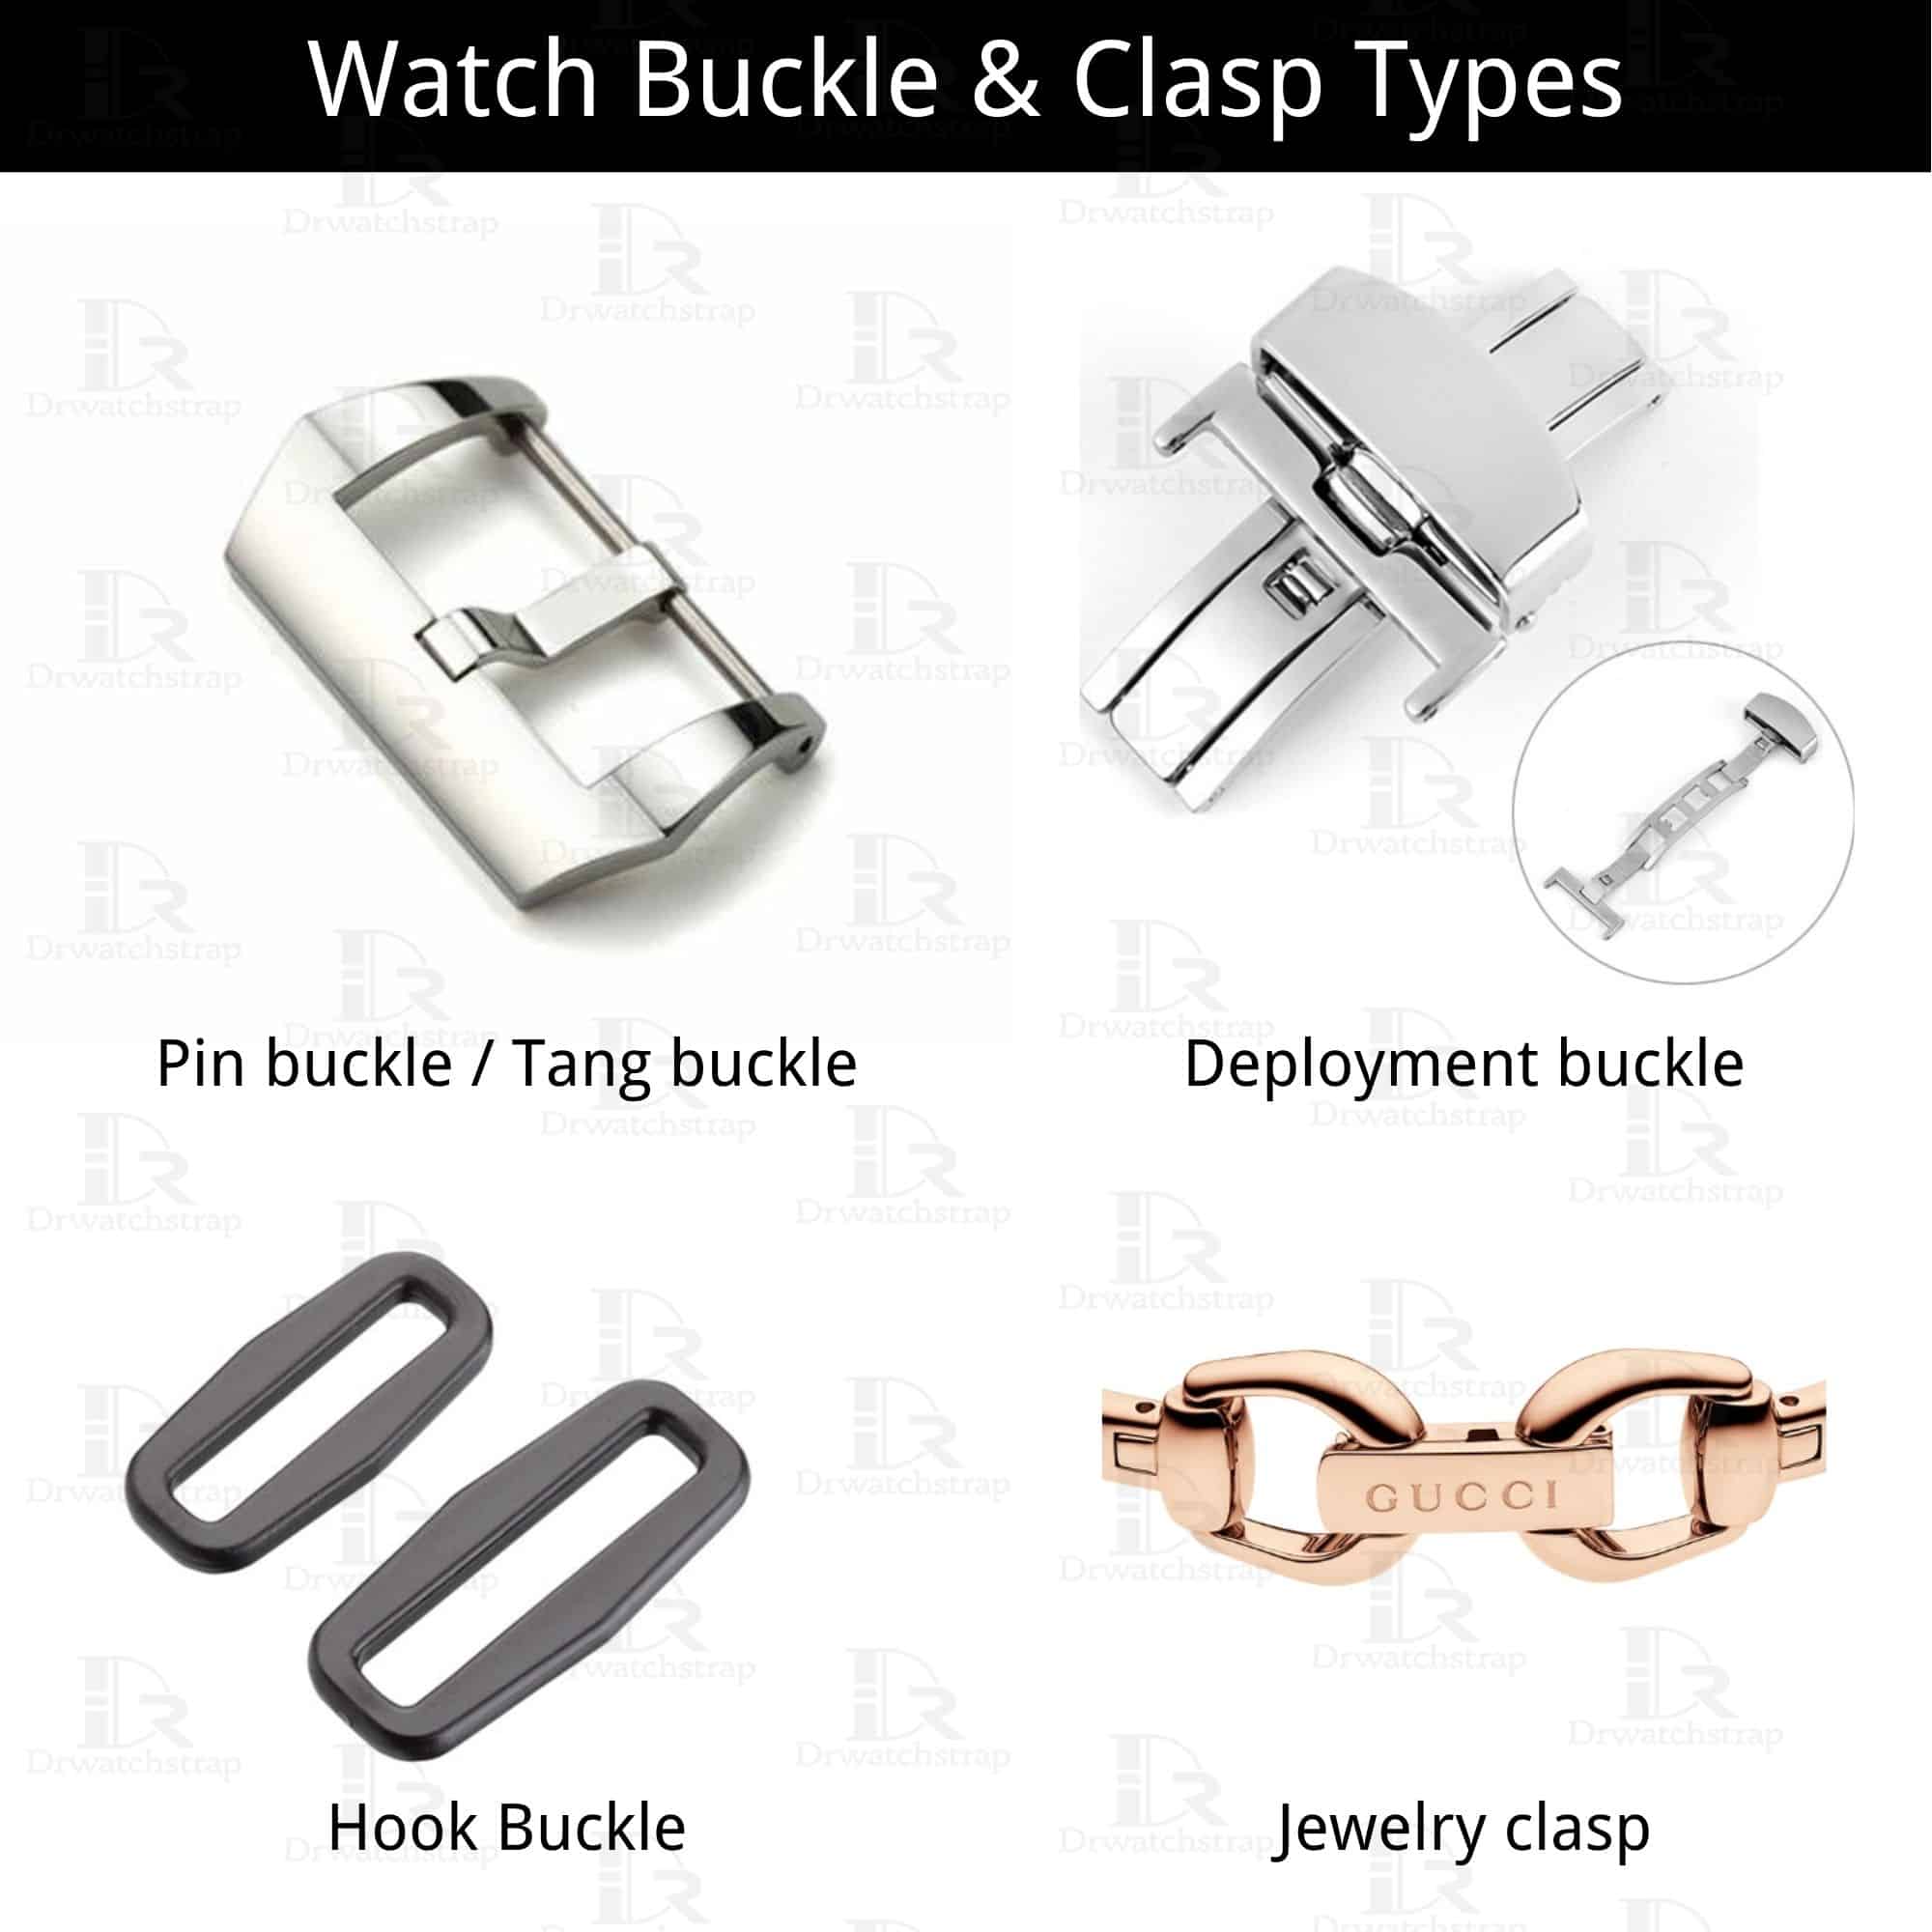
Before picking up any tool, you must determine how your watch links are secured. Using the wrong technique can bend pins, strip screws, or permanently damage an expensive bracelet.
Check for Push Pins or Screw Bars
Flip your watch over and examine the back of the bracelet connections. Look for these telltale signs:
- Arrows stamped near the pin holes indicate the direction the pin should be pushed
- Slotted, Phillips, or hex-shaped screw heads mean the watch uses screw bars
- A slit across the pin head is not a screw slot; it marks the exit side
Most mid-range watches from brands like Tissot, Seiko, and Citizen use friction push pins. Luxury manufacturers such as Rolex and Omega typically use threaded screw bars. High-end brands like Patek Philippe and Audemars Piguet employ proprietary systems that require brand-specific tools.
Recognize Common Misconceptions
Many people see a slit across a pin and assume it accepts a screwdriver. This is a critical mistake. The slit indicates the exit side where the pin emerges when pushed, not a threading point. Forcing a screwdriver into a friction pin damages the head and can make removal nearly impossible. Always test with a pin pusher first. A friction pin moves with steady pressure, while a screw requires rotation.
Determine How Many Links to Remove
Getting the right number of links removed ensures a comfortable fit without over-shortening the bracelet.
Pinch Test for Accurate Sizing
Fasten the watch on your wrist and use your fingers to pinch the excess bracelet on both sides. Mark where the links overlap and count how many need removal. Most people remove between 2 and 6 links depending on wrist size.
Remove Links Symmetrically
Always remove an equal number of links from each side of the clasp. This keeps the clasp centered on your wrist and maintains the bracelet’s natural curve. Removing all links from one side causes imbalance and awkward positioning.
Minimum Link Rule
Leave at least four links on each side of the clasp. Removing more weakens the structural integrity of the bracelet and risks breakage during normal wear.
Use Micro-Adjustment First
If your clasp has micro-adjustment holes, use these before removing full links. These small adjustments typically provide about 2 millimeters of movement per hole and can prevent you from over-shortening the bracelet.
Prepare Your Workspace
A proper workspace prevents damage and keeps tiny parts from disappearing.
Set Up a Safe, Clean Area
Work at a flat, well-lit table covered with a soft cloth, foam pad, or watch holder block. This protects both the watch face and polished bracelet links from scratches. Keep a magnetic tray or small container nearby to store pins and screws. Tiny components vanish quickly on cluttered surfaces.
Gather Essential Tools
You will need specific tools for successful link removal:
- 1 millimeter pin pusher or SIM card ejector tool
- Precision screwdriver set for screw bars
- Fine-tip tweezers
- Magnifying glass or loupe with 3x to 5x magnification
- Daylight-balanced LED lighting
A basic watch sizing kit costs as little as $6 and pays for itself after avoiding just one trip to a jeweler.
Follow Removal Direction Arrows
The arrows stamped on your watch links provide critical guidance for safe removal.
Arrows Dictate Pin Movement
Stamped arrows on the inside of the links show exactly which direction to push the pin. Never push against the arrow direction. If no arrows are visible, look for a pin that already protrudes slightly; this is typically the exit side.
Push From Opposite the Arrow
Insert your tool into the hole on the side without the arrow. Push steadily until the pin emerges 1 to 2 millimeters on the arrow side, then use tweezers to pull it the rest of the way out.
Pro Tip: If the pin resists gentle pressure, tap it lightly with a soft hammer. Never force a stuck pin, as this bends the pin and damages the link.
Remove Push Pins Safely
Friction pins are the most common fastener type and the easiest to remove at home.
Step-by-Step for Friction Pins
- Position the bracelet so the arrow points downward
- Insert the pin pusher into the hole on the non-arrow side
- Apply steady pressure or light taps until the pin starts to exit
- Use tweezers to pull the pin completely from the link
- Repeat for the second pin securing the same link
- Slide out the unwanted link
- Repeat the entire process on the opposite side for symmetry
Some pins have split collars. Remove these and store them with their corresponding pins.
Reinsert Correctly
To reassemble, insert the pin from the side opposite the arrow. Push until the pin sits flush with the link surface. You may feel or hear a click when fully seated. If the pin offers no resistance, it is not properly locked in place.
Handle Screw Bars with Care
Screw bars require different techniques and tools than push pins.
Used by Rolex, Omega, and Other Luxury Brands
Threaded screw bars provide a more secure connection than friction pins but demand precise handling. These are common on Rolex, Omega, and other luxury timepieces.
Use the Right Size Bit
Select a precision screwdriver that exactly matches the screw head. For Rolex watches, this is typically a 1.5 millimeter bit. A loose fit marrs the screw head and makes future adjustments difficult or impossible.
Unscrew Counterclockwise
Turn the screw gently in a counterclockwise direction. These are single-ended bars, so do not brace the opposite side while turning. Store each screw in a labeled container, as some center bars vary in length by as little as 0.3 millimeter.
Torque Matters
Tighten screw bars to approximately 10 to 12 cN·m, which equals about 1.0 to 1.2 kilogram-force centimeters. Over-tightening strips the threads. Use a torque screwdriver if available for precision work.
Avoid Proprietary System Risks

Some luxury watch brands use unique mechanisms that are not suitable for home adjustment.
Brands Like Patek, AP, and Cartier
Patek Philippe, Audemars Piguet, and Cartier use hidden mechanisms and non-standard fasteners that require brand-specific tools. These systems often cannot be adjusted without specialized knowledge.
Do Not Attempt DIY
Improper handling of proprietary systems can devalue your watch or cause permanent damage. According to Tom Hayes, head watchmaker at Bob’s Watches, “Audemars Piguet and Patek Philippe often have unique link designs that can be difficult to adjust without brand-specific tools.”
Recommendation: Send watches with proprietary systems to an authorized service center. The cost is worth preserving both the watch’s value and structural integrity.
Use Household Tools If No Kit Available
Professional tools are ideal, but you can improvise with common household items.
No Specialized Tools? No Problem
If you lack a watch-sizing kit, these alternatives work in a pinch:
- SIM card ejector tool serves as an effective pin pusher
- Thumbtack or awl can push out pins but risks scratching polished surfaces
- Retractable ballpoint pen plunger functions as a manual pin pusher
- Needle-nose pliers grip and pull partially emerged pins
- Soft cloth or foam pad protects the watch finish
Warning: Improvised tools increase risk of damage. Work slowly and protect polished surfaces with tape or cloth.
Protect Different Watch Materials

Your watch’s material determines how carefully you must handle the resizing process.
Stainless Steel: Standard Procedure
Stainless steel is durable and forgiving. Use a soft cloth under the bracelet to prevent scratches on polished links.
Titanium: Handle with Care
Titanium is more brittle than steel and prone to bright scuff marks from tool contact. Apply Kapton tape to flat surfaces before working near polished center links.
Gold: Avoid DIY
Gold is soft and easily scratched or dented. Professional adjustment is strongly recommended for gold bracelets.
Ceramic: Never Resize at Home
Ceramic links are extremely hard but crack under sudden pressure. Damage is irreversible. Always use an authorized service center for ceramic bracelets.
Reassemble and Test the Fit
Proper reassembly ensures your watch functions correctly after adjustment.
Reinsert Pins or Screws Properly
For push pins, insert from the non-arrow side and push until flush and seated. For screw bars, insert from the non-notched side and tighten clockwise to a firm stop. Optional: Apply a tiny drop of low-strength thread locker on diver’s watches for added security.
Check for Sharp Edges or Gaps
Try the watch on your wrist. The clasp should close smoothly without catching. No links should wobble or shift. Flex the bracelet gently; movement should be even and fluid.
Use Micro-Adjust for Final Tuning
If the fit is slightly loose, shift the clasp to a tighter micro-adjustment hole. This provides final fine-tuning without removing additional links.
Prevent Common Mistakes
Learning what not to do protects your watch from damage.
Mistake: Assuming Pins Are Screws
This damages pin heads and makes removal difficult. Always look for arrows and test with a pin pusher before using a screwdriver.
Mistake: Removing All Links from One Side
This causes off-center clasp positioning and poor fit. Always remove equal numbers from both sides.
Mistake: Over-Tightening Screws
Stripped threads require expensive repairs. Stop tightening when resistance peaks.
Mistake: Ignoring Micro-Adjustment
Using micro-adjustment holes before removing links prevents over-shortening.
Mistake: Losing Pins or Collars
Store all removed parts in labeled containers. Losing pins risks loose links and potential watch loss.
When to See a Professional
Certain situations warrant professional help rather than DIY.
High-Value or Luxury Watches
If your watch is under warranty, vintage, or worth over $1,000, skip home adjustment. Rolex, Patek, and similar brands risk devaluation if damaged. Gold, ceramic, and titanium watches require special handling.
Complex Clasps or Hybrid Systems
Some bracelets combine screws and pins. Removing pins before unscrewing the sides breaks the link. When in doubt, consult a professional.
Store Spare Links and Pins
Keep all removed components for future use.
Keep Everything for Future Use
Wrist size changes with weight fluctuations, seasons, and age. You may need to add links back later. Store removed links, pins, and collars in a small bag labeled with the date and watch model. Keep these in your watch box or safe.
Final Tips for Success
These final pointers help ensure your resize goes smoothly.
Start with an Inexpensive Watch
Practice on a Citizen or Seiko before tackling a luxury model. Watch tutorial videos first to familiarize yourself with the process.
Invest in a Tool Kit
A $40 kit pays for itself after two adjustments. Quality kits include an adjustable pin pusher, precision screwdrivers, magnetic tray, watch holder, and carrying case.
Work Slowly and Safely
Rushing leads to mistakes. Wear eye protection since pins can fly out unexpectedly. Clean the bracelet with a soft cloth after resizing.
Know When to Stop
If you feel resistance, stop and reassess. Forcing components causes irreversible damage.
Frequently Asked Questions About Removing Watch Links at Home
Can I remove watch links without special tools?
Yes, you can use household items like SIM card ejector tools, thumbtacks, or ballpoint pen plungers. However, improvised tools increase the risk of scratching or damaging your watch. A basic $6 watch-sizing kit is a worthwhile investment.
How do I know if my watch uses push pins or screw bars?
Flip the watch over and examine the link connections. Arrows indicate push pins. Slotted, Phillips, or hex-shaped heads indicate screw bars. Push pins often have a visible slit across the head, but this is not a screw slot.
How many links should I remove from my watch?
This depends on your wrist size. Use the pinch test: wear the watch, pinch the excess bracelet on both sides, and mark where links overlap. Remove an equal number from each side, typically 2 to 6 links.
Can I resize a gold or ceramic watch bracelet at home?
No. Gold is too soft and easily damaged. Ceramic cracks under pressure. Both require professional adjustment from an authorized service center.
What happens if I remove links from only one side?
Removing all links from one side throws off the clasp position, causing imbalance and awkward wear. Always remove an equal number of links from both sides.
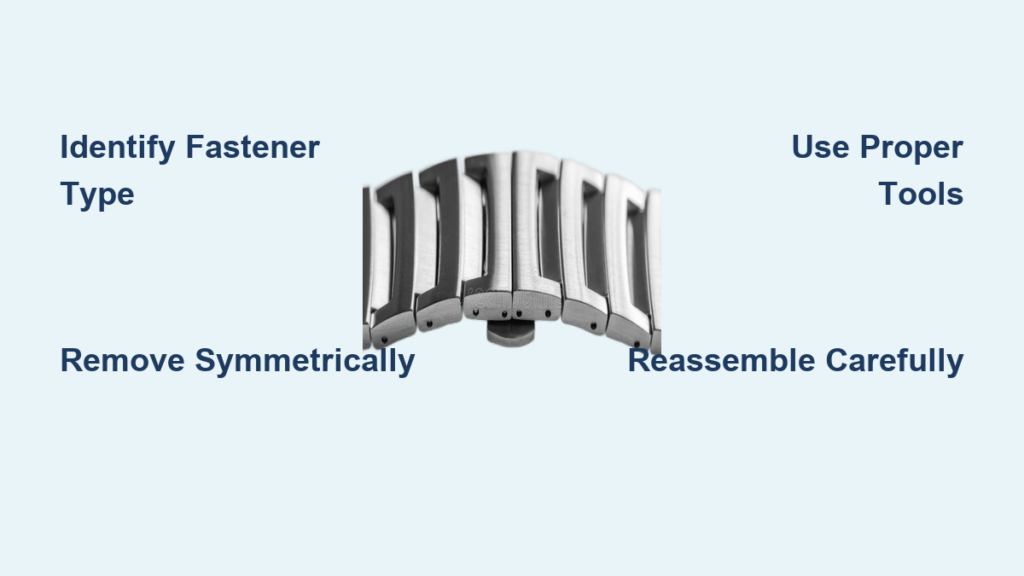
Key Takeaways for Removing Watch Links at Home
Removing watch links at home is straightforward when you follow the right steps. First, identify your fastener type by looking for arrows or screw heads. Second, determine how many links to remove using the pinch test, and always remove an equal number from each side. Third, prepare a clean workspace with proper tools or suitable household alternatives. Fourth, push pins from the side opposite the arrow and screws counterclockwise. Finally, reassemble carefully, test the fit, and store spare parts for future use.
For most stainless steel watches, DIY is safe and effective. For gold, ceramic, titanium, or high-end luxury models, trust a professional to preserve your watch’s value and integrity.


