
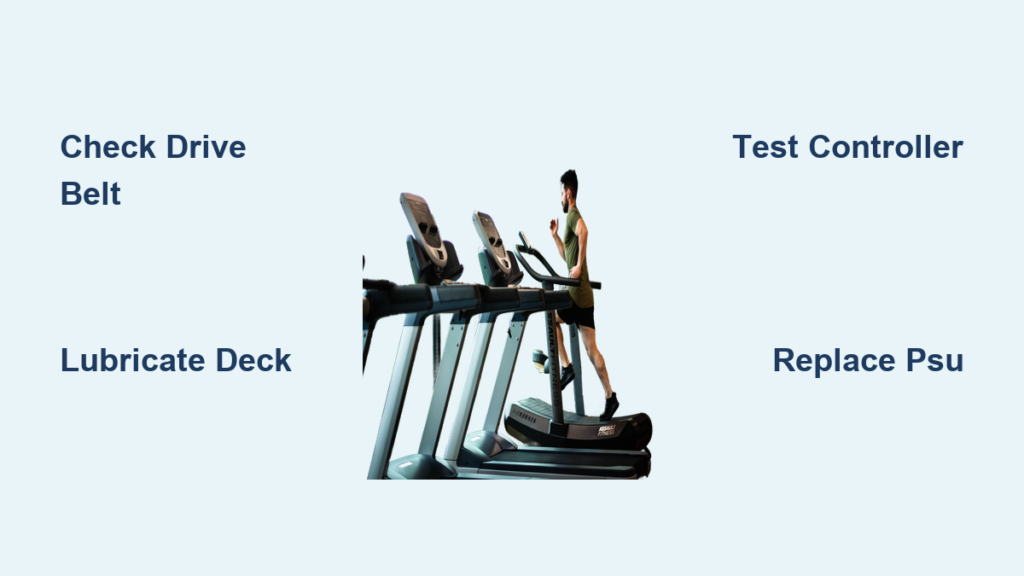
You press “Start,” hear the motor hum, and expect the belt to glide forward. Instead, the walking surface sits frozen while the motor keeps running. This frustrating scenario affects countless treadmill owners, but the cause is rarely a dead motor. When your treadmill motor is running but the belt isn’t moving, the problem usually lies in a slipped drive belt, a failed controller board, or a weak power supply. The good news is that most of these issues can be diagnosed and fixed at home without replacing the entire machine.
This guide walks you through every possible cause, from simple mechanical checks to advanced electronic tests. You’ll learn how to identify the exact failure point, test components safely, and restore your treadmill to full function. Whether you own a NordicTrack, ProForm, or Horizon model, these proven troubleshooting steps will save you time, money, and frustration.
Drive Belt Slipping or Broken
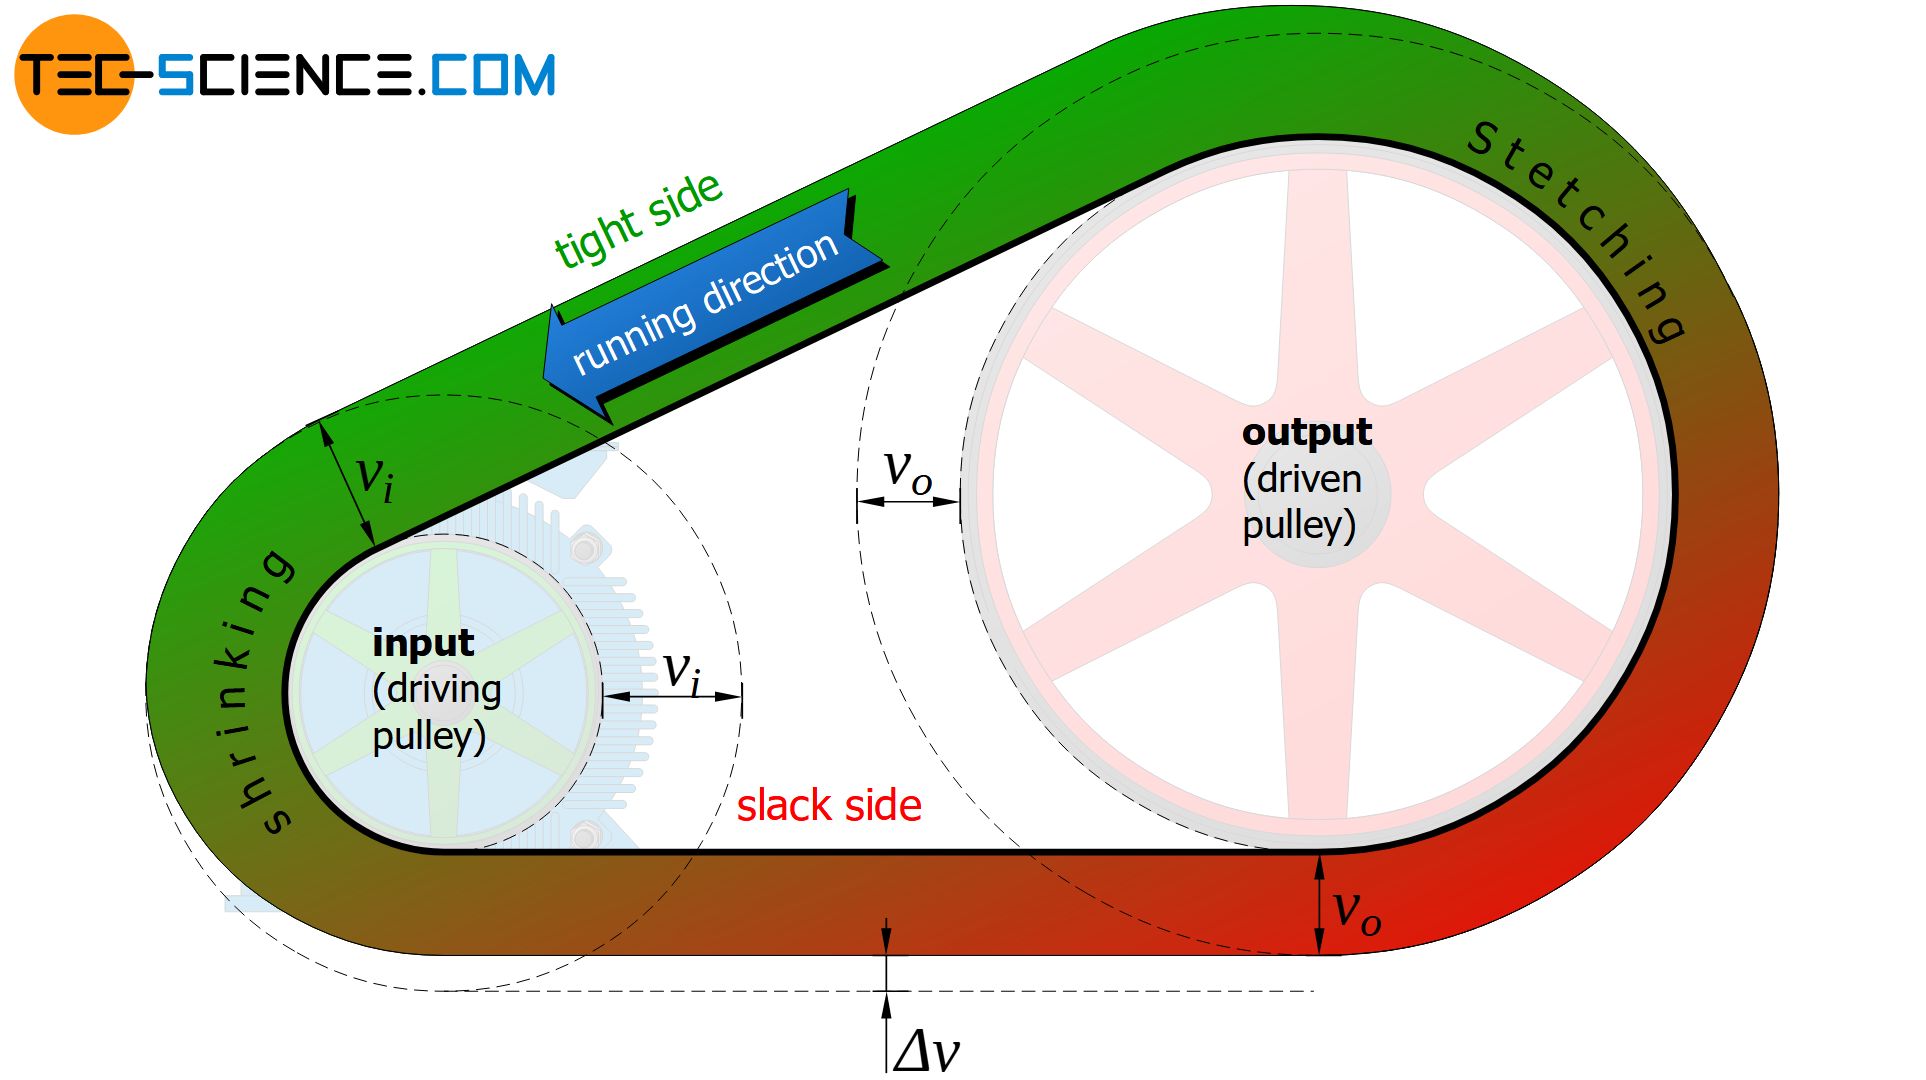
The drive belt is the rubber connector that transfers power from the motor pulley to the front roller. When this belt slips, stretches, or snaps, the motor spins freely without moving the walking surface. This is the first component to inspect when your treadmill motor runs but the belt won’t budge.
Check for Drive Belt Damage
Open the treadmill hood and visually inspect the drive belt for signs of wear. Look for visible cracks, fraying along the edges, or a shiny, hardened surface called glazing. A completely broken or disconnected belt will show obvious separation from the pulley system. Even an intact belt can fail if it has stretched over time, causing it to slip on the motor pulley under load.
Pro Tip: Try rotating the front roller by hand while watching the motor pulley. If the motor pulley doesn’t turn with the roller, the drive belt has broken or come off track. You might also notice the motor spinning faster than normal while the belt stays still.
Test and Replace the Drive Belt
To confirm drive belt failure, unplug the treadmill and manually rotate the front roller. If the motor pulley remains stationary, the belt has lost its connection. Replacement involves ordering a model-specific or universal drive belt, which typically costs between $25 and $50. Remove the old belt from both pulleys, install the new one, and align it properly. Adjust tension so the belt deflects about half an inch when pressed at mid-span.
Time Estimate: This repair takes 30 to 60 minutes and requires only a screwdriver.
⚠️ Warning: Never operate the treadmill with a damaged or missing drive belt. The motor can overheat and fail under load.
Walking Belt Stuck or Over-Tightened
Even with a functioning drive belt, the walking belt itself can prevent movement through friction, improper tension, or debris buildup. These issues create resistance that overwhelms the motor’s torque.
Belt Too Tight or Not Lubricated
An over-tightened walking belt places excessive strain on the motor and controller board, often causing the system to shut down as a protective measure. Conversely, a dry deck creates friction that makes the belt difficult to move by hand or foot. This increased resistance can stall the motor or trigger a safety shutdown.
Symptoms include:
– Belt hard to move manually
– Motor hums but stalls immediately
– Burning smell during startup
Fix: Lubricate the Deck
1. Lift the edge of the walking belt.
2. Apply 100% silicone treadmill lubricant evenly across the deck surface.
3. Let the lubricant absorb for 10 minutes.
4. Plug in the treadmill and run at 2 mph for 5 minutes to distribute the oil.
Adjust Tension If Needed:
– Turn rear roller bolts one-quarter turn counterclockwise on both sides.
– Test by lifting the belt center; it should rise 2 to 3 inches.
– Recheck tension after 10 minutes of use.
Remove Belt Obstructions
Debris like dust, fabric fibers, or pet hair can jam between the walking belt and deck. This physical blockage prevents movement even when all other components work properly.
How to Clear:
1. Unplug the treadmill completely.
2. Lift the belt edges and inspect the deck surface.
3. Vacuum or wipe away any buildup.
4. Check for foreign objects near the front roller.
✅ Quick Check: If the belt moves freely by hand after cleaning and lubrication, friction was the culprit. The motor and electronics are likely fine.
Motor Controller Board Failure

When mechanical components check out, the problem often lies in the motor controller board (MCB). This electronic brain interprets signals from the console and delivers appropriate voltage to the motor. A failed controller can cause the motor to hum or attempt starting but lack the sustained current needed for movement.
Recognize Controller Board Symptoms
Several warning signs indicate MCB failure:
– Motor hums briefly then stops
– Red LED flashes four times (NordicTrack Error Code 4)
– Relay clicks once, then the system shuts down
– Console lights illuminate, but no belt movement occurs
Error Code 4 is a known signature of controller failure. The system attempts to start, detects no motor response, and shuts off immediately to protect components.
Test the Controller Output
Use a multimeter to verify the controller is sending power to the motor:
1. Set the multimeter to DC volts.
2. Locate the motor wires connected to the controller board.
3. Have someone press “Start” on the console.
4. Measure voltage across the motor terminals.
Expected reading: 8 to 12 VDC. If you see 0V or very low voltage, the controller isn’t delivering power.
🔌 Safety First: Always unplug before touching internal components. Wait 10 minutes after unplugging to discharge capacitors safely.
Replace the Motor Controller
Most failed boards require complete replacement. Universal controller boards work across multiple brands including NordicTrack, ProForm, and Horizon models.
Steps:
1. Note the old board’s part number and connector layout.
2. Order a compatible replacement ($80 to $180).
3. Disconnect all wires and remove mounting screws.
4. Install the new board, reconnecting wires exactly as before.
5. Power on and test at 1 mph.
Pro Tip: Look for boards with IPC certification. This ensures quality soldering and component reliability.
❌ Avoid DIY relay replacement. Modern controllers integrate relays into the board design, so replacing just the relay rarely solves the problem.
Power Supply Unit Not Delivering Power
Even with a functional controller board, a failing power supply unit (PSU) can starve the motor of necessary amperage. The console may light up normally, but the motor receives insufficient current to operate.
Diagnose PSU Failure
Several symptoms point to PSU problems:
– Console lights illuminate normally
– Controller board shows a green power light
– No voltage reaches the motor terminals
– A new controller was installed but movement still fails
The PSU converts wall AC power to DC power for the board. When it degrades, it cannot deliver enough current under the motor’s load demands.
Replace the Power Supply
How to replace:
1. Unplug the treadmill completely.
2. Locate the PSU (a small black box near the motor or controller).
3. Note the voltage and amperage ratings (e.g., 24V DC, 2A).
4. Disconnect and remove the old unit.
5. Install the new PSU, matching specifications exactly.
Cost: $30 to $70. Time: Approximately 15 minutes.
✅ Test First: If you replaced the controller and still have no power, the PSU is the next logical suspect.
Motor Not Receiving the Start Signal
Sometimes the motor never receives the “go” command due to faulty sensors or console communication issues. This prevents startup even when all power systems function normally.
Safety Key and Sensor Check
The safety key must be fully inserted for operation. A dirty or broken sensor can block the start signal even when the key appears properly placed.
Fix:
– Remove and reinsert the safety key firmly.
– Clean the key slot with compressed air.
– Test with a spare key if available.
– Inspect the key for visible damage or corrosion.
Console and Wiring Inspection
If the console time counts up when “Start” is pressed, the console is sending a signal. If the timer doesn’t advance, the issue lies upstream:
– Check for loose console wire connections.
– Inspect ribbon cables for damage or disconnection.
– Reset the console by unplugging for 10 minutes, then restarting.
Test the Motor Itself
Before replacing the motor, confirm it’s actually defective. Most treadmill motors last 10 years or more, making failures less common than electronic issues.
Perform the Paper Clip Test
This test checks internal winding integrity without applying power. Drive motors contain electromagnets that create magnetic resistance when a circuit forms across the leads.
Steps:
1. Unplug the treadmill completely.
2. Disconnect motor wires from the controller board.
3. Clip a paper clip across the two motor terminals.
4. Attempt to turn the front roller by hand.
Results:
– Hard to turn: Windings are intact; the motor is functional.
– Easy to turn: Windings are broken or shorted; the motor needs replacement.
✅ This test confirms whether the motor can generate magnetic resistance, which proves internal health.
Use an External Power Source
Test the motor independently by connecting it directly to a 12V cordless drill battery or DC power supply. Touch the leads to the motor terminals.
- If it spins: The motor works. The problem lies upstream in the controller or PSU.
- If it doesn’t spin: Replace the motor ($150 to $300).
Advanced Troubleshooting Scenarios
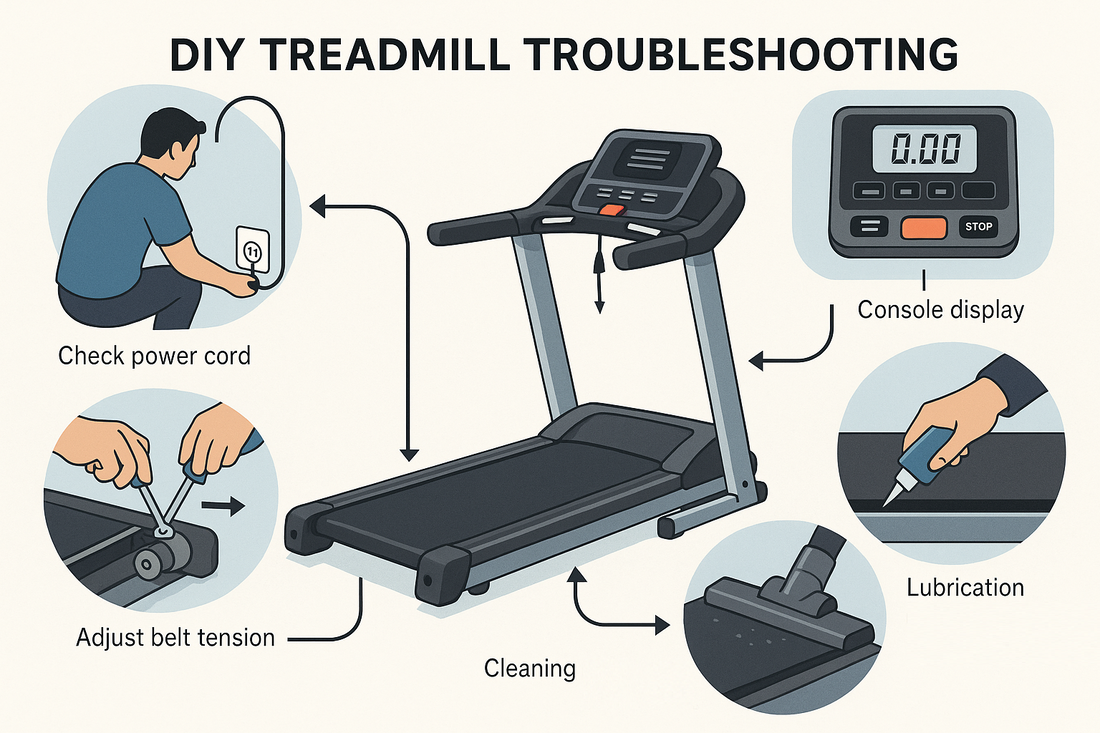
Some cases require deeper analysis to isolate stubborn issues. These scenarios help narrow down the problem when standard tests prove inconclusive.
NordicTrack Error Code 4
Four flashing red lights almost certainly indicate a failed controller board. The system attempts to start, detects no motor response, and triggers this protective shutdown.
Solution:
– Replace with a compatible universal board.
– After installation, the red light should stop flashing or become solid.
– Test at low speed to confirm operation.
💡 Many users report success with $80 aftermarket boards versus $180 OEM versions. Functionality remains identical at lower cost.
Incline Works But Belt Doesn’t
If the incline motor operates but the belt remains stationary, the main power supply and console function properly. The issue is isolated to the drive motor circuit.
Check these components:
– Drive belt condition
– Motor controller output
– Motor wiring integrity
– Safety key sensor function
This narrows the diagnostic search significantly, eliminating the incline motor and main PSU from consideration.
Motor Replaced, Still No Movement
When a new motor or controller fails to restore function, the power supply becomes the hidden culprit. A weak PSU can power lights and sensors but fail under motor load demands.
Test: Measure voltage at the motor terminals during startup. If voltage drops to zero or stays abnormally low, the PSU cannot deliver sufficient current.
Fix: Replace the PSU, which is often the final missing link in stubborn repair cases.
Prevent Future Failures
Regular maintenance keeps your treadmill running smoothly and extends component lifespan. These simple habits prevent the most common causes of belt failure.
Lubricate Every 3 to 6 Months
Dry decks destroy motors over time. Apply 100% silicone lubricant under the belt edges, then run at 2 mph for 5 minutes to distribute it. Repeat every 150 miles or 6 months, whichever comes first.
Use a Surge Protector
Voltage spikes destroy sensitive controller boards. Plug your treadmill into a surge protector rated at 1500 joules or higher. Basic power strips offer no protection against electrical damage.
Stay Within Weight Limits
Exceeding the manufacturer’s weight capacity strains the motor and electronics. This leads to premature failure of multiple components. Check your treadmill’s specifications and respect the limits.
Align the Belt Monthly
A misaligned belt increases drag and motor workload. Adjust rear roller bolts to center the belt and prevent uneven wear. This simple monthly check prevents costly repairs down the road.
Frequently Asked Questions About Treadmill Motors Running Without Belt Movement
Why does my treadmill motor hum but the belt won’t move?
A humming motor with a stationary belt typically indicates a slipped or broken drive belt. The motor generates torque, but power cannot transfer to the walking surface. Alternatively, a failed controller board may send insufficient voltage to sustain movement. Start by inspecting the drive belt for visible damage or disconnection.
How do I know if my treadmill controller board is bad?
Common signs include Error Code 4 (four red flashes on NordicTrack models), a relay click followed by immediate shutdown, and console lights working without belt response. Test the controller output with a multimeter. If voltage at the motor terminals reads 0V or below 8VDC during startup, the controller has likely failed.
Can a treadmill work with a broken drive belt?
No. A broken or missing drive belt prevents any power transfer from motor to walking belt. Operating the treadmill in this condition causes the motor to overheat under load, potentially destroying it. Replace the drive belt immediately before further use.
How much does it cost to fix a treadmill that won’t move?
Repair costs vary by component. Drive belts cost $25 to $50, power supplies run $30 to $70, and controller boards range from $80 to $180. Motor replacement costs $150 to $300. Professional diagnostic fees add around $150, but DIY troubleshooting eliminates this expense for most issues.
What does Error Code 4 mean on a NordicTrack treadmill?
Error Code 4 (four red LED flashes) indicates controller board failure. The system attempts to start the motor, detects no response, and shuts down to prevent damage. Replace the controller board with a compatible unit to resolve this error. Universal boards work across NordicTrack, ProForm, and Horizon models.
How do I test a treadmill motor without power?
Perform the paper clip test. Unplug the treadmill, disconnect motor wires from the controller, and clip a paper clip across the motor terminals. Try turning the front roller by hand. Significant resistance means windings are intact. Easy rotation indicates broken windings requiring motor replacement.
Key Takeaways for Fixing a Treadmill Motor Running Without Belt Movement
When your treadmill motor runs but the belt stays frozen, start with the simplest fixes first. Check the drive belt for slippage or breakage, lubricate the deck with 100% silicone oil, and inspect the safety key. Most issues stem from mechanical problems or electronic control failures, not the motor itself.
Use the paper clip test and multimeter voltage checks to confirm component health before purchasing replacements. Replace the controller board for Error Code 4, and never overlook the power supply even when lights illuminate normally. Systematic testing pinpoints the exact failure without guesswork.
Regular maintenance prevents most treadmill problems. Lubricate every 3 to 6 months, use a quality surge protector, and respect weight limits. These simple habits keep your treadmill running reliably for years. If DIY troubleshooting feels overwhelming, professional repair services offer 50 to 80% savings compared to buying new equipment, with typical turnaround times of 2 to 5 days.



