
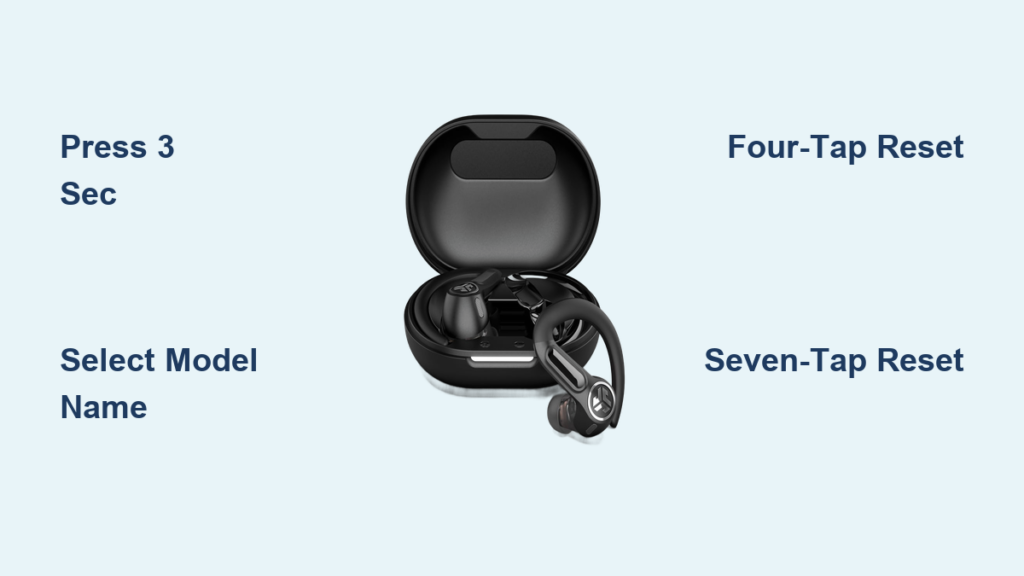
You just pulled your new JLab Sport earbuds out of the box, eager to start your workout playlist. Instead of music, you’re staring at blinking lights and wondering how to connect JLab Sport earbuds to your phone. This confusion is common, especially with multiple JLab models like J.Buds Air Sport, GO Air Sport, and Epic Air Sport ANC behaving slightly differently.
The good news: pairing JLab Sport earbuds is straightforward once you follow the correct sequence. This guide walks you through every step, from first-time pairing to fixing silent earbuds and mastering touch controls. Every instruction here comes directly from official JLab protocols and model-specific behaviors.
By the end, you will know exactly how to pair, reconnect, reset, and troubleshoot your earbuds without guesswork.
Power On and Activate Your Earbuds for Pairing
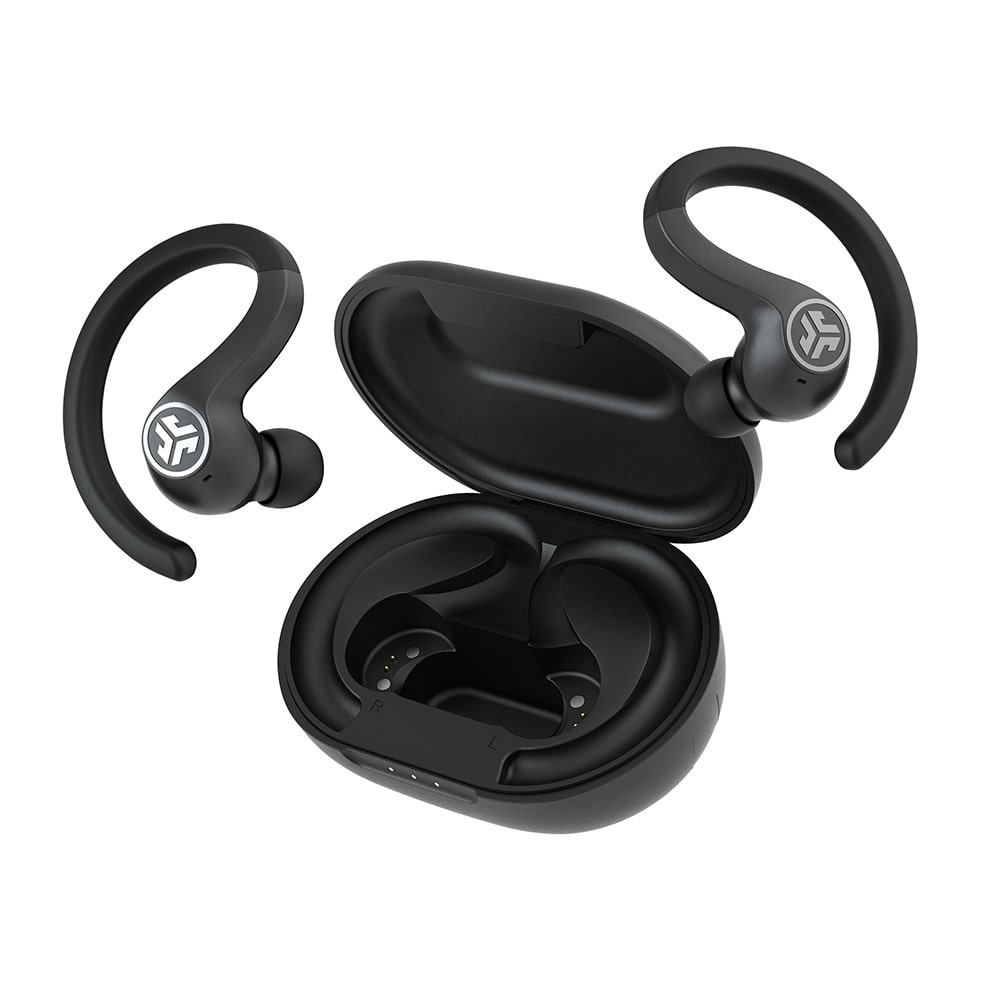
Before any Bluetooth connection happens, your earbuds must be in pairing mode. The activation method depends on which JLab Sport model you own.
Remove Protective Stickers and Power On
Start by taking both earbuds out of the charging case. Peel off any film covering the touch sensors or charging contacts. For J.Buds Air Sport, Epic Air Sport ANC, and GO Air Sport models, press and hold the touch sensors on both earbuds at the same time for three seconds. The right earbud will blink blue and white, signaling it is ready to pair.
For JBuds Air Pro, place the earbuds back in the case, close the lid, wait three seconds, then reopen and remove them. For GO Air Pop or GO Air Tones, pull the tab inside the case. The case light will pulse blue to show readiness.
Pro Tip: If no lights appear, your earbuds may need charging. Place them in the case and look for a blue charging indicator.
Understand LED Light Patterns
Your earbuds communicate their status through colored lights. Learning these patterns saves time:
- Blinking blue and white (right earbud): Ready to pair with a new device
- Solid white (both earbuds): Successfully connected
- Pulsing blue (case): Earbuds are charging inside (GO Air models)
- Red light (case): The case itself is charging (GO Air Sport)
If you do not see the blinking blue and white pattern, repeat the three-second press or try resetting the pairing attempt.
Complete the First-Time Bluetooth Connection
Once your earbuds are in pairing mode, your phone or tablet needs to find and select them. This step works the same across most devices.
Enable Bluetooth on Your Device
Open your phone or tablet settings and turn on Bluetooth. Wait a few seconds for the device to scan for nearby Bluetooth signals. Make sure no other JLab earbuds are active nearby, as this can cause confusion.
Select the Correct Model Name
From the list of available devices, choose the exact match for your model:
- J.Buds Air Sport: Select “JLab J.Buds Air Sport”
- GO Air Sport: Select “JLab GO Air Sport”
- Epic Air Sport ANC: Select “Epic Air Sport ANC”
- GO Air: Select “JLab GO Air”
Avoid generic entries like “Bluetooth Device.” If you do not see your model listed, toggle Bluetooth off and back on, then rescan.
Confirm the Connection
After selecting your model, wait for the voice prompt. Most models say “Bluetooth connected,” while GO Air series models say “You’re connected.” The blinking light will stop and turn solid white on both earbuds, confirming a successful link.
Warning: Do not confuse similar model names. Forgetting old JLab entries before pairing prevents connection conflicts.
Auto-Reconnect to Your Last Paired Device
After the first successful pairing, your JLab Sport earbuds remember your device. They reconnect automatically when removed from the case.
Verify Auto-Reconnect Works
Keep Bluetooth turned on and stay within 30 feet of your device. Open the case and remove the earbuds. They power on automatically and reconnect within three to five seconds.
Look for these signs of success:
– A voice confirmation saying “Bluetooth connected”
– Solid white lights on both earbuds (J.Buds Air Sport)
– Blinking lights stopping (GO Air models)
Troubleshoot a Failed Auto-Reconnect
If your earbuds do not reconnect automatically, check for these common causes:
– Your previous device is still active and within range
– Bluetooth is disabled on your phone
– The earbuds are out of range or low on battery
Quick fix: Turn off Bluetooth on all nearby devices. On your main phone, toggle Bluetooth off, wait ten seconds, then turn it back on. Remove the earbuds from the case again.
If the issue continues, proceed to a reset method covered later in this guide.
Pair with a New or Secondary Device
Want to use your JLab earbuds with a tablet, laptop, or a friend’s phone? You will need to pair them as a fresh device. Only one connection works at a time on standard Sport models.
Forget the Old Connection First
Auto-reconnect can cause problems when switching devices. To prevent this:
- Open Bluetooth settings on your previous phone
- Find your JLab earbuds in the paired list
- Tap “Forget” or “Unpair”
This clears the old link and allows the earbuds to accept a new pairing request.
Trigger Pairing Mode Manually
If removing the earbuds does not activate pairing mode, press and hold both touch sensors for three seconds until the right earbud blinks blue and white. Alternatively, place both buds in the case, close the lid for five seconds, then reopen and remove them.
Connect to the New Device
On your new device, enable Bluetooth and search for available devices. Select the correct JLab model name from the list. Wait for the voice prompt and verify that the lights turn solid white.
Note: Some JLab models support multipoint pairing, but standard Sport versions connect to only one device at a time.
Fix the Left Earbud When It Stops Working
One of the most frustrating issues is sound playing only in the right earbud. The left side goes silent, even when fully charged and properly seated.
Diagnose the Sync Problem
When the left and right earbuds lose synchronization, audio cuts out on one side. This happens after a failed update, interference from other wireless signals, or physical obstruction between the buds.
The solution is to resynchronize the earbuds using the four-tap reset method.
Perform the Four-Tap Reset
This technique repairs the earbuds to each other without affecting your phone’s Bluetooth memory:
- Forget the JLab device in your phone’s Bluetooth settings
- Place both earbuds in the charging case
- On the left earbud, tap the touch sensor four times quickly
- Repeat the four taps on the right earbud
– Visual cue: Each earbud blinks blue four times, then shows solid blue - Wait ten seconds with both buds inside the case
- Remove them and hold them within two inches of each other
- Wait for the left to show solid white and the right to blink blue and white
- Reconnect via your phone’s Bluetooth menu
After this reset, both earbuds should play audio normally.
Pro Tip: Always perform this reset with the case nearby and ensure both earbuds are charged.
Factory Reset to Clear All Pairing Data

When nothing else works and pairing still fails, a full factory reset may be necessary. This clears every paired device from your earbuds’ memory.
Use the Seven-Tap Reset Method
Follow these steps carefully:
- Confirm the charging case is fully charged
- Place both earbuds in the case
- On the first earbud, tap the sensor seven times quickly
– Feedback: The blue light blinks four times rapidly - Repeat the seven taps on the second earbud
- Remove both earbuds from the case
They will now enter first-time pairing mode, with one solid white and one blinking blue and white.
- Delete any old JLab entries from your phone’s Bluetooth settings
- Pair the earbuds as if they were brand new
Warning: This erases all pairing history. You will need to reconnect every device afterward.
Troubleshoot Persistent Connection Problems
Even after a reset, some issues persist. Here is how to diagnose and fix stubborn connection problems.
Reduce Bluetooth Interference
JLab earbuds use Bluetooth 5.0 or higher and work best within 30 feet of your device. Common interference sources include:
– Wi-Fi routers
– Microwaves
– Other active Bluetooth devices like headsets or speakers
Move closer to your phone and turn off unused wireless equipment when possible.
Toggle Your Device’s Bluetooth
Sometimes the problem lies with your phone, not the earbuds. Try this simple fix:
- Turn Bluetooth off on your device
- Wait ten seconds
- Turn Bluetooth back on
- Remove the earbuds from the case
This refreshes the connection and often resolves pairing hangs.
Inspect for Physical Damage
Check the gold charging contacts on each earbud stem and the pogo pins inside the case. Clean them with a dry cotton swab if dirt or debris is present. Dirty contacts prevent proper charging and cause erratic behavior.
Master Touch Controls After Connecting

Once connected, take full control of your listening experience using touch gestures on each earbud.
Left Earbud Functions
Tap the left earbud to access these controls:
– Single tap: Lower volume
– Double tap: Activate Siri or Google Assistant
– Hold one second: Rewind current track
– Triple tap: Cycle between Signature Balance and Bass Boost EQ modes
Right Earbud Functions
The right earbud handles media and call controls:
– Single tap: Increase volume or answer a call
– Double tap: Play or pause music, or end a call
– Hold one second: Skip to the next track or reject a call
– Triple tap: Toggle voice assistant mode on or off
Note: The right earbud is the master unit and handles all call functions independently.
Use One Earbud for Calls and Awareness

Need to hear your surroundings during a run or commute? You can use a single earbud.
Right Earbud Solo Mode
Remove only the right earbud from the case. It will:
– Play full stereo audio
– Respond to all touch controls
– Auto-pause when placed back in the case
This mode works perfectly for quick calls or staying alert in public spaces.
Left Earbud Limitation
The left earbud is a slave unit. It cannot function independently and requires the right earbud to be active. Using the left bud alone results in no sound and no response.
Tip: Store the left bud in the case when using only the right to preserve battery life.
Charge and Maintain Battery Health
Proper charging habits extend battery life and prevent connection drops caused by low power.
Fast Charge for Quick Power
Need power in a hurry? Place the earbuds in the case for just five minutes to get up to one hour of playback time. A blue light on the earbud indicates charging, and the light turns off when fully charged.
Charge the Case Safely
Use the built-in USB cable (Micro-USB on older models) and plug it into a 5V/1A wall adapter or a computer USB port. Avoid high-power chargers like 2A fast chargers or USB-C PD adapters, as they can damage the small lithium-ion battery over time.
Case light indicators include:
– Pulsing white: Case is charging
– Solid white: Case is fully charged
– Red light: Case is charging (GO Air Sport models)
Ensure Secure Fit and Long-Term Durability
JLab Sport earbuds are built for active use, but proper fit and care matter.
Choose the Right Ear Tips
Your earbuds include multiple tip options:
– Gel tips: Available in small, medium, and large sizes for a snug seal
– Cloud Foam tips: Designed for noise isolation and sweat resistance
Try different sizes to find the best fit. A proper seal improves sound quality and prevents slippage during workouts.
Understand the IPX7 Water Resistance
Rated IPX7, these earbuds handle heavy sweat, rain, and accidental submersion in water up to one meter for 30 minutes. Avoid swimming with them or exposing them to saltwater. Rinse with fresh water if needed and dry thoroughly before charging.
Prevent Common Connection Mistakes
Avoid these pitfalls that lead to pairing failures and reduced lifespan.
Use the Correct Charger
Using a 2A or USB-C PD charger may degrade battery health over time. Always stick to a 5V/1A power source to protect the lithium-ion cells.
Always Store in the Case
Leaving earbuds loose invites problems:
– Dirt accumulates on charging contacts
– Accidental button presses drain the battery
– The IPX7 seals can become compromised
The case protects and charges your earbuds. Use it consistently.
Clean Contacts Monthly
Wipe the earbud stems and case pins once a month with a dry cloth. Buildup prevents charging and causes connection errors that seem like Bluetooth issues.
Frequently Asked Questions About JLab Sport Earbuds
How do I put my JLab Sport earbuds in pairing mode?
Press and hold the touch sensors on both earbuds simultaneously for three seconds. The right earbud will blink blue and white, indicating it is ready to pair. For JBuds Air Pro, place them in the case, close the lid for three seconds, then remove them.
Why is only one JLab earbud working?
The left and right earbuds have lost synchronization. Perform the four-tap reset by tapping each earbud’s touch sensor four times while they sit in the case. Wait ten seconds, then remove them and hold them close together to resync.
Can I connect JLab Sport earbuds to two devices at once?
Standard JLab Sport models connect to only one device at a time. To switch devices, forget the earbuds on your previous device first, then pair them with the new one through your Bluetooth settings.
How long does it take to charge JLab Sport earbuds?
A five-minute charge in the case provides up to one hour of playback. Full charging takes longer depending on the model. Always use a 5V/1A power source to avoid battery damage.
What should I do if my JLab earbuds will not pair?
Start by toggling Bluetooth off and back on your device. Forget any old JLab entries in your Bluetooth settings. If pairing still fails, perform the seven-tap factory reset on both earbuds while they sit in the case.
Why do my JLab earbuds keep disconnecting?
Connection drops usually stem from being more than 30 feet from your device or interference from Wi-Fi routers, microwaves, or other Bluetooth devices. Move closer to your phone and reduce nearby wireless activity.
Key Takeaways for Connecting JLab Sport Earbuds
Connecting JLab Sport earbuds becomes effortless once you understand the core steps. Start by activating pairing mode with a three-second press on both touch sensors, then select your exact model name in your device’s Bluetooth menu. Watch for solid white lights and the “Bluetooth connected” voice prompt to confirm success.
When problems arise, the four-tap reset fixes most sync issues, especially when the left earbud goes silent. For deeper issues, the seven-tap factory reset clears all pairing memory and gives you a fresh start. Always forget old JLab entries on your devices before attempting new pairings.
Your next step: grab your earbuds, follow the activation steps above, and enjoy your music within minutes. If you hit a snag, return to the troubleshooting sections for a quick fix.



