A loose metal watch band can slide around your wrist, cause discomfort, or even risk losing your timepiece. Fortunately, learning how to shorten a metal watch band is a practical skill that ensures a snug, secure fit, whether you’re adjusting a new purchase or reviving an old favorite. Most metal bracelets come with extra links because manufacturers design them to fit a wide range of wrist sizes. This guide walks you through every step of removing links safely, using the right tools, and avoiding common mistakes.
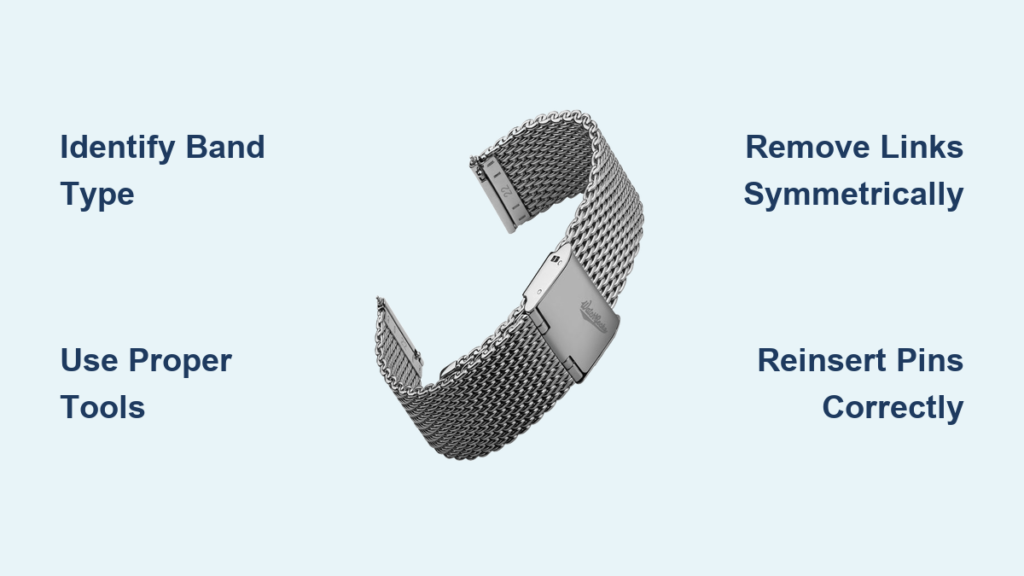
Identify Your Watch Band Type
Before removing any links, determine what kind of metal band you’re working with. The method depends entirely on how the links are connected.
Check for Push Pins or Arrows
Flip the watch over and examine the inside of the bracelet. Look for small arrows stamped into the links indicating the direction to push out the pins. This design is common on stainless steel bracelets from brands like Casio, Seiko, and Citizen. If you see arrows, you’re dealing with a push-pin connected band, the most common type.
Look for Screws Instead of Pins
Some metal bands, especially mesh or shark-mesh styles, use tiny screws instead of pins. These require two small screwdrivers (typically 2.5 mm) to remove. Milanese straps and certain vintage models like Fortis or Berwick fall into this category. If there are no pins but visible screw heads on both ends of a link, use the screw method.
Spot a Magnetic Milanese Loop
If your band has a smooth, woven metal surface with a sliding magnetic clasp, it’s a Milanese loop. These don’t require link removal at all. Adjustment is tool-free and done by sliding the clasp along the strap.
Recognize Non-Adjustable Bands
Some budget watches use solid, folded metal bands without removable links. These cannot be shortened without damaging the band. Confirm yours has removable links before proceeding.
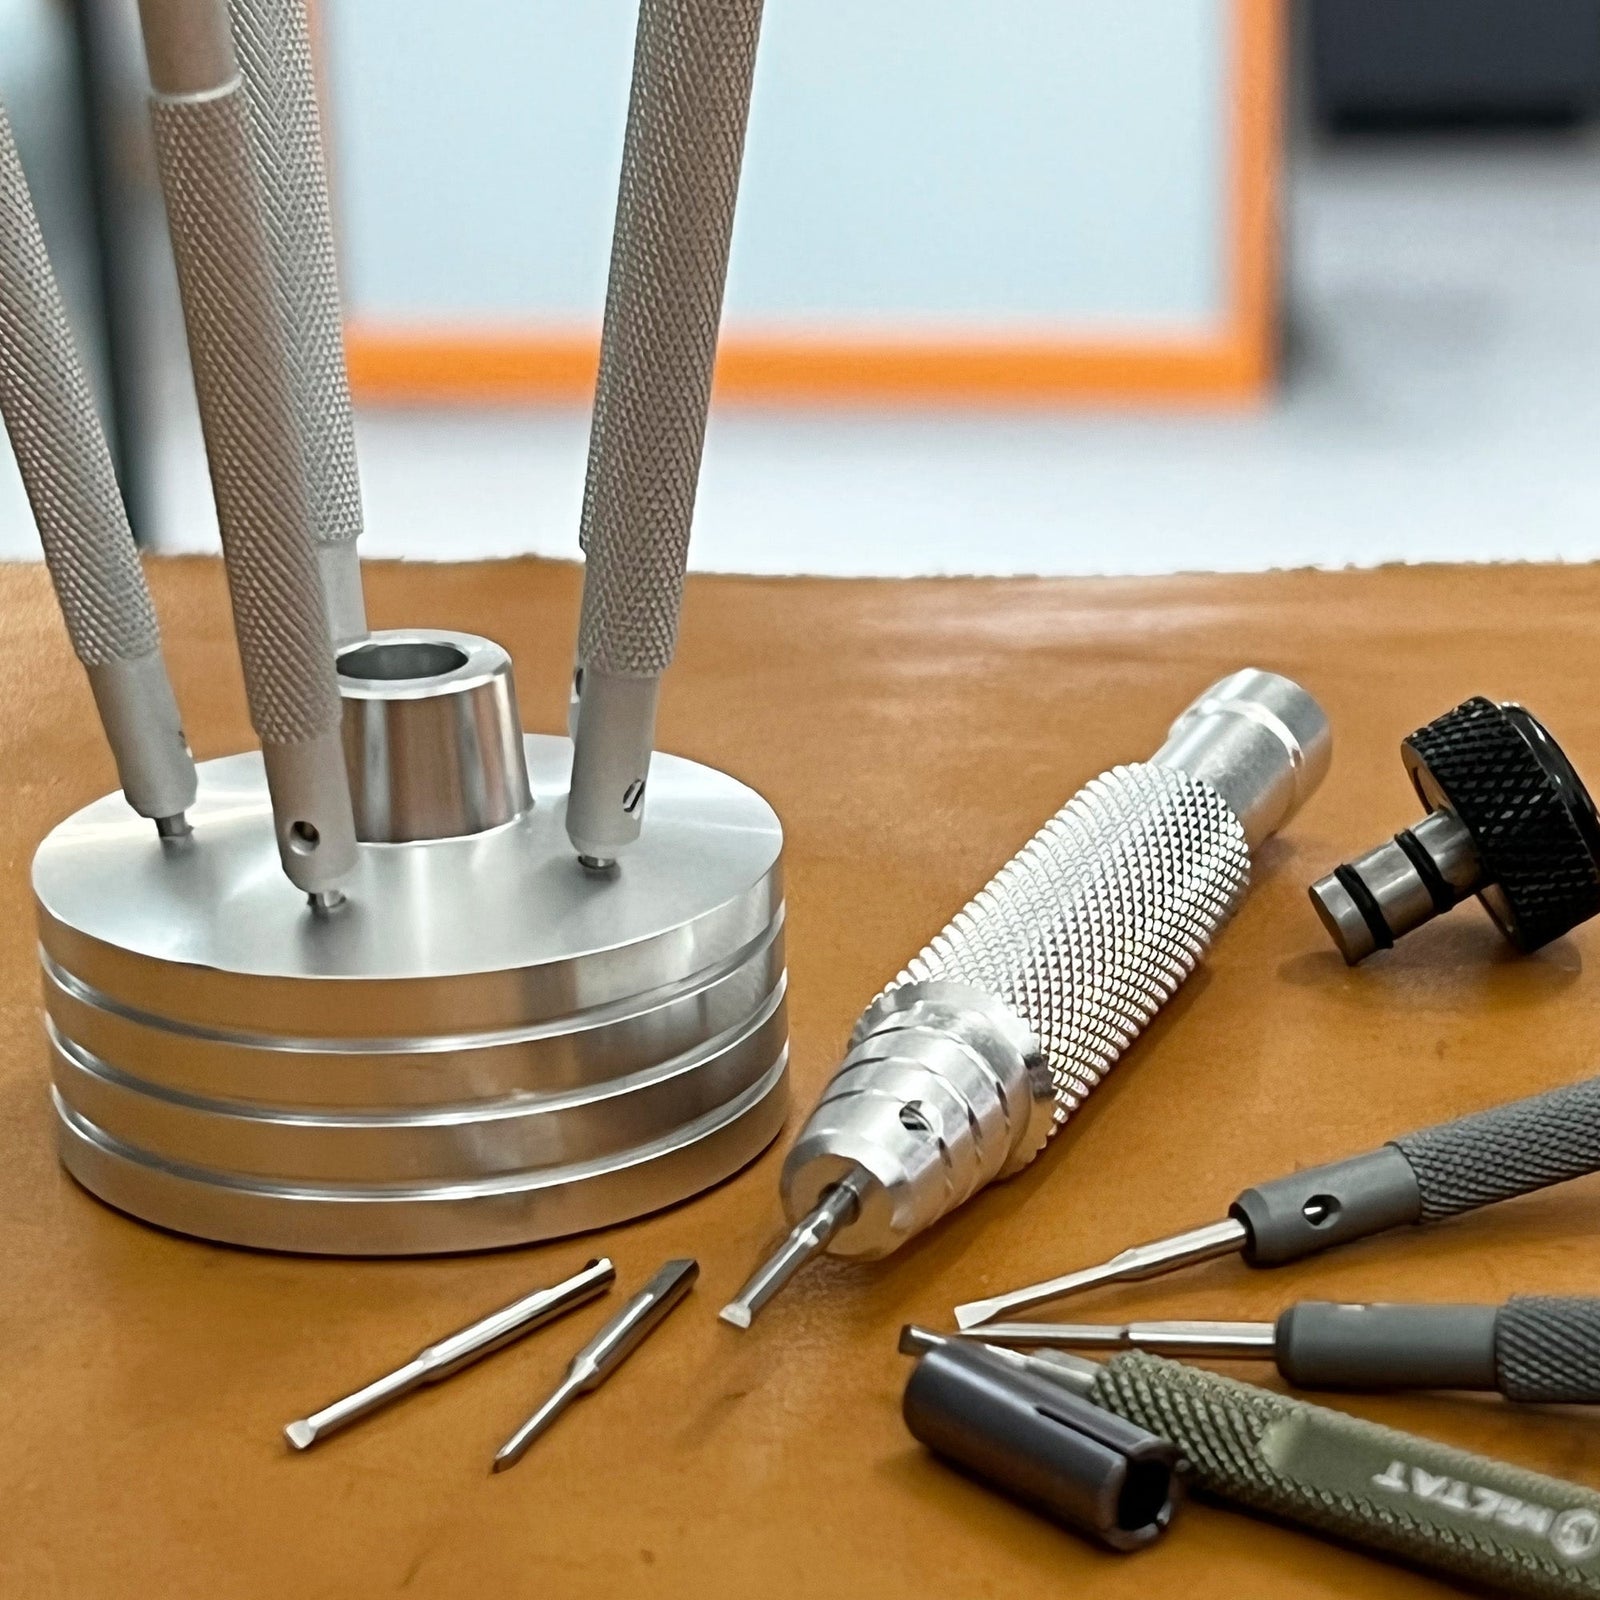
Gather the Right Tools

Using proper tools increases success and prevents scratches or bent pins.
Essential Tool: Pin Pusher
A pin pusher tool is the most important item for push-pin bracelets. It provides controlled pressure to eject pins without slipping. You can buy one online for under $10. Without it, you risk bending the pin or damaging the link.
Alternatives for Home Use
If you don’t have a pin pusher, consider these options:
• Use a thumbtack or nail as a makeshift punch
• Tap gently with a spoon handle or hammer
• Guide pins with a toothpick or wooden skewer
• Pull pins with tweezers or needle-nose pliers
Warning: Household items increase the risk of scratches or pin damage. Use them only on inexpensive watches.
Specialized Tools for Screw Bands
For screw-connected bands, you’ll need two 2.5 mm flathead or Phillips screwdrivers. Using two screwdrivers prevents slippage. One holds the screw head steady while the other turns the opposite side.
Protect Your Workspace
Always work on a soft surface like a microfiber cloth, thick carpet, or leather punch pad. This protects the watch and allows pins to pass through freely. Place a small bowl underneath to catch falling pins. These tiny parts are easy to lose.
Remove Links Symmetrically
Proper balance keeps the clasp centered and maintains the bracelet’s appearance.
Why Balance Matters
Removing an equal number of links from both sides ensures the watch sits straight on your wrist. An unbalanced band can twist or pull to one side.
Handling Odd Numbers
If you need to remove an odd number of links (e.g., 3), take one extra link from the bottom half (near the 6 o’clock position). This keeps the clasp aligned and functional.
Start From the Bottom
Begin removing links from the lower section of the band first. This preserves the aesthetic flow of directional links and maintains structural integrity.
Push Out Pins Safely
Follow the arrow directions to avoid damage.
Align With the Arrow
The arrows inside the links show which way the pin should be pushed. Always push in the direction of the arrow. Pushing the wrong way can bend the pin or damage the link.
Position the Band Correctly
Place the watch so the pin can exit freely. Use a hole in a soft surface (like a folded towel over a book) so the pin doesn’t hit the table.
Apply Steady Pressure
Set the pin pusher tip on the pin head. Press down slowly and evenly. Don’t rush. Sudden force can slip and scratch the metal.
Pro Tip: If the pin sticks, nudge it from the other side with a dental pick. Never twist or wiggle excessively.
Remove the Link
Once the pin is fully ejected from one side, slide it out completely and remove the unwanted link. Repeat on the opposite side if needed.
Reinsert Pins Correctly
Putting the pin back wrong can lead to a loose or unsafe connection.
Insert Against the Arrow
Reinsert the pin from the opposite direction of the arrow. The rounded end goes in first, followed by the split (grooved) end.
Use Tweezers for Control
Hold the pin with tweezers to guide it into the hole. This prevents dropping and ensures alignment.
Tap Gently Until Flush
Use a soft tool (a plastic stick, cloth-covered hammer, or the edge of tweezers) to tap the pin into place. Stop when it’s flush with the link or slightly protruding, matching the original look.
Never hammer directly with metal tools. This dents the finish.
Test Stability
After reassembly, flex the link gently. It should move smoothly but feel secure. If it wobbles, the pin isn’t fully seated. Push it in further.
Adjust Screw-Connected Mesh Bands
Some metal bands use screws instead of pins.
Locate the Screws
Find the small screws on both ends of the link you want to remove. These are common on Milanese or shark-mesh straps.
Use Two Screwdrivers
Place one screwdriver on the screw head to hold it in place. Use the second to turn the opposite screw counterclockwise. This prevents slippage and protects the screw slot.
Remove and Reconnect
Take out both screws, remove the link, and reassemble the bracelet. Tighten the screws securely, ensuring they sit flush.
Expert Note: Some models require holding an internal mechanism while unscrewing. Refer to brand-specific guides if unsure.
Resize a Milanese Magnetic Loop
No tools are required. Adjustment is quick and reversible.
Lift the Locking Plate
Insert a flathead screwdriver or fingernail into the gap on the side of the clasp. Gently lift the metal plate upward to release tension.
Slide the Clasp
Move the clasp up or down the mesh band to your desired position. Make sure the groove on the back of the clasp aligns with the groove on the strap.
Misalignment means the clasp won’t lock properly.
Click It Back
Press the locking plate down until it clicks into place. Test the closure by pulling gently. It should hold firmly.
Time: Less than 60 seconds.
Handle Stretch or Expansion Bands
These flexible bands expand over your hand and contract for a snug fit.
Pry Out the Pin
Use a small flathead screwdriver to gently lift one end of the pin. Work carefully to avoid scratching the metal.
Remove from Both Sides
Repeat on the opposite side of the same link. Once both ends are free, remove the link.
Reinsert the Pin
Guide the pin through both links using tweezers. Press it through evenly and tap it flush with a soft tool.
Caution: These pins are tiny. Work over a tray to avoid losing them.
Avoid Common Mistakes
Even small errors can ruin the band or compromise safety.
Don’t Ignore the Arrows
Pushing pins the wrong way is the #1 cause of bent pins and damaged links. Always double-check arrow direction.
Never Use Excessive Force
If a pin won’t budge, stop. Apply a drop of light lubricant (like WD-40) and wait a few minutes. Forcing it can warp the pin beyond repair.
Prevent Scratches
Use soft tools and a clean cloth. Cover metal tools with tape if needed. Scratches reduce resale value, especially on luxury watches.
Keep Removed Parts
Store extra links and pins in a labeled bag. You may need them if your wrist size changes or you resell the watch.
Know When to See a Professional
Some bands are too complex or valuable for DIY.
Signs You Need a Watchmaker
Consider professional help if you notice these warning signs:
• No visible pins or arrows (may indicate a riveted or proprietary design)
• Pins won’t move despite correct technique
• Asymmetric or interlocking links (e.g., Junghans Meister Mega)
• Luxury watches like Rolex, Omega, or Patek Philippe (amateur work can devalue them)
• Bent or damaged pins (replacements require exact specs)
Free Adjustments Available
Many jewelers and online retailers offer free bracelet adjustments at purchase. Always provide your wrist size when buying a new watch.
User Insight: “I think you need to go to a watch repairer.” A reminder that knowing your limits protects your investment.
Troubleshoot Common Problems
Fix issues fast with these solutions.
Pin Won’t Come Out
Cause: Wrong direction, corrosion, or tight fit
Fix: Recheck arrow direction; apply lubricant; use a longer punch
Pin Is Bent
Cause: Excessive force or misaligned tool
Fix: Replace the pin. Visit a watchmaker for an exact match.
Link Feels Loose
Cause: Pin not fully seated
Fix: Use a pin pusher to tap it in until flush
Clasp Won’t Close
Cause: Grooves misaligned (Milanese) or uneven link removal
Fix: Recheck alignment; ensure symmetrical removal
Lost a Screw or Roller
Cause: Careless disassembly
Fix: Work over a tray next time; store parts immediately
Maintain Your Band After Adjustment
Keep your watch looking sharp and functioning well.
Clean the Bracelet
Wipe down the band with mild soapy water and a soft brush. Remove any oils from handling or tools.
Dry Thoroughly
Pat dry with a lint-free cloth. Moisture can cause water spots or corrosion over time.
Inspect Periodically
Check that pins and screws remain tight after regular wear. A loose pin could lead to link loss.
Store Spare Links
Keep removed links and pins in a labeled container. Future resizing or repairs may require them.
Frequently Asked Questions About Shortening a Metal Watch Band
Can I shorten a metal watch band without tools?
Yes, you can use household items like a thumbtack, toothpick, or nail as a makeshift pin pusher. However, this method carries higher risk of scratching the metal or bending pins. It’s best suited for inexpensive watches rather than luxury timepieces.
How do I know if my watch band is adjustable?
Look for small arrows stamped on the inside of links (push-pin style) or visible screws (screw-connected style). If you see neither and the band appears folded or stamped from a single piece, it may not be adjustable.
What happens if I remove links unevenly?
Removing more links from one side than the other throws off the watch’s balance. The clasp won’t sit centered, and the watch may twist or pull to one side during wear.
Can I resize a Milanese loop metal watch band?
Yes. Milanese loops have a sliding magnetic clasp that adjusts without tools. Simply lift the locking plate, slide the clasp to your desired position, and press it back down. No pin removal is needed.
Should I take my luxury watch to a professional for band adjustment?
For high-value watches like Rolex, Omega, or Patek Philippe, professional adjustment is strongly recommended. Amateur work can scratch the finish, damage links, or even devalue the timepiece. Many jewelers offer free adjustments with purchase.
Key Takeaways for Shortening Your Metal Watch Band
Shortening a metal watch band improves comfort, security, and style. With the right approach, most adjustments can be done at home, especially on standard push-pin bracelets. However, precision matters. A single mistake can damage an expensive timepiece.
The most important steps are identifying your band type, using the correct tools (or knowing when to use household alternatives), and always removing links symmetrically. Follow arrow directions when pushing pins, and reinsert them in the reverse direction with the rounded end first.
For high-value watches or uncertain designs, trust a professional. Many jewelers and watchmakers offer free adjustments, especially at the time of purchase. Whether you’re fine-tuning a $20 fashion watch or a premium diver, a perfect fit means your watch stays where it belongs: on your wrist, in style, and ready for action.


