You’ve just gotten a new wristwatch with an expansion band, or maybe you’ve inherited one that doesn’t quite fit. Unlike traditional metal bracelets that use pins or screws, expansion bands stretch over the wrist without needing a clasp. But that doesn’t mean they’re one-size-fits-all. If your band feels too loose, you can adjust it by removing links from the expansion watch band for a snug, custom fit.
This process might seem intimidating, especially if you’ve never handled small watch components before. With the right tools and a careful approach, resizing your expansion band is entirely doable at home. The key lies in understanding how the C-clips and locking tabs work to hold each link in place. In this guide, you’ll learn exactly how to remove links from expansion watch band safely and effectively.
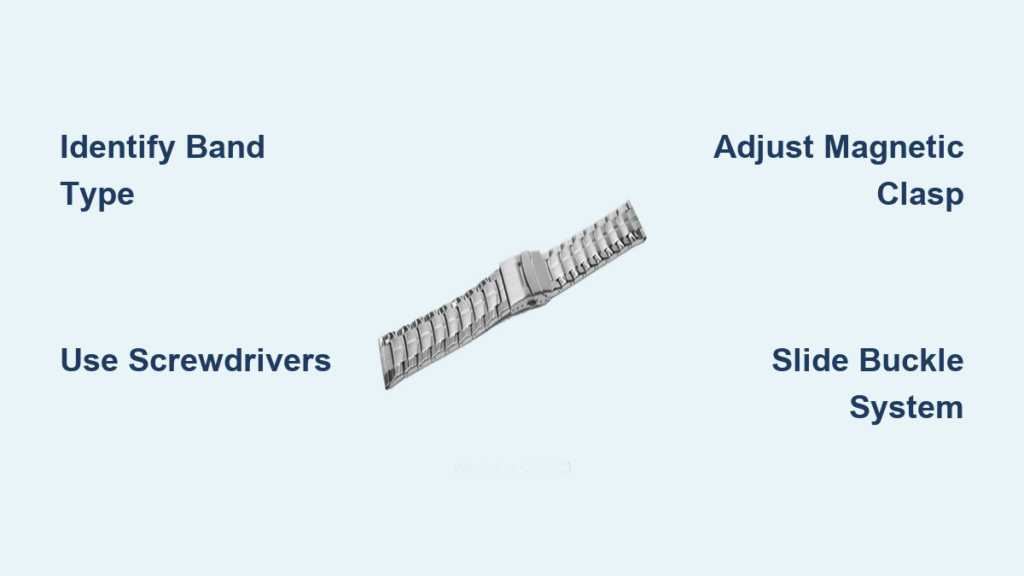
Identify Removable Link Segments
Before making any adjustments, inspect your expansion band closely. Most are symmetrical, with removable link segments on both sides of the central crown area. These segments are held together by C-clips and secured with locking tabs.
Check for Adjustment Symmetry
To maintain even tension and smooth expansion, always remove the same number of links from each side. Removing more from one side can cause uneven movement, misalignment, or premature wear.
- Try the watch on first. If it’s loose, note how many full segments feel excessive. Each segment typically removes about 5-7mm of length.
Locate Locking Tabs and Clip Housings
Flip the watch over and examine the inner side of the band. Near the joints between links, look for small metal tabs. These are the locking tabs that prevent the C-clips from sliding out.
Find the Clip Access Points
Each link segment connects via two ends, and each end has specific components you need to access.
- A C-clip seated in a groove
- Two locking tabs (one on top, one on bottom) bent over the clip’s ends
You’ll need to access four tabs per link side, two at each connection point. These are often hidden along the seam where links meet.
- Visual Cue: The tabs are thin, slightly raised metal flaps. Use a bright light and magnifier if needed.
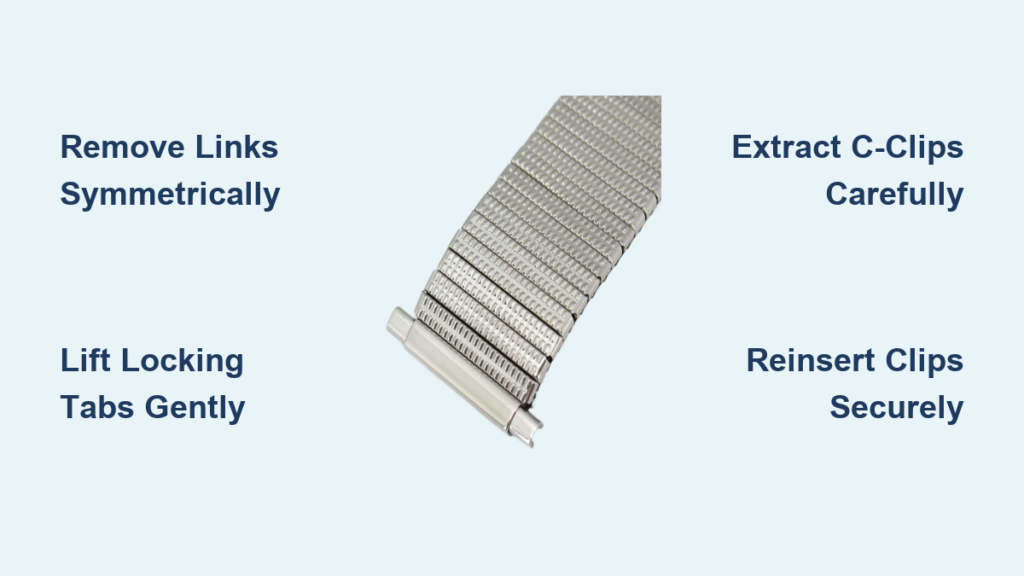
Lift Locking Tabs Safely
Use a precision flathead tool or watchmaker’s knife to gently pry up the tabs. This is one of the most delicate steps. Bend too hard, and you risk breaking the tab or scratching the band.
Pry Up Adjacent Tabs
- Position the blade under one tab and apply upward pressure slowly.
- Lift two adjacent tabs on the same end of the link.
- Repeat on the opposite end of the same segment.
-
Do this on both sides of the band if removing multiple links.
-
Warning: Never force the tool. If a tab resists, double-check your angle. A bent or broken tab compromises clip security.
Extract C-Clips Without Damage

Once the tabs are lifted, the C-clips are free to slide out, but they may be under slight spring tension. Handle them carefully to avoid losing or damaging them.
Use Non-Magnetic Tweezers
- Grip the end of the U-shaped clip with non-magnetic tweezers.
- Pull straight out along the axis of the groove.
-
Place removed clips in a parts tray immediately to avoid losing them.
-
Note: Some clips have a directional curve. Make a mental note or take a photo before removal for correct reinstallation.
Slide Out the Target Link Segment
With both C-clips removed from one side, gently pull the link segment apart from the rest of the band. Most segments consist of two interlocking halves (top and bottom). Remove them as a unit.
Save Removed Links
Store the removed segment in a labeled container. You might need it later if your wrist size changes or you resell the watch.
- Time Estimate: This step takes 1-2 minutes per side once tabs and clips are free.
Repeat on Opposite Side
Balance is essential for proper function. Perform the identical process on the other side of the band.
Match Link Removal Exactly
- Remove the same number of segments to ensure even contraction and expansion.
-
Check that both sides look symmetrical before proceeding.
-
Expert Note: Asymmetrical removal can lead to wobbling, uneven pressure, or failure to return to shape.
Reinsert C-Clips Correctly

Now that the band is shortened, reassemble it by reinstalling the C-clips. This step is crucial for maintaining the band’s structural integrity.
Align Clips with Grooves
- Slide the C-clip back into the channel where the link was removed.
- Ensure the curved side faces the correct direction, usually concave toward the center of the band.
-
Push until the clip is fully seated.
-
Check Fit: The clip should sit flush and not protrude. If it binds, remove and realign.
Secure Locking Tabs Over Clip Ends
This finalizes the connection and prevents accidental dislodging during wear. Take your time with this step to ensure a secure fit.
Bend Tabs Back Into Place
- Use the edge of your precision tool to press each tab down over the end of the C-clip.
- Work slowly to avoid cracking the metal.
-
Aim for a flush finish with no sharp edges that could snag clothing or skin.
-
Pro Tip: Run your finger over the area after closing. It should feel smooth, not jagged.
Test Band Expansion Function
Before wearing the watch, verify the adjustment worked properly by testing the band’s movement.
Manually Expand and Contract
- Stretch the band gently with both hands.
- Release and observe how it returns to its original shape.
Look for these indicators of success:
- Smooth, even movement
- No sticking or hesitation
- Quiet operation with no rattling
If issues occur, reopen the link and check clip seating and tab security. Ensure no debris is caught in the joints.
Final Inspection and Cleanup
Give the entire band a close visual and tactile check before wearing your watch.
Inspect for Defects
- Are all tabs fully closed?
- Is there any tool-induced scratching?
- Do the links align cleanly?
Clean the Band
- Wipe with a soft, dry cloth.
- For deeper cleaning, use mild soapy water and a soft brush around joints.
- Dry thoroughly, especially under links, to prevent moisture buildup.
Common Mistakes to Avoid
Even experienced hobbyists make errors. Knowing what not to do is half the battle when learning how to remove links from expansion watch band.
Using Magnetic Tools
Magnetic tweezers or pliers can magnetize the watch movement, affecting accuracy. Always use non-magnetic tools for any watch work.
Skipping Symmetry
Removing more links from one side leads to uneven tension and poor performance. Always balance your adjustments.
Forcing Components
If a clip won’t move, don’t hammer or pry. Double-check tab position, as often one tab remains partially bent.
Losing Small Parts
C-clips are tiny and easy to lose. Work over a bench mat and use a parts tray to keep everything organized.
Troubleshoot Post-Adjustment Issues
| Problem | Likely Cause | Fix |
|---|---|---|
| Band feels loose | C-clip not fully inserted | Reopen, reseat clip, secure tabs |
| Stiff movement | Misaligned link or dirt in joint | Disassemble, clean, realign |
| Clip pops out | Tabs not covering ends | Re-bend tabs completely |
| Uneven expansion | Asymmetrical link removal | Remove matching links on both sides |
- Quick Test: Hold the watch vertically and let the band hang. It should contract evenly without sagging on one side.
Maintain Your Adjusted Band
Proper care extends the life of your expansion band and protects your investment in time.
Clean Regularly
- Every 2-3 months, clean with damp microfiber cloth.
- Avoid submerging unless the watch is rated for water resistance.
Inspect for Wear
- Check locking tabs for cracks or fatigue.
- Look at C-clips for deformation or corrosion.
Store Properly
- Keep the watch flat or on a stand.
- Avoid leaving it compressed in a drawer, which stresses the spring mechanism.
When to Seek Professional Help
While many adjustments can be done at home, some situations call for a watchmaker.
Seek Expert Service If
- The band uses screw-fastened end links
- You encounter unknown internal mechanisms
- Previous attempts caused damage or instability
- The brand is luxury or vintage (Rolex, Omega, etc.)
Professionals have specialized tools and experience to handle delicate designs without risk.
Key Takeaways for Removing Expansion Watch Band Links
Learning how to remove links from expansion watch band empowers you to customize your timepiece for comfort and style. By following these steps, locating tabs, lifting carefully, extracting clips, removing segments, and reassembling, you can achieve a perfect fit.
The most important points to remember are using non-magnetic tools, maintaining symmetry by removing equal links from both sides, and ensuring all tabs are fully secured before testing. Take your time with each step, and don’t force any component.
With patience and precision, your expansion band will function flawlessly for years. Whether you’re fine-tuning a daily wearer or restoring a classic, this skill ensures your watch always fits just right.
Frequently Asked Questions About Removing Expansion Watch Band Links
Can I remove links from both sides of my expansion band?
Yes, you can remove links from both sides. Most expansion bands are symmetrical, so removing links from both sides maintains balanced tension and smooth expansion. Always remove the same number of links from each side to prevent uneven movement.
What tools do I need to remove expansion band links?
You need a watchmaker’s bench knife or precision flathead tool, non-magnetic tweezers, thin-nose pliers, a bench mat, and a parts tray. Using non-magnetic tools is critical to avoid magnetizing the watch movement.
How many links can I remove from an expansion band?
Most expansion bands allow removal of 1-3 links per side, depending on the design. Some models have limited adjustability due to internal spring constraints. Check your specific band design before beginning.
Why won’t the C-clips come out?
If C-clips won’t come out, the locking tabs likely haven’t been fully lifted. Go back and ensure all four tabs (two at each end) have been pried up completely. Also verify you’re pulling in the correct direction along the clip’s axis.
How do I know if my adjustment was successful?
Test the band by manually expanding and contracting it several times. It should move smoothly without sticking, produce no rattling sounds, and contract evenly when released. If anything feels off, reopen the links and check clip seating.