Your Garmin watch dying after two years isn’t the end. Battery degradation is common, especially in models like the Fenix 5 Plus, Venu 2, or VivoActive 3, and while Garmin does not offer official battery replacement services, you can restore full performance with a DIY swap. Many users report battery life improvements, even exceeding original specs. This guide covers everything from identifying your exact part number to sourcing reliable batteries, using the right tools, avoiding fatal mistakes, and sealing your device for water resistance.
We will walk you through finding the correct battery part number, purchasing from trusted suppliers, gathering essential tools, performing the replacement step by step, and testing your device before final closure. You’ll save hundreds compared to buying new, plus extend your device’s life by years.
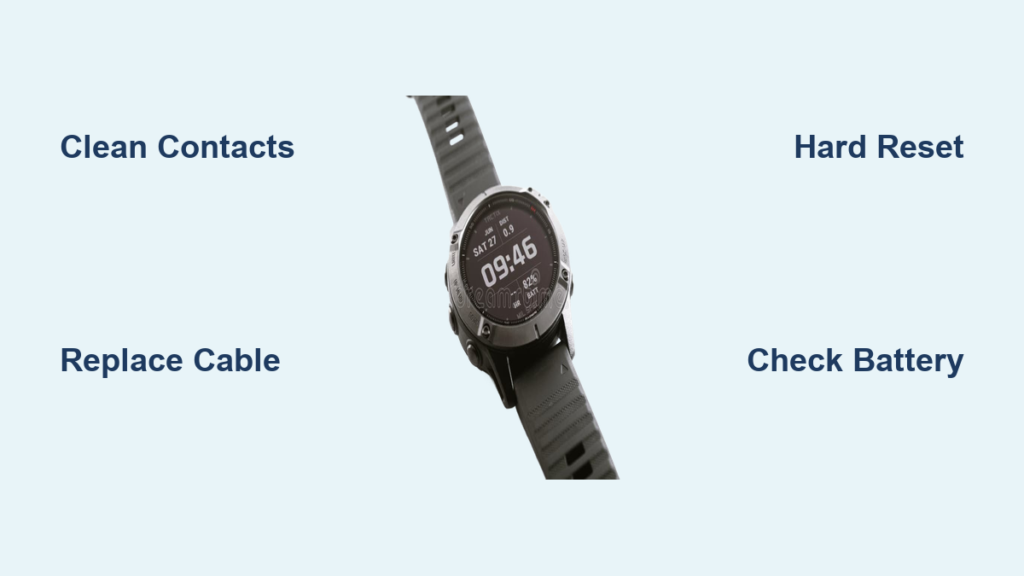
Confirm Battery Failure First
Before opening your watch, rule out software issues that mimic dead batteries. Some battery drain problems stem from firmware bugs or corrupted settings, not hardware failure.
Perform a Factory Reset
A corrupted map update or firmware bug can cause rapid drain. Try this first. Navigate to System, then Reset, then Restore Defaults. Hold the menu button to confirm and reboot.
One Forerunner 945 owner saw battery life jump from 2 days back to 10 days after reset, with no hardware fix needed.
Clean Charging Contacts
Dirt or corrosion prevents full charging. Use a cotton swab dipped in isopropyl alcohol at 90 percent or higher. Rub the contacts on both the watch and the charger, then dry completely before retrying.
Contact Garmin Support
Even out of warranty, try contacting support. Explain sudden battery failure and mention if it is a refurbished unit. Some users report free replacements, especially within 2 to 3 years of purchase.
Find Your Exact Battery Part Number

Using the wrong battery risks failure or damage. Never rely on printed codes like ASDB402334-P1, as those are internal tracking IDs, not part numbers.
Use Official Garmin Part Numbers
Search Amazon or Battery Clerk using only the Garmin part number. Here are the most common mappings.
| Model | Battery Part Number | Capacity |
|---|---|---|
| Fenix 5 Plus / Approach S60 | 361-00097-00 | 255 mAh |
| Fenix 5s Plus / 5X | 361-00098-00 | 410 mAh |
| Fenix 7X / Tactix 7 Solar | 361-00147-10 | 300 mAh |
| Venu 2 | 361-00139-10 | 210 mAh |
| VivoActive 3 | 361-00108-01 | 155 mAh |
| Instinct Solar | 361-00086-24 | 200 mAh |
Pro Tip: Write down your part number before purchasing. Double-check the number matches your specific model exactly.
Buy from Trusted Suppliers
Avoid cheap knockoffs. Stick to proven sources that specialize in Garmin batteries.
Battery Clerk
Battery Clerk offers the 361-00097-00 battery in Cameron Sino brand. Price runs about $23.66 shipped within the USA, with a one-year battery coverage warranty. Reliability is high based on verified working units.
Avoid shop-battery.com. Users report dead batteries upon arrival and poor customer support.
Amazon
Amazon carries batteries for Venu, VivoActive, and Fenix 7X models. Look for brands like Cameron Sino, CELEWELL, or Renata. Choose listings with the exact Garmin part number, 4.5 or higher star rating, and at least 50 reviews.
NewPower99.com
NewPower99 offers complete kits that include the battery, tools, and video guides. One-year warranty on the battery applies to select models. Prices range from $39.95 to $64.95. This source covers Edge, inReach, Approach, and Drive series devices.
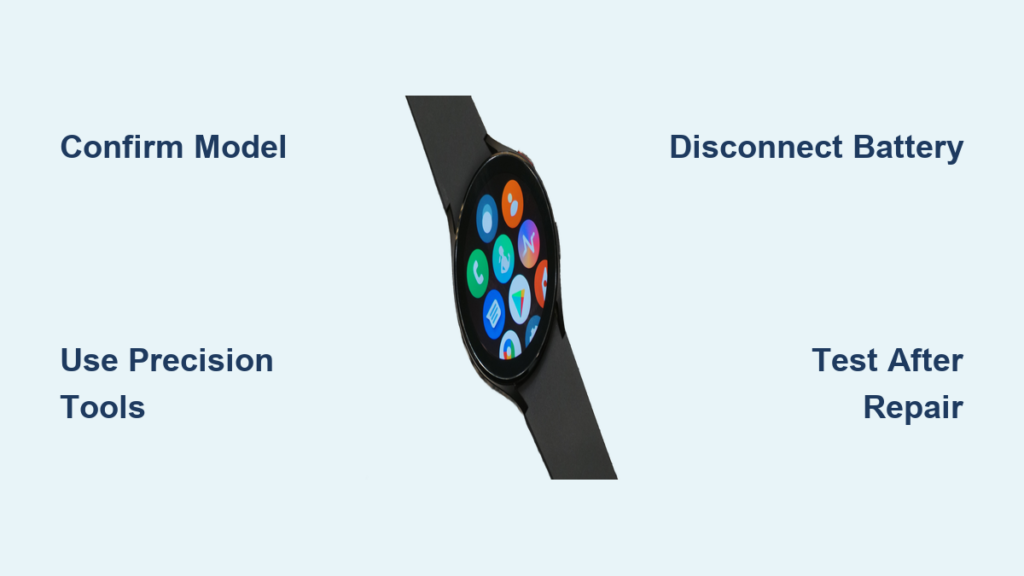
Gather Essential Tools

Use precision tools to avoid scratches or damage to your watch.
Must-Have Tools
A T6 Torx screwdriver removes Fenix case screws. Phillips number 00 or 000 fits VivoActive 3 and Venu models. A heat gun or hair dryer softens adhesive at around 80 degrees Celsius. Plastic opening picks pry the bezel without scratching. A suction cup lifts the screen assembly. Tweezers handle tiny connectors. A multimeter tests voltage post-install, targeting around 3.85 volts.
Optional But Recommended
A soldering iron at 350 degrees Celsius is needed for batteries with wires instead of connectors. Heat-shrink tubing insulates solder joints. B7000 adhesive reseals VivoActive 3 for water resistance. An anti-static wrist strap prevents ESD damage.
Pro Tip: The JOREST Watch Repair Kit on Amazon includes screwdrivers, picks, tweezers, and a holder for around $12.
Fenix Series: Open Safely
These steps apply to Fenix 5, 5X, 6 Pro, 6X, and 7X models.
Apply Heat Evenly
Set your heat gun to 80 degrees Celsius, no higher. Rotate around the bezel edge for 2 to 3 minutes. The goal is to soften adhesive, not melt internal parts.
Warning: Excessive heat damages the display or sensors. Keep the heat source moving constantly.
Separate Front Glass
Place a suction cup on the screen. Gently pull up while sliding a plastic pick into the gap. Work around the edge until the front assembly loosens.
Disconnect Internal Cables
Once open, locate the display ribbon and sensor flex cable. Use tweezers to lift connector latches, then slide cables out. Do not pull on the cables themselves.
Remove Motherboard
Unscrew the T6 Torx screws holding the motherboard. Carefully lift the board, noting how cables route. Flip the device to access the back plate and battery.
Remove Old Battery
The battery is glued in place, so pry gently to avoid damage.
Lift with Plastic Pick
Slide a plastic tool under one edge of the battery. Gently lift upward. Never force it if resistance is strong.
Disconnect Correctly
For Fenix series, the connector tilts out, it does not slide. Use tweezers to tilt the plug upward from the socket. Pulling straight destroys the motherboard port, which is nearly impossible to replace.
Critical: Never yank the connector. This is the most common fatal mistake.
Check for Hidden Cables
Some models have ribbon cables beneath the battery. Inspect carefully before prying further to avoid slicing these delicate components.
Install New Battery
Use only high-quality replacements like Cameron Sino.
Position and Connect
Place the new battery into the slot. Tilt the connector into place using the same motion as removal. Ensure full seating by pressing gently.
Verify Voltage
Power on briefly. Use a multimeter to check voltage. Target is around 3.85 volts, which indicates a full charge. If there is no response, double-check the connection.
Pro Tip: Test before reassembling the motherboard or tightening any screws.
VivoActive 3 and Venu Models: Special Steps
These models use adhesive sealing and may require soldering.
Open the Case
Apply heat around the seam at 80 degrees Celsius for 2 to 3 minutes. Use a metal pry bar at the top edge, as plastic may not be strong enough. Pop open carefully.
Remove Display Assembly
Disconnect internal cables. Remove the three screws holding the PCB. Lift out the display module.
Replace Glued Battery
The battery sticks to the back casing. Pry up slowly with a plastic tool. Pull the connector straight out, as there is no tilt mechanism on these models.
Handle Flying Leads
Some replacements come with wires instead of connectors. Solder red to red and black to black using a 350-degree Celsius iron with quick touches. Cover joints with heat-shrink tubing and secure with a dab of B7000 glue.
Expert Note: Soldering adds risk, but flying leads often mean higher capacity batteries.
Reassemble with Care
One wrong step ruins water resistance or causes short circuits.
Reconnect All Cables
Double-check alignment. Snap connectors firmly into place. Close latches securely before proceeding.
Do Not Overtighten Screws
Tighten just until resistance is felt. Over-torquing cracks threads or damages gaskets.
Seal for Water Resistance
For Fenix series, the device uses a rubber gasket compressed by screws. Ensure the gasket is clean and seated properly. Torque screws evenly.
For VivoActive 3 and Venu, the device relies on adhesive seal. Apply B7000 or equivalent around the rim. Press the cover down firmly. Clamp or weight overnight. Wait 48 hours before exposure to water.
Reality Check: No post-repair water resistance is guaranteed. Avoid deep diving after replacement.
Test Before Final Closure
Save yourself a second disassembly by testing early.
Power On Early
After connecting battery and motherboard, briefly power on. Confirm boot and charge detection. If there is no response, recheck connectors and test battery voltage.
Monitor Initial Performance
Allow 4 to 6 hours for the first charge. Use the watch normally for 24 hours. Track battery drain in the settings menu.
Success Metric: Fenix 5 Plus users report 20 or more hours of GPS runtime, matching or beating original specifications.
Performance After Replacement
High-quality batteries restore or exceed OEM performance.
Real-World Results
| Model | Pre-Replacement | Post-Replacement |
|---|---|---|
| Fenix 5 Plus | 19 hrs GPS | 20 hrs 25 min |
| Venu 2 | 4 days | 5 to 6 days |
| VivoActive 3 | 1 day | 1.5 to 2 days |
| Edge 520 | 12 hrs | 18+ hrs |
User Feedback: One VivoActive 3 owner reported the battery lasts over 7 days, meeting expectations.
Extended-Capacity Options
Some third-party batteries offer higher mAh ratings. Approach S10 and S20 can see up to 30 percent capacity increases. Edge series has extended-life packs available. The risk is that these may not fit perfectly or charge correctly. Stick with OEM-spec unless you accept the trade-offs.
Avoid These 7 Costly Mistakes
Learn from others failures to ensure your replacement succeeds.
1. Wrong Part Number
Using printed codes instead of the actual Garmin part number leads to wrong size or voltage. Always search by the official number like 361-00097-00.
2. Pulling Connector Straight
On Fenix series, you must tilt the connector, not pull it straight. Breaking the socket means a dead motherboard.
3. Damaging Ribbon Cables
Cables run under the battery. Sharp picks can slice them. Use plastic tools and work slowly.
4. Skipping the Test Phase
Screwing everything shut before testing means starting over if it does not boot. Power on before final assembly.
5. Incomplete Adhesive Cure
Re-sealing VivoActive 3 but using it after 12 hours allows water to get in. Wait the full 48 hours for complete cure.
6. Buying from Unreliable Sellers
Cheap batteries from unknown sites may be dead, wrong, or counterfeit. Stick to Battery Clerk, Amazon with Cameron Sino brand, or NewPower99.
7. Overheating During Disassembly
Too much heat warps the screen or damages sensors. Use low settings and keep the heat source moving.
Watch Repair Videos: Your Best Guide
Even if no video exists for your exact model, Fenix 5X tutorials apply to 6 and 7 series.
What Videos Teach You
Videos show where hidden screws are located. They demonstrate how cables route. They reveal how much heat to apply and show connector types and removal angles.
Search Tip: Look for Fenix 5X battery replacement videos even if repairing a Fenix 6, as many steps transfer between generations.
Final Checklist Before You Begin
Confirm you have identified the correct Garmin part number. Purchase from Battery Clerk, Amazon, or NewPower99. Gather your T6 screwdriver, heat source, plastic picks, and tweezers. Watch a disassembly video for your model. Perform factory reset and contact cleaning first. Test before sealing the device.
Key Takeaways for Replacing Your Garmin Watch Battery
Replacing a Garmin watch battery is entirely doable with the right tools, verified parts, and patience. You will restore your device to like-new condition. High-quality replacements from Cameron Sino or CELEWELL match OEM performance, and some users even see gains. While Garmin does not officially support this repair and you void the warranty, you do not need to pay $500 or more for a new watch when a $25 fix exists.
Accept the trade-offs before proceeding. Water resistance is not guaranteed after opening the device. You risk permanent damage if connectors are mishandled. However, the savings are substantial, and your watch can keep going for years more.
Take your time. Follow each step carefully. Test early and often. Seal properly and wait the full cure time. Your Garmin can have a second life.
Frequently Asked Questions About Replacing Garmin Watch Batteries
Can Garmin replace my watch battery officially?
Garmin does not offer official battery replacement services for its smartwatches. You must use third-party DIY methods or replace the entire device through warranty if eligible.
How do I find the correct battery part number for my Garmin watch?
Use the official Garmin part number, not printed codes on the battery. For Fenix 5 Plus, it is 361-00097-00. For VivoActive 3, it is 361-00108-01. Search by this number on Amazon or Battery Clerk.
Is it safe to replace my Garmin watch battery myself?
The process is technically complex and voids your warranty. It is safe if you use proper tools, follow step-by-step guides, and test before final assembly. However, you risk damaging internal components or losing water resistance.
Where should I buy replacement batteries?
Purchase from trusted suppliers like Battery Clerk, Amazon with Cameron Sino brand, or NewPower99. Avoid eBay sellers without verified part numbers and obscure websites with poor reviews.
How long does the adhesive take to cure after replacement?
For VivoActive 3 and similar models using adhesive sealing, wait at least 48 hours before exposing the watch to water. Fenix series with rubber gaskets can be used sooner if the gasket is properly seated.
Will my watch still be waterproof after battery replacement?
No manufacturer warranty covers water resistance after disassembly. Fenix series may retain water resistance if the gasket is intact and screws are properly torqued. VivoActive 3 requires the full 48-hour adhesive cure for any water protection.