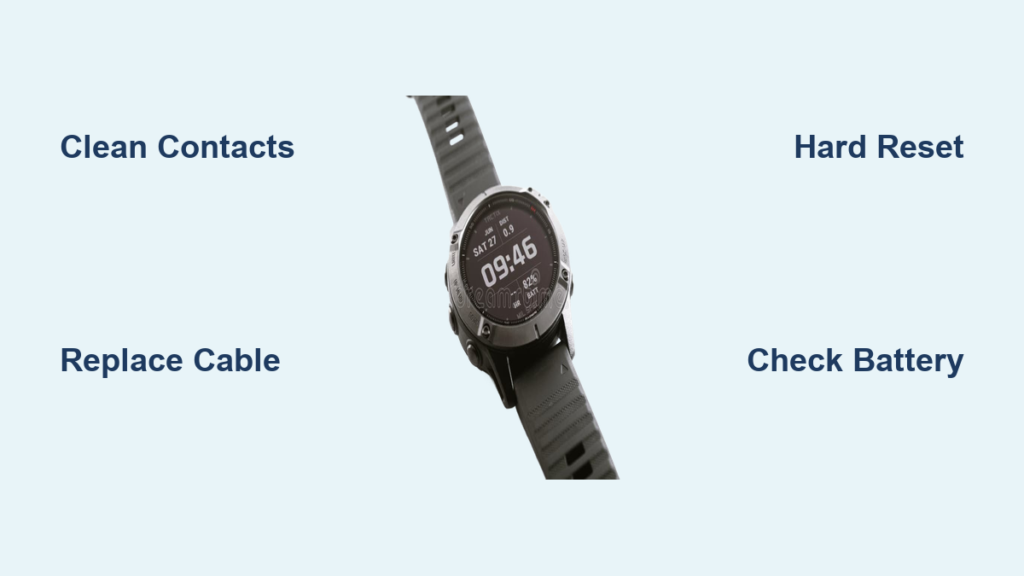
If your Garmin watch band is worn, uncomfortable, or just no longer matches your style, replacing it is one of the easiest and most effective ways to refresh your device. Whether you own a rugged Garmin Instinct, a performance-focused Forerunner 735XT, or a newer Instinct 2, changing the band takes just minutes with the right tools and technique. This guide walks you through every step, tailored to your model’s specific attachment system.
Identify Your Garmin Band Attachment Type
Before grabbing tools, determine your Garmin model’s band attachment system. This decision dictates your entire process and ensures you use the correct method.
Push-Pin vs Screw-In Systems Explained
Garmin uses two main band attachment systems. The push-pin system uses spring-loaded pins and is found on Instinct, Instinct 2, Fenix, and Epix models. The screw-in system uses tiny Phillips-head screws and is used on older sport models like the Forerunner 735XT.
How to Identify Your System
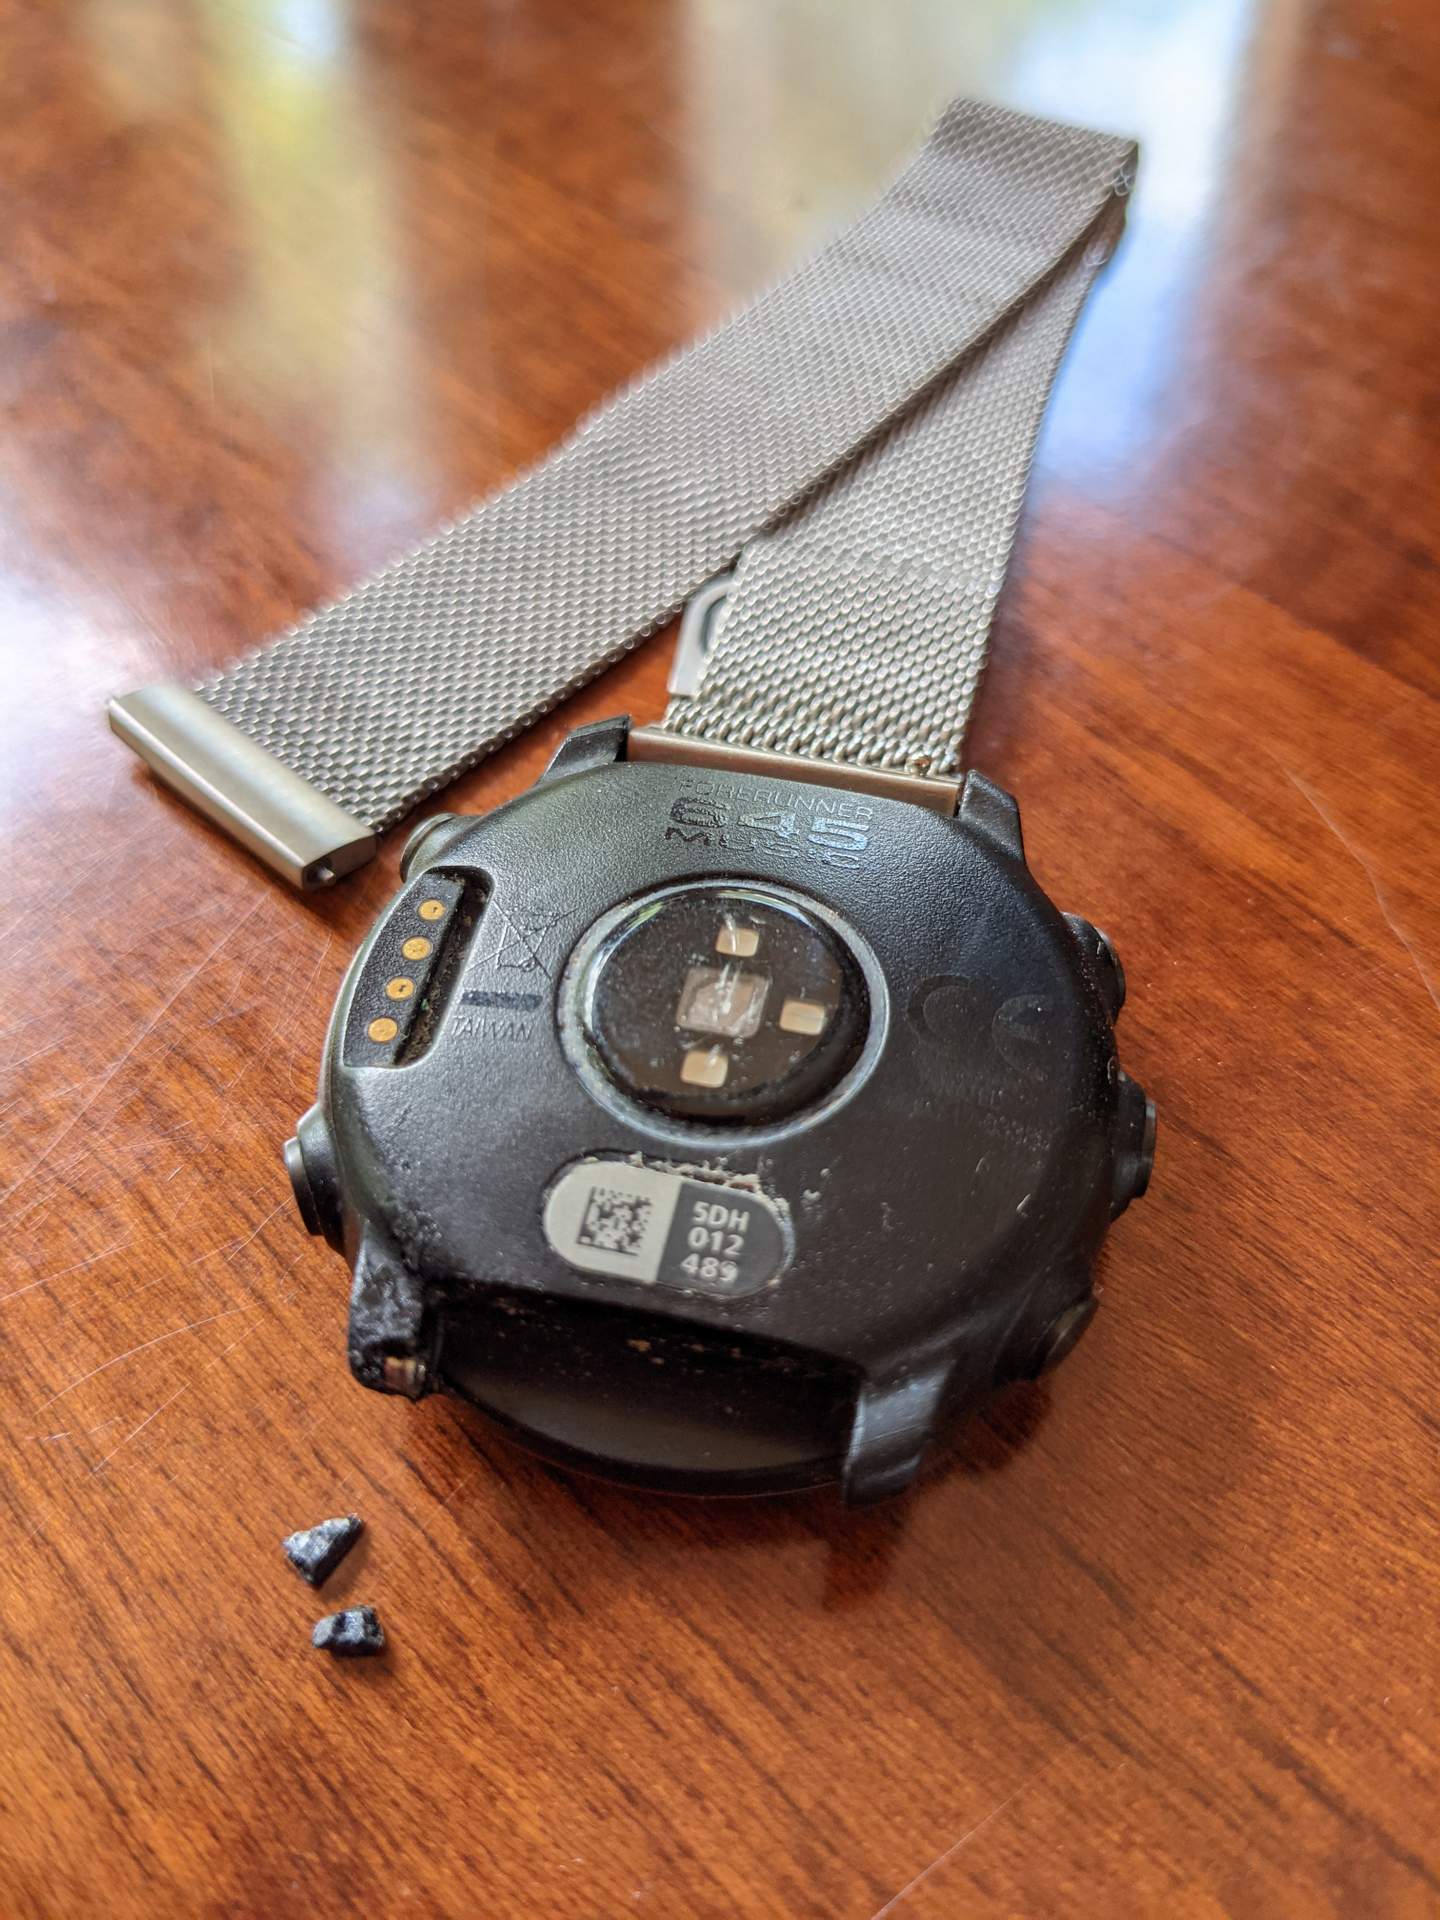
Look at the side of your watch where the band connects. If you see a small hole with a spring-loaded mechanism and no visible screws, you have a push-pin system. If you see tiny Phillips-head screws on the ends of the metal pins, you have a screw-in system.
Gather the Right Tools for Your Model
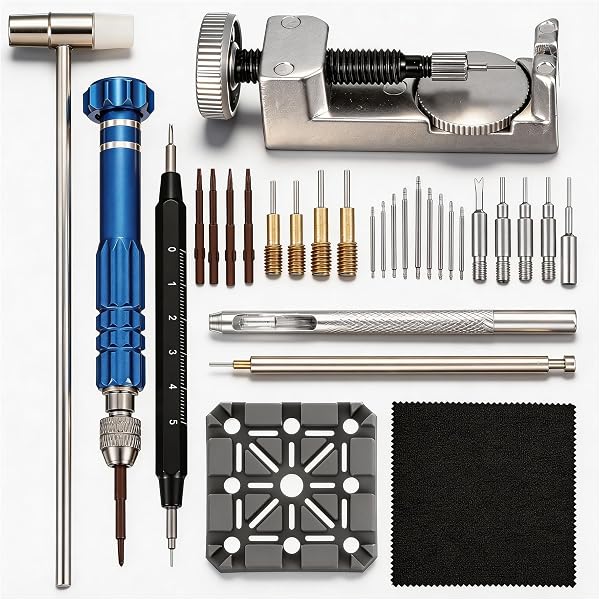
Using the correct tools prevents scratches, broken nails, and lost pins. The tools needed depend entirely on your attachment type.
Tools for Push-Pin Models
For Instinct, Instinct 2, and similar models, you need a popsicle stick or plastic prying tool to depress the pin without scratching the case. A band removal tool is optional and often comes included with replacement bands. Fingernails can work in a pinch but risk splitting.
Tools for Screw-In Models
For Forerunner 735XT and older sport models, gather a Phillips #00 screwdriver for the tiny screws. You also need needle-nose pliers to grip and pull out the metal pin. Replacement kits typically include new pins and end caps.
Remove Your Old Garmin Band
Follow the correct removal method based on your attachment type. Taking the right approach prevents damage to your watch.
Removing Push-Pin Bands from Instinct Series
Start by holding your watch securely. Locate the small hole on the side of the watch lug where the release pin sits. Insert a popsicle stick into the hole and push the pin inward about 1 to 2 millimeters. While holding the pin down, pull the band straight away from the watch. Repeat this process on the other side.
The pin retracts slightly under pressure, and you will feel it give. Success looks like the band sliding off smoothly. If it sticks, ensure the pin is fully depressed before pulling.
Removing Screw-In Bands from Forerunner 735XT
Place your watch on a soft surface to prevent scratches. Use the Phillips #00 screwdriver to unscrew one end cap while pressing firmly on the opposite end cap to stop the pin from spinning. Once loose, remove the end cap completely. Use needle-nose pliers to gently pull the metal pin out. Repeat on the other side.
Use two hands during this process. One hand holds pressure while the other turns the screwdriver. If the pin spins, the cap will not loosen.
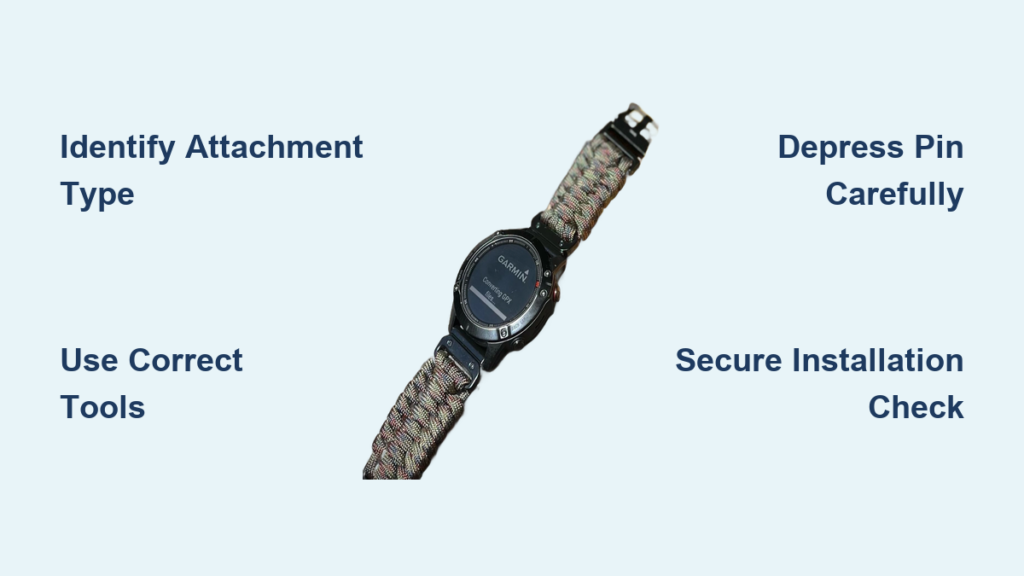
Install the New Band Securely
With the old band removed, attach your new band with confidence using these installation steps.
Installing Push-Pin Bands on Instinct Models
Take the replacement pin from your new band kit and insert it into the lug hole on the new band. Align the band with the watch lug and press the pin into the watch until it clicks into place. Ensure the pin is flush and secure. Repeat on the other side.
No tools are needed for installation. Fingers or light pressure with a popsicle stick provides enough force. Gently tug the band to check for security. It should not move or wobble.
Installing Screw-In Bands on Forerunner 735XT
Unscrew one end cap from the new band’s pin. Slide the pin through the watch lug from one side. Reattach the end cap on the opposite side. Use the screwdriver to tighten while pressing on the far end cap. Repeat for the other side.
Tighten securely but not too hard. Over-tightening can strip the threads. The band should be snug with no play. If it wobbles, retighten.
Choose the Right Replacement Band
Not all bands fit all models. Getting the right one the first time saves money and frustration.
Compatible Garmin Models
Replacement bands from brands like ancool fit the Garmin Instinct, Instinct 2, Instinct 2 Solar, Instinct Solar, and original Instinct models. Always verify band width, which is typically 22mm or 24mm, before purchasing.
Popular Color Options
Navy Blue offers a professional look with soft silicone. Army Green provides a rugged, tactical style. Olive Green delivers a bright and modern aesthetic. Orange gives high visibility for athletes. Black provides a classic, everyday wear option.
Avoid Common Mistakes During Installation
Even simple jobs go wrong without attention to detail. Knowing these pitfalls saves time and prevents damage.
Push-Pin System Pitfalls
Not fully seating the pin leads to band detachment during use. Using metal tools can scratch the watch case permanently. Losing the small pins is easy, so keep a small container nearby. If the band feels loose, remove it and reinsert the pin with firm pressure.
Screw-In System Pitfalls
Stripped screws happen when using the wrong screwdriver size or applying excessive force. A spinning pin fails to unscrew without proper counter-pressure. A loose installation means the band falls off during use. Always press on the opposite end cap while turning the screwdriver.
Test and Verify Your Installation
Never skip this final check. Proper testing ensures your band will not fail during daily wear.
How to Confirm Secure Installation
Perform a tug test by gently pulling the band in multiple directions. Do a wiggle check to ensure no movement at the lugs. Wear the watch and move your wrist through its normal range. There should be no shifting, noise, or discomfort.
The full installation process takes three to five minutes once you know the steps.
Maintain Your New Band
Keep your new band in top shape with regular care and inspection.
Cleaning Your Band
Rinse the band with lukewarm water after workouts to remove sweat and dirt. Dry with a soft cloth to prevent moisture buildup. Avoid harsh chemicals or alcohol that can degrade silicone.
Inspecting for Wear
Check monthly for cracks, fraying, or loose pins. Replace the band if the silicone becomes stiff, sticky, or shows significant wear. Athletes may need replacements sooner than casual users, typically every one to two years with daily use.
Smart Upgrade Tips
Maximize value and performance with these purchasing strategies.
Buy Complete Replacement Kits
Look for kits that include multiple bands in different colors, removal tools, and extra pins or end caps. Complete kits on Amazon often cost less than a single OEM band while providing more value.
Consider Aftermarket Brands
Brands like ancool offer better durability, enhanced design, more color options, and lower prices than Garmin originals. Many users report that aftermarket bands are more protective and longer-lasting than stock bands.
When to Replace Your Garmin Band
Do not wait for complete failure. Replace your band proactively if the silicone is cracked or peeling, the buckle does not latch securely, the band stretches or slips during wear, or you simply want a style refresh.
Frequently Asked Questions About Changing Garmin Watch Bands
Can I change my Garmin watch band without tools?
For push-pin models like Instinct and Instinct 2, you can often use your fingernail or a popsicle stick. Screw-in models like the Forerunner 735XT require a small Phillips screwdriver and pliers.
How do I know if my Garmin uses push-pin or screw-in bands?
Look at the connection point. Push-pin systems have a small hole with a spring-loaded pin and no visible screws. Screw-in systems have tiny Phillips-head screws on the ends of the band pins.
Are aftermarket bands compatible with my Garmin watch?
Yes, brands like ancool make bands specifically for Garmin Instinct, Instinct 2, Instinct Solar, and Instinct 2 Solar models. Always verify the band width matches your model.
How often should I replace my Garmin watch band?
With daily use, replace bands every one to two years. Athletes or users exposed to sweat and UV may need replacement sooner. Check monthly for signs of wear.
Will changing my band void my Garmin warranty?
Generally, band replacement does not void the warranty if done carefully without damaging the watch. However, any damage caused by improper installation may not be covered.
Final Thoughts on Changing Your Garmin Watch Band
Changing a Garmin watch band is a simple, satisfying DIY task that transforms your device’s look and comfort. Whether you use a push-pin Instinct or a screw-in Forerunner 735XT, the process requires only basic tools and takes a few minutes. By following this guide, you avoid damage, ensure a secure fit, and unlock a world of style and durability with aftermarket options. Keep your original band as a backup, clean your new band regularly, and inspect it monthly for wear. Now that your watch looks fresh, wear it with confidence knowing you did the upgrade yourself.